1. ຄໍາແນະນໍາຄວາມປອດໄພທີ່ສໍາຄັນ
Please read all instructions carefully before operating the Milex Nordic Ice Machine. Retain this manual for future reference.
- ຮັບປະກັນວ່າອຸປະກອນຖືກວາງຢູ່ເທິງພື້ນຜິວທີ່ໝັ້ນຄົງ, ລະດັບຫ່າງຈາກແສງແດດໂດຍກົງ ແລະແຫຼ່ງຄວາມຮ້ອນ.
- ຢ່າເອົາສາຍໄຟ, ປລັກສຽບ, ຫຼືສ່ວນໃດສ່ວນໜຶ່ງຂອງເຄື່ອງໃຊ້ໃນນໍ້າ ຫຼືຂອງແຫຼວອື່ນໆ.
- ເຄື່ອງໃຊ້ນີ້ແມ່ນໃຊ້ໃນຄົວເຮືອນເທົ່ານັ້ນ. ຢ່າໃຊ້ນອກ.
- ເບິ່ງແຍງເດັກນ້ອຍເມື່ອມີເຄື່ອງໃຊ້.
- Unplug the ice machine from the power outlet before cleaning or when not in use.
- ຫ້າມນຳໃຊ້ເຄື່ອງໃຊ້ທີ່ມີສາຍໄຟ ຫຼື ປລັກສຽບທີ່ເສຍຫາຍ, ຫຼື ຫຼັງຈາກເຄື່ອງໃຊ້ຜິດປົກກະຕິ ຫຼືໄດ້ຮັບຄວາມເສຍຫາຍໃນທຸກຮູບແບບ.
- Allow the unit to stand upright for at least 2 hours before first use if it has been transported horizontally. This allows the refrigerant to settle.
- ໃຊ້ພຽງແຕ່ນ້ໍາດື່ມໃນຖັງນ້ໍາ.
- ຫ້າມປິດຊ່ອງລະບາຍອາກາດ. ຮັບປະກັນການໄຫຼວຽນຂອງອາກາດທີ່ພຽງພໍຮອບຫນ່ວຍ.
2. ຜະລິດຕະພັນເກີນview
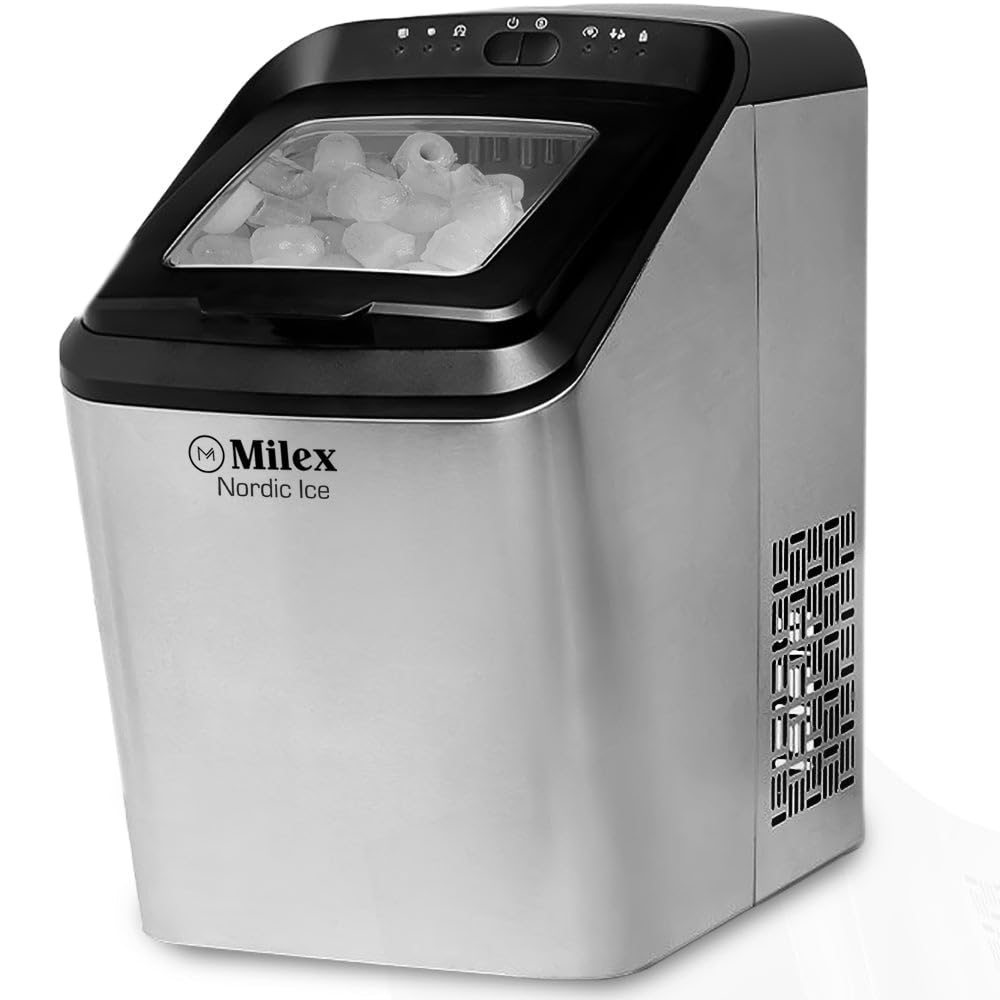
Familiarize yourself with the components of your Milex Nordic Ice Machine.
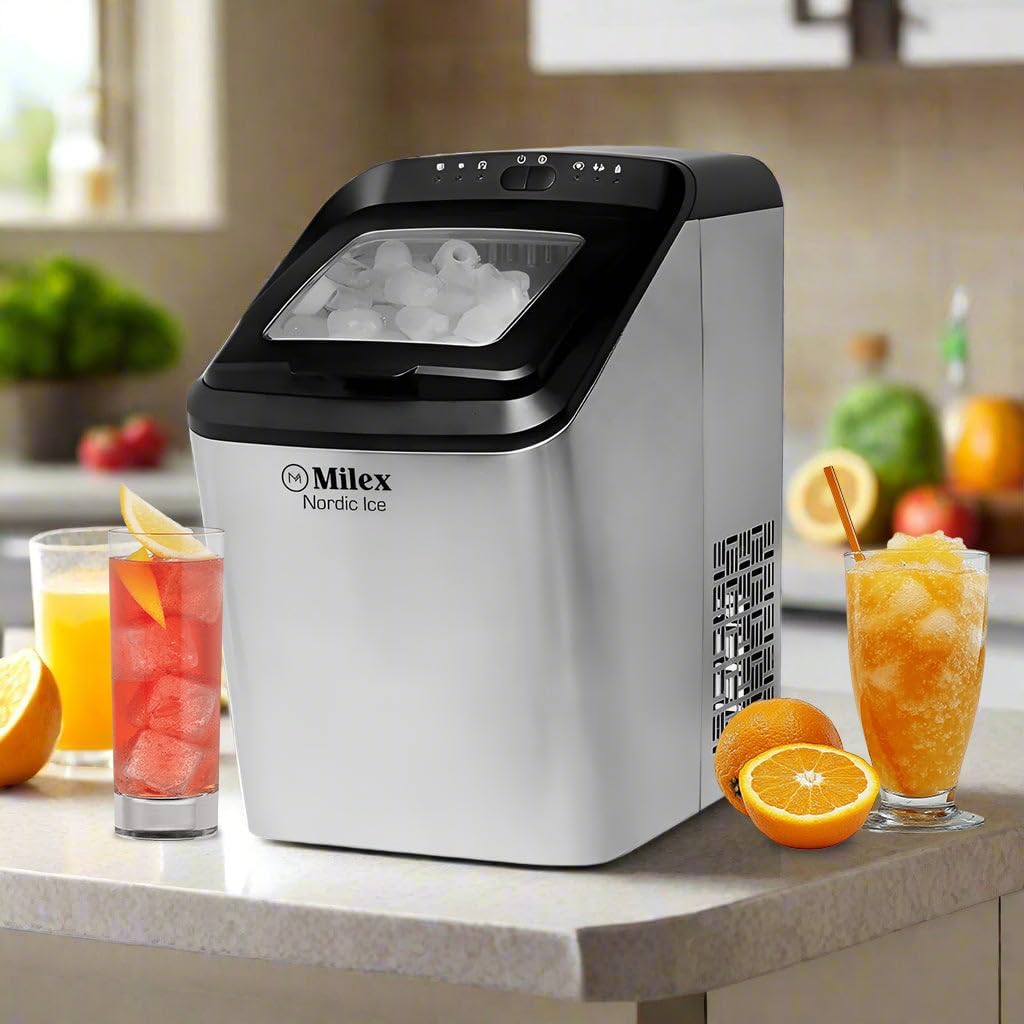
ຮູບທີ 2.1: ດ້ານໜ້າ view of the Milex Nordic Ice Machine, showcasing its sleek stainless steel housing and transparent lid.
ອົງປະກອບຫຼັກ:
- ກະດານຄວບຄຸມ: Located on the top, with indicator lights and buttons for operation.
- ຝາປິດໂປ່ງໃສ: ອະນຸຍາດ viewing of the ice-making process and ice level.
- ກະຕ່ານ້ຳກ້ອນ: ກະຕ່າທີ່ສາມາດຖອດອອກໄດ້ສຳລັບເກັບ ແລະ ເກັບຮັກສານ້ຳກ້ອນ.
- ຖັງນໍ້າ: Reservoir for water, located beneath the ice basket.
- Ice Scoop: ລວມໄປເຖິງການເກັບນ້ຳກ້ອນທີ່ຖືກອະນາໄມ.
- ປລັກທໍ່ລະບາຍ: ຕັ້ງຢູ່ທາງລຸ່ມເພື່ອລະບາຍນ້ໍາ.
3. ຕັ້ງຄ່າ
Follow these steps to set up your ice machine for the first time.
- ແກະກ່ອງ: Carefully remove the ice machine from its packaging. Remove all packing materials, tape, and labels.
- ຕໍາແໜ່ງ: Place the ice machine on a flat, stable, and heat-resistant surface. Ensure there is at least 15 cm (6 inches) of space around the unit for proper ventilation.
- ຢືນຕົວຊື່: If the unit was transported horizontally, allow it to stand upright for at least 2 hours before plugging it in. This ensures the compressor oil settles correctly.
- ສະອາດ: Before first use, clean the interior of the ice machine as described in the 'Maintenance and Cleaning' section.
- ເຊື່ອມຕໍ່ພະລັງງານ: ສຽບສາຍໄຟໃສ່ບ່ອນສຽບໄຟຟ້າທີ່ມີດິນ.
4. ຄໍາແນະນໍາການດໍາເນີນງານ
Operating your Milex Nordic Ice Machine is straightforward.

ຮູບທີ 4.1: Visual guide showing the three main steps: adding water, selecting ice size, and the ice production process.
4.1 Initial Ice Production
- ຕື່ມນ້ໍາ: Open the lid and fill the water tank with potable water up to the 'MAX' fill line. Do not overfill.
- ເປີດ: Press the 'POWER' button on the control panel. The power indicator light will illuminate.
- ເລືອກຂະໜາດນ້ຳກ້ອນ: Press the 'SELECT' button to choose between small or large ice cubes. The corresponding indicator light will illuminate.
- ຮອບວຽນເລີ່ມຕົ້ນ: The machine will automatically begin the ice-making cycle. The first batch of ice may take approximately 8-15 minutes, depending on the selected size and ambient temperature.
- ຈໍພາບ: The 'ICE FULL' indicator light will illuminate when the ice basket is full. The machine will pause operation. The 'ADD WATER' indicator light will illuminate when the water tank needs refilling.
- ດຶງເອົານ້ຳກ້ອນ: Use the provided ice scoop to remove ice from the basket. Once ice is removed, the machine will resume operation if water is present.
ຮູບທີ 4.2: ລະອຽດ view of the control panel with indicator lights and freshly made bullet-shaped ice cubes.
4.2 ການແຈ້ງເຕືອນອັດສະລິຍະ
- ເພີ່ມຕົວຊີ້ວັດນ້ໍາ: When this light illuminates, the water level in the tank is low. Refill the water tank to continue ice production.
- Ice Full ຕົວຊີ້ວັດ: When this light illuminates, the ice basket is full. Remove ice to allow the machine to resume operation.
5. ການບໍາລຸງຮັກສາແລະການທໍາຄວາມສະອາດ
Regular cleaning ensures optimal performance and extends the life of your ice machine.
5.1 ການທໍາຄວາມສະອາດປະຈໍາວັນ
- After each use, unplug the unit.
- Drain any remaining water from the water tank by removing the drain plug at the bottom of the unit.
- Wipe the interior with a soft cloth and a mild detergent solution. Rinse thoroughly.
- Dry all surfaces completely before storing.
5.2 ການທໍາຄວາມສະອາດປະຈໍາເດືອນ
- Prepare a cleaning solution of water and white vinegar (1:1 ratio) or a commercial ice machine cleaner.
- ງາມການແກ້ໄຂເຂົ້າໄປໃນຖັງນ້ໍາ.
- Run a few ice-making cycles (discard the ice produced during this cleaning process).
- Drain the solution completely and rinse the water tank thoroughly with clean water several times.
- ເຊັດອອກພາຍນອກດ້ວຍການໂຄສະນາamp ຜ້າ.
ຂໍ້ຄວນລະວັງ: Do not use abrasive cleaners or sharp objects to clean the ice machine, as this may damage the surfaces.
6. ການແກ້ໄຂບັນຫາ
ອ້າງອີງໃສ່ພາກນີ້ສໍາລັບບັນຫາທົ່ວໄປແລະການແກ້ໄຂຂອງພວກເຂົາ.
| ບັນຫາ | ສາເຫດທີ່ເປັນໄປໄດ້ | ການແກ້ໄຂ |
|---|---|---|
| Ice machine not turning on | ບໍ່ມີການສະຫນອງພະລັງງານ | ກວດເບິ່ງວ່າສາຍໄຟຖືກສຽບຢ່າງປອດໄພກັບປລັກສຽບທີ່ເຮັດວຽກຫຼືບໍ່. |
| ໄຟສະແດງ 'ຕື່ມນໍ້າ' ເປີດຢູ່ | ຖັງນໍ້າຫວ່າງ ຫຼື ຕໍ່າ | Refill the water tank with potable water up to the 'MAX' line. |
| ໄຟສະແດງ 'ນ້ຳກ້ອນເຕັມ' ເປີດຢູ່ | ກະຕ່ານ້ຳກ້ອນເຕັມແລ້ວ | ເອົານ້ຳກ້ອນອອກຈາກກະຕ່າ. ເຄື່ອງຈະກັບມາເຮັດວຽກຕໍ່. |
| ບໍ່ມີການຜະລິດກ້ອນ | Insufficient water, high ambient temperature, or air blockage | Ensure water tank is full. Place the machine in a cooler environment. Check for proper ventilation. |
| ກ້ອນນ້ຳກ້ອນນ້ອຍເກີນໄປ ຫຼື ເປັນກ້ອນ | Water temperature too high, or first cycle | Use colder water. The first few cycles may produce smaller ice. Ensure the machine has proper ventilation. |
7. ຂໍ້ມູນຈໍາເພາະ
Technical details for the Milex Nordic Ice Machine MIM003.
- ຕົວແບບ: MIM003
- ພະລັງງານ: 220-240V, 50Hz
- ຄວາມອາດສາມາດຂອງຖັງນໍ້າ: 2.8 ລິດ
- ຄວາມສາມາດໃນການຜະລິດນ້ຳກ້ອນ: Up to 15kg per day
- ຄວາມອາດສາມາດເກັບຮັກສານ້ຳກ້ອນ: ສູງເຖິງ 1.5 ກິໂລ
- Ice Cycle Time: 8-10 minutes per cycle (9 ice bullets)
- Ice Options: Large or Small bullet-shaped ice
- ວັດສະດຸ: ທີ່ຢູ່ອາໄສສະແຕນເລດ
- Dimensions (Box): 458mm x 290mm x 462mm
- ນ້ໍາຫນັກລາຍການ: 12 ກິໂລ
8. ການຮັບປະກັນແລະການສະຫນັບສະຫນູນລູກຄ້າ
For warranty information, technical assistance, or customer support, please contact Milex customer service. Refer to your purchase documentation for specific warranty terms and contact details.
ໂດຍທົ່ວໄປແລ້ວເຈົ້າສາມາດຊອກຫາຂໍ້ມູນການຕິດຕໍ່ຝ່າຍຊ່ວຍເຫຼືອຢູ່ໃນເຈົ້າໜ້າທີ່ຂອງຜູ້ຜະລິດ webເວັບໄຊທ໌ຫຼືຜ່ານຮ້ານຂາຍຍ່ອຍຂອງທ່ານ.


