ແນະນຳ
This manual provides comprehensive instructions for the installation, operation, maintenance, and troubleshooting of your suevery 24-inch Curved Gaming Monitor (Model: SV240QC). Please read this manual thoroughly before using the product to ensure proper functionality and to maximize your viewປະສົບການ. ຮັກສາຄູ່ມືນີ້ໄວ້ສໍາລັບການອ້າງອີງໃນອະນາຄົດ.
ຄຸນສົມບັດຜະລິດຕະພັນ
- Immersive Curved Display: The 24-inch 3000R curved screen is designed to match the natural curvature of the human eye, providing an immersive visual experience. This is complemented by a Full HD (1920x1080) resolution, drawing users into the content.
- Ultra-Smooth Motion: An ultra-high 180Hz refresh rate combined with an ultra-fast 1ms (GTG) gray-to-gray response time, enhanced by FreeSync technology, effectively eliminates screen tearing, stuttering, and ghosting. This ensures seamless transitions in fast-paced games.
- ການສະແດງສີທີ່ຖືກຕ້ອງ: With 100% sRGB color space coverage and precise reproduction of 16.7 million colors, the VA panel delivers excellent contrast and color layering. This results in vivid and realistic visuals for both gaming and multimedia.
- Flexible Connectivity and Installation: Equipped with DisplayPort (DP) and High-Definition Multimedia Interface (HDMI) ports, the monitor can easily connect to PCs, gaming consoles, laptops, and other devices. It supports VESA wall mounting, allowing for flexible placement in various environments.

Image: The suevery 24-inch Curved Gaming Monitor, showcasing ການອອກແບບ sleek ແລະຫນ້າຈໍໂຄ້ງຂອງຕົນ.
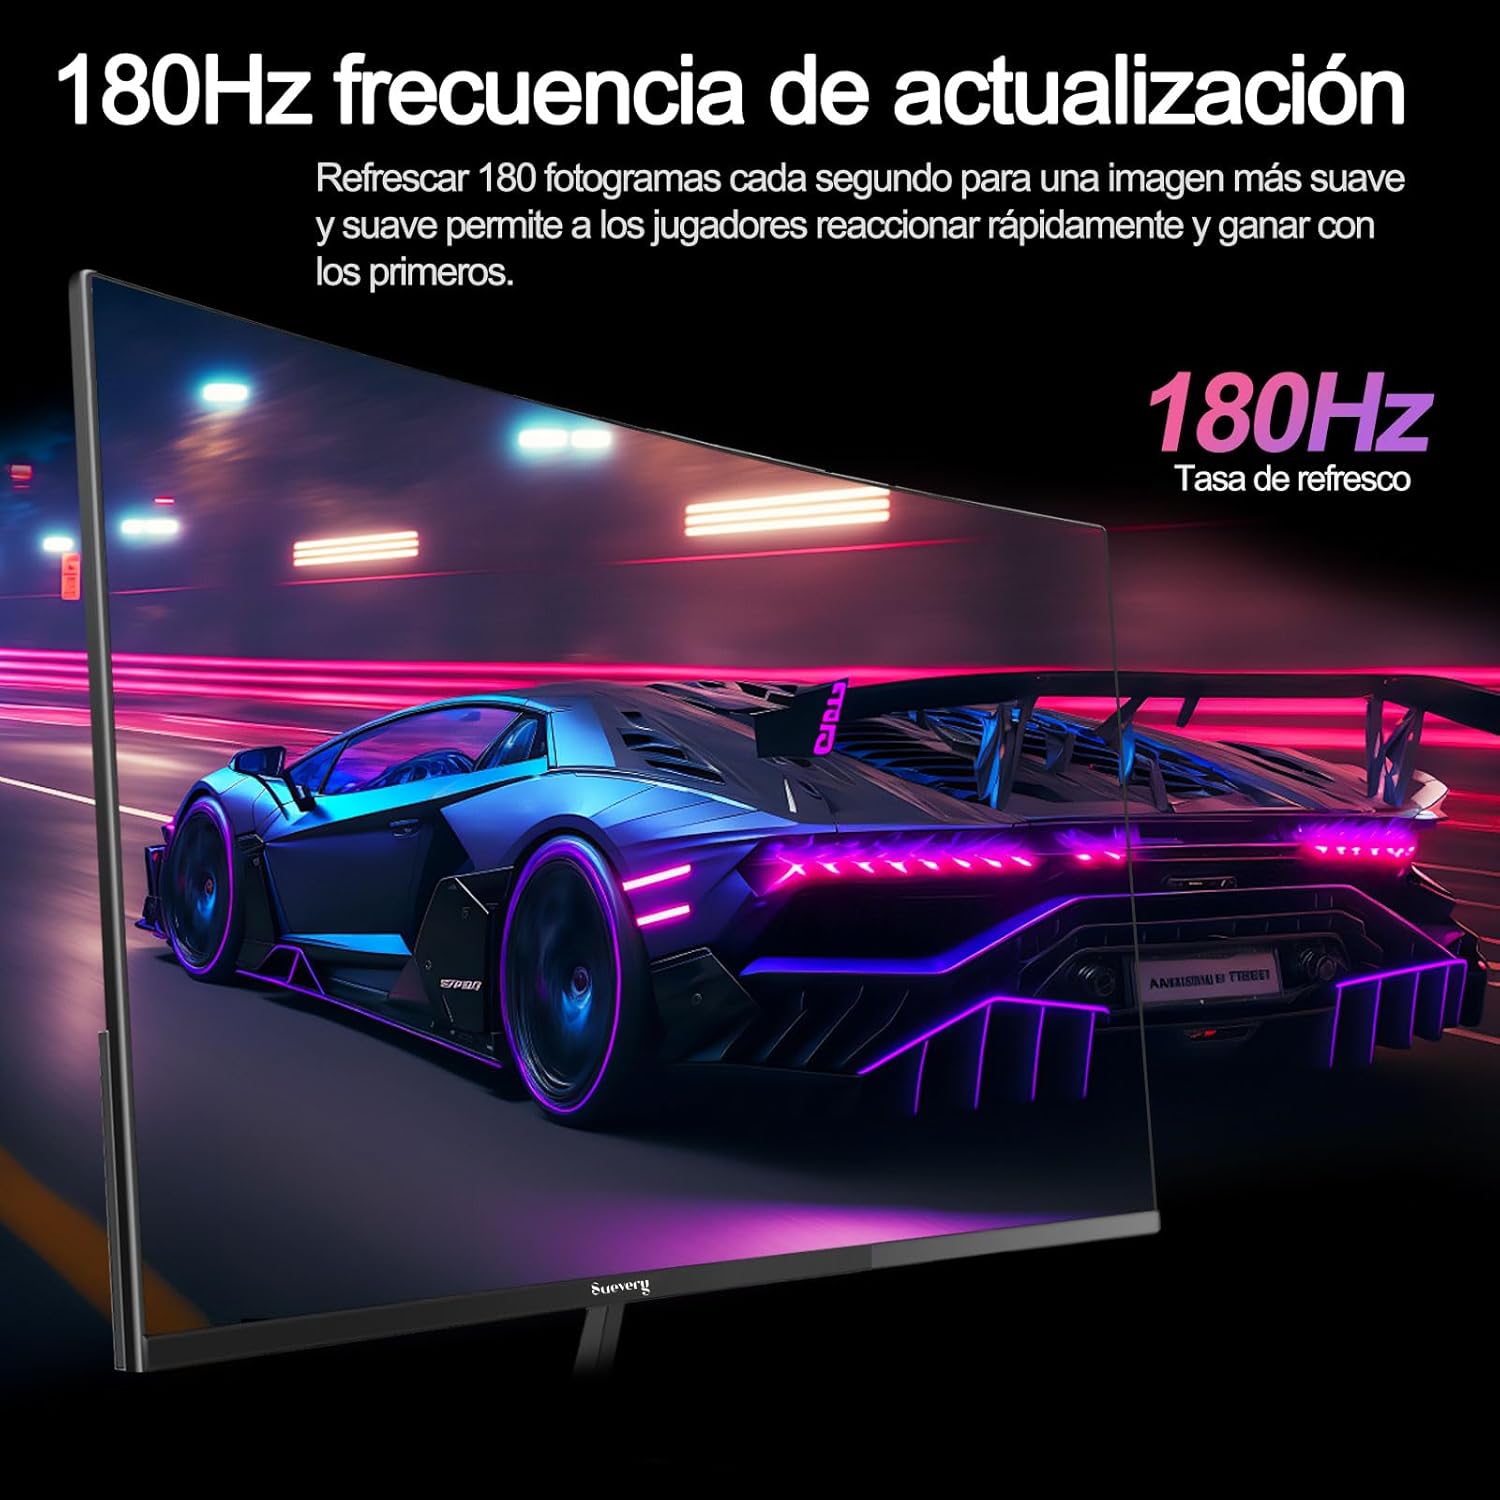
Image: A visual representation highlighting the 180Hz refresh rate, illustrating smooth motion in a racing game scene.

Image: An illustration demonstrating the monitor's wide color gamut (100% sRGB), 3000:1 contrast ratio, and 16.7 million colors for vibrant visuals.

Image: A split-screen comparison showing the visual difference with FreeSync OFF (screen tearing) and FreeSync ON (smooth image) during gameplay.
ຄໍາແນະນໍາການຕິດຕັ້ງ
1. ການຫຸ້ມຫໍ່ແລະການປະກອບ
- ເອົາສ່ວນປະກອບທັງຫມົດອອກຈາກການຫຸ້ມຫໍ່ຢ່າງລະມັດລະວັງ.
- ວາງແຜງຈໍສະແດງຜົນໃຫ້ໜ້າລົງເທິງພື້ນຜິວທີ່ສະອາດ, ອ່ອນນຸ້ມເພື່ອປ້ອງກັນຮອຍຂີດຂ່ວນ.
- Attach the stand base to the stand neck, securing it with the provided screws.
- Attach the assembled stand to the back of the monitor panel. Ensure it clicks securely into place or is fastened with screws as per the design.
- Alternatively, for VESA mounting, remove the stand and attach a VESA-compatible mount (75x75mm) to the monitor's rear panel.
2. ສາຍເຊື່ອມຕໍ່
Refer to the diagram below for port locations.

Image: A diagram illustrating the monitor's rear panel, showing the HDMI, DisplayPort (DP), USB (if applicable), and power input ports, along with VESA mount dimensions (75x75mm).
- ການເຊື່ອມຕໍ່ພະລັງງານ: Connect the power adapter to the monitor's power input port, then plug the power cable into a wall outlet.
- ການເຊື່ອມຕໍ່ວິດີໂອ: Connect one end of an HDMI or DisplayPort cable to the corresponding port on your monitor and the other end to your computer's graphics card or other video source. For optimal performance, especially at 180Hz, a DisplayPort connection is recommended.
- Audio (if applicable): ຖ້າຈໍພາບຂອງທ່ານມີຜົນຜະລິດສຽງ 3.5 ມມ, ທ່ານສາມາດເຊື່ອມຕໍ່ລໍາໂພງພາຍນອກ ຫຼື ຫູຟັງໄດ້.
3. ການເປີດເຄື່ອງເບື້ອງຕົ້ນ
- ກົດປຸ່ມເປີດປິດຢູ່ໃນຈໍສະແດງຜົນ. ໄຟຕົວຊີ້ວັດພະລັງງານຄວນສະຫວ່າງ.
- Turn on your connected computer or video source.
- The monitor should automatically detect the input signal. If not, you may need to manually select the input source using the On-Screen Display (OSD) menu.
ຄໍາແນະນໍາການດໍາເນີນງານ
1. ເປີດ/ປິດ
Press the power button, usually located on the back or bottom of the monitor, to turn the monitor on or off.
2. ເມນູການສະແດງເທິງໜ້າຈໍ (OSD).
The OSD menu allows you to adjust various monitor settings. Access the OSD menu using the joystick or buttons typically found on the back or bottom of the monitor.
- ການນໍາທາງ: Use the joystick or directional buttons to navigate through the menu options.
- ການຄັດເລືອກ: Press the joystick or a dedicated button to select an option or confirm a setting.
- ອອກ: Use the designated 'Exit' button or move the joystick in a specific direction to close the OSD menu.
3. ປັບການຕັ້ງຄ່າ
ການຕັ້ງຄ່າຫຼັກທີ່ທ່ານສາມາດປັບໄດ້ລວມມີ:
- ຄວາມສະຫວ່າງ/ຄວາມຄົມຊັດ: ປັບສິ່ງເຫຼົ່ານີ້ໃຫ້ເໝາະສົມກັບເຈົ້າ viewສະພາບແວດລ້ອມ.
- ການຕັ້ງຄ່າສີ: ດັດແປງອຸນຫະພູມສີ, ແກມມາ ແລະ ຄ່າ RGB ແຕ່ລະອັນ.
- ແຫຼ່ງປ້ອນຂໍ້ມູນ: ເລືອກດ້ວຍຕົນເອງລະຫວ່າງວັດສະດຸປ້ອນ HDMI ແລະ DisplayPort.
- ອັດຕາການໂຫຼດຂໍ້ມູນຄືນໃໝ່: ໃຫ້ແນ່ໃຈວ່າການຕັ້ງຄ່າລະບົບປະຕິບັດການ ແລະ ກາດກຣາບຟິກຂອງທ່ານຖືກຕັ້ງຄ່າໃຫ້ໃຊ້ອັດຕາການໂຫຼດໜ້າຈໍຄືນໃໝ່ 180Hz ຂອງຈໍພາບ.
- FreeSync: Enable FreeSync in the OSD menu and in your graphics card control panel for tear-free gaming.
- ໂໝດຮູບ: Select from preset modes (e.g., Standard, Game, Movie) or customize your own.
ບໍາລຸງຮັກສາ
1. ການທໍາຄວາມສະອາດຫນ້າຈໍ
- ປິດໜ້າຈໍ ແລະຖອດສາຍໄຟອອກ.
- ເຊັດໜ້າຈໍຢ່າງອ່ອນໂຍນດ້ວຍຜ້າອ່ອນໆ, ບໍ່ມີເຈັ້ຍ.
- ສໍາລັບຮອຍແຂງ, ເບົາບາງ dampໃສ່ຜ້າດ້ວຍນ້ໍາຫຼືເຄື່ອງເຮັດຄວາມສະອາດຫນ້າຈໍພິເສດ (ຢ່າສີດໃສ່ຫນ້າຈໍໂດຍກົງ).
- ຫຼີກລ່ຽງການໃຊ້ສານເຄມີຮຸນແຮງ, ນໍ້າຢາທໍາຄວາມສະອາດທີ່ມີສານຂັດ, ຫຼື ນໍ້າຢາທີ່ມີສ່ວນປະກອບຂອງເຫຼົ້າ.
2. ການດູແລທົ່ວໄປ
- ຮັກສາຈໍພາບໃຫ້ຫ່າງຈາກແສງແດດໂດຍກົງ, ຄວາມຮ້ອນທີ່ເກີນ, ແລະ ຄວາມຊຸ່ມຊື່ນ.
- ຮັບປະກັນການລະບາຍອາກາດຢ່າງພຽງພໍຮອບຈໍ.
- ຫຼີກເວັ້ນການວາງວັດຖຸໜັກໃສ່ຈໍພາບ ຫຼືສາຍຂອງມັນ.
ການແກ້ໄຂບັນຫາ
ຖ້າຫາກທ່ານພົບບັນຫາກັບການຕິດຕາມກວດກາຂອງທ່ານ, ກະລຸນາເບິ່ງບັນຫາທົ່ວໄປດັ່ງຕໍ່ໄປນີ້ແລະການແກ້ໄຂ:
| ບັນຫາ | ການແກ້ໄຂທີ່ເປັນໄປໄດ້ |
|---|---|
| ບໍ່ມີຮູບພາບໃນ ໜ້າ ຈໍ | Ensure the power cable is securely connected and the monitor is turned on. Verify the video cable (HDMI/DP) is properly connected to both the monitor and the computer. Check if the correct input source is selected in the OSD menu. |
| ຮູບພາບ flickering ຫຼືບໍ່ຫມັ້ນຄົງ | Check the video cable connection. Ensure your graphics card drivers are up to date. Verify the refresh rate setting in your operating system is set correctly (e.g., 180Hz). Enable FreeSync if supported by your graphics card. |
| ສີປາກົດບໍ່ຖືກຕ້ອງ | Adjust color settings (brightness, contrast, color temperature) in the OSD menu. Reset the monitor to factory default settings. |
| ຈໍສະແດງຜົນບໍ່ເປີດ | Check the power cable and adapter connections. Try plugging the monitor into a different power outlet. |
ຖ້າບັນຫາຍັງຄົງຢູ່ຫຼັງຈາກພະຍາຍາມແກ້ໄຂເຫຼົ່ານີ້, ກະລຸນາຕິດຕໍ່ຝ່າຍຊ່ວຍເຫຼືອລູກຄ້າ.
ຂໍ້ມູນຈໍາເພາະ
| ຄຸນສົມບັດ | ຂໍ້ມູນຈໍາເພາະ |
|---|---|
| ຍີ່ຫໍ້ | suevery |
| ໝາຍເລກຕົວແບບ | SV240QC |
| ຂະໜາດໜ້າຈໍ | 24 ນິ້ວ |
| ຄວາມລະອຽດການສະແດງ | 1920 x 1080 (Full HD) |
| ອັດຕາການໂຫຼດຂໍ້ມູນຄືນໃໝ່ | 180Hz |
| ເວລາຕອບສະຫນອງ | 1ms (GTG) |
| ເສັ້ນໂຄ້ງ | 3000R |
| ສີ Gamut | 100% sRGB |
| ປະເພດແຜງ | VA |
| ອັດຕາສ່ວນ | 16:9 |
| ການເຊື່ອມຕໍ່ | 1x HDMI, 1x DisplayPort (DP) |
| ຄວາມເຂົ້າກັນໄດ້ຂອງ VESA Mount | 75x75ມມ |
| ຂະໜາດສິນຄ້າ | 59 x 39 x 11 cm (ມີຂາຕັ້ງ) |
| ນ້ຳໜັກ | 3.5 ກິໂລ |
ການຮັບປະກັນແລະການສະຫນັບສະຫນູນ
ຂໍ້ມູນການຮັບປະກັນ
suevery provides a ຮັບປະກັນ 12 ເດືອນ for this monitor, covering manufacturing defects and malfunctions under normal use. Please retain your proof of purchase for warranty claims.
ການຊ່ວຍເຫຼືອລູກຄ້າ
If you encounter any damage, failure, or missing parts, or require technical assistance, please do not hesitate to contact suevery customer service. Our support team is available to assist you with any product-related inquiries.
For support, please refer to the contact information provided on the suevery official webເວັບໄຊ ຫຼືເວທີການຊື້ຂອງທ່ານ.