1. ບົດແນະນຳ
This manual provides essential information for the proper installation, operation, and maintenance of your Janome My Lock Serger Lower Looper. This component is crucial for forming the lower loop stitches in your serger, ensuring consistent and high-quality seams. Please read these instructions carefully before attempting any installation or adjustment.
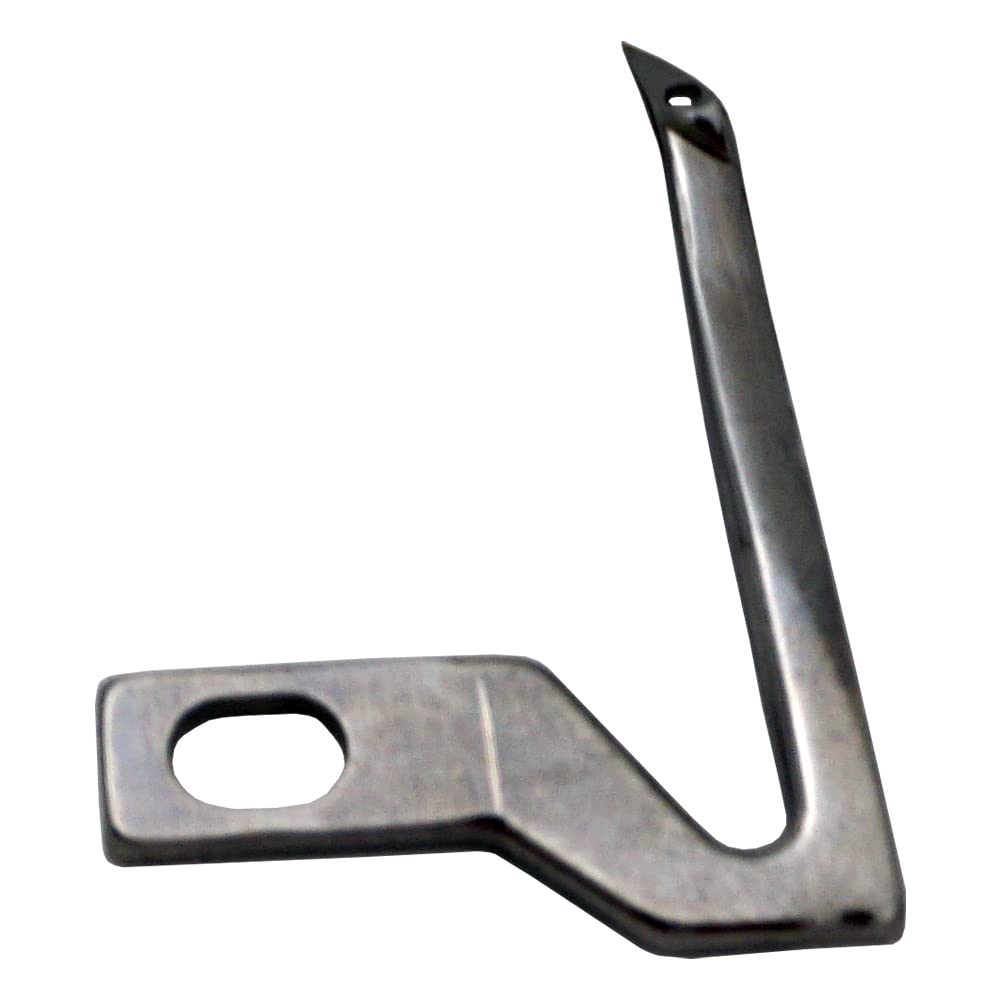
ຮູບພາບ 1.1: The Janome My Lock Serger Lower Looper. This component is designed for precise stitch formation in compatible serger models.
2. ຂໍ້ມູນຄວາມປອດໄພທີ່ສໍາຄັນ
- Always disconnect the serger from the power supply before installing, removing, or performing any maintenance on the lower looper.
- Use only genuine Janome replacement parts to ensure proper fit and function.
- Keep fingers and loose clothing away from moving parts, especially when the machine is powered on.
- If you are unsure about any step, consult a qualified service technician or refer to your serger's main instruction manual.
3. Installation of the Lower Looper
Follow these steps to correctly install or replace the lower looper in your Janome My Lock Serger:
- ປິດ ແລະຖອດປລັກ: Ensure the serger is turned off and unplugged from the electrical outlet.
- ເປີດຝາໜ້າ: Open the front and side covers of your serger to access the looper area. Refer to your serger's main manual for specific cover release mechanisms.
- Remove Old Looper (if applicable): If replacing an existing looper, carefully loosen the screw(s) holding the lower looper in place. Gently remove the old looper. Note its orientation for correct installation of the new part.
- Position New Looper: Place the new lower looper into its designated position. Ensure it aligns correctly with the mounting holes and other components. The tip of the looper should pass smoothly through the needle plate opening.
- Secure Looper: Insert and tighten the retaining screw(s) to secure the lower looper. Do not overtighten, as this can damage the part or the machine.
- ກວດສອບການເຄື່ອນໄຫວ: Manually turn the handwheel towards you to observe the looper's movement. It should move freely without obstruction and pass the needles correctly.
- ປິດຝາປິດ: Once the looper is securely installed and its movement verified, close the serger covers.
4. Looper Adjustment and Threading
After installation, proper threading and tension adjustment are critical for optimal performance.
4.1. Threading the Lower Looper
Refer to your serger's main instruction manual for the precise threading path for the lower looper. Generally, the lower looper thread path is color-coded for ease of use. Ensure the thread is seated correctly in all tension discs and guides.
- Always thread the lower looper first, followed by the upper looper, and then the needles.
- Ensure the thread is free of knots and tangles.
- Use the correct thread type and weight for your project.
4.2. Tension Adjustment
The lower looper tension dial controls the tightness of the lower looper thread. Adjust this dial in small increments to achieve balanced stitches. A balanced stitch will have the lower looper thread meeting the upper looper thread at the edge of the fabric.
- If the lower looper thread is too loose, loops will appear on the underside of the fabric. Increase the tension.
- If the lower looper thread is too tight, the fabric may pucker, or the thread may break. Decrease the tension.
5. ການບໍາລຸງຮັກສາແລະການດູແລ
Regular maintenance ensures the longevity and optimal performance of your lower looper and serger.
- ທໍາຄວາມສະອາດ: Periodically remove lint and thread buildup from around the lower looper area using a small brush or vacuum cleaner. Lint accumulation can impede looper movement and affect stitch quality.
- ການກວດກາ: Regularly inspect the lower looper for any signs of damage, such as bends, nicks, or wear. A damaged looper can cause skipped stitches or thread breakage.
- ການລະບາຍສີ: Refer to your serger's main manual for specific lubrication points. The lower looper mechanism may require a drop of sewing machine oil occasionally.
6. ການແກ້ໄຂບັນຫາທົ່ວໄປ
If you encounter problems related to the lower looper, consult the table below for potential solutions.
| ບັນຫາ | ສາເຫດທີ່ເປັນໄປໄດ້ | ການແກ້ໄຂ |
|---|---|---|
| Skipped stitches on the underside | Incorrectly installed looper, bent looper, improper threading, incorrect needle type. | Reinstall looper, replace bent looper, rethread machine, use correct needles. |
| Lower looper thread breaking | Too much tension, damaged looper, burr on thread path, poor quality thread. | Reduce tension, inspect/replace looper, check thread path for rough spots, use quality thread. |
| Loose loops on underside | Lower looper tension too low, incorrect threading. | Increase lower looper tension, rethread carefully. |
| Fabric puckering | Lower looper tension too high, differential feed setting. | Decrease lower looper tension, adjust differential feed. |
7. ຂໍ້ມູນຈໍາເພາະຂອງຜະລິດຕະພັນ
- ປະເພດສ່ວນ: ເຄື່ອງວົງແຫວນຕ່ຳ
- ຄວາມເຂົ້າກັນໄດ້: Janome My Lock Serger Models 1110DX, 134D, 204D, 634D, 644D, and other compatible Janome sergers.
- ວັດສະດຸ: Durable metal alloy
- ຟັງຊັນ: Forms the lower loop stitch for overlock seams.
8. ການຮັບປະກັນແລະການສະຫນັບສະຫນູນ
For information regarding the warranty of your Janome My Lock Serger Lower Looper, please refer to the documentation included with your original serger machine or visit the official Janome website. For technical support or further assistance, contact Janome customer service or an authorized Janome dealer.


