ແນະນຳ
This manual provides comprehensive instructions for the installation, operation, and maintenance of your Natec Cabassu G2 Midi Tower PC Case. Please read this manual thoroughly before beginning installation to ensure proper setup and optimal performance.
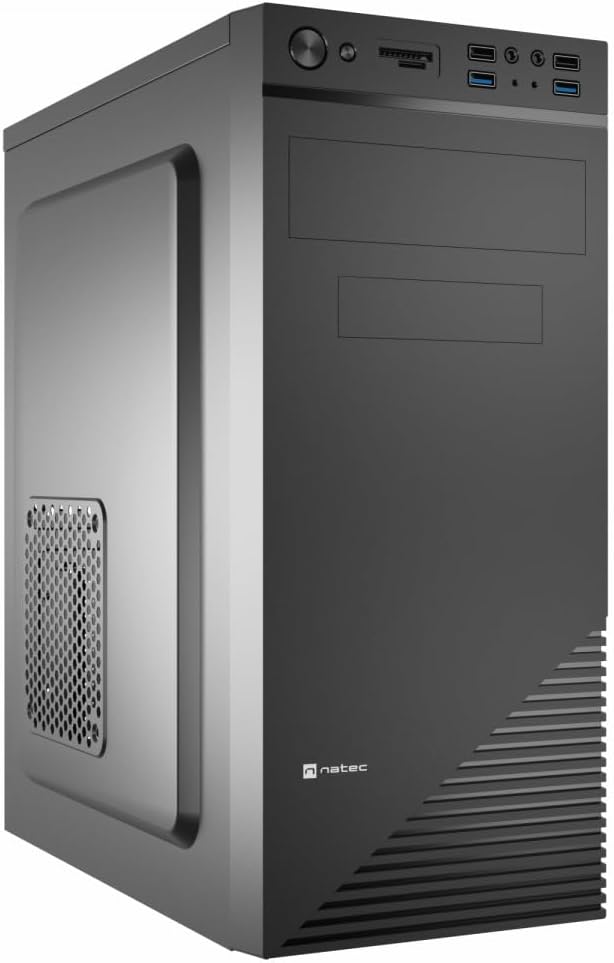
Figure 1: Natec Cabassu G2 Midi Tower PC Case. This image shows the front and left side of the black PC case, highlighting its sleek design and front panel layout.
ຂໍ້ມູນຄວາມປອດໄພ
- ສະເຫມີຕັດການເຊື່ອມຕໍ່ການສະຫນອງພະລັງງານຈາກເຕົ້າສຽບໃສ່ຝາກ່ອນທີ່ຈະຕິດຕັ້ງຫຼືເອົາອົງປະກອບໃດໆ.
- Handle components with care to prevent damage from static electricity.
- Keep the case away from water, moisture, and extreme temperatures.
- ຮັບປະກັນການລະບາຍອາກາດທີ່ເຫມາະສົມເພື່ອປ້ອງກັນຄວາມຮ້ອນເກີນ.
- Do not attempt to open the power supply unit.
ເນື້ອໃນຊຸດ
ກວດສອບວ່າລາຍການທັງຫມົດແມ່ນມີຢູ່ໃນຊຸດ:
- Natec Cabassu G2 Midi Tower PC Case
- Accessory kit (screws, standoffs, cable ties)
- ຄູ່ມືຜູ້ໃຊ້ (ເອກະສານນີ້)
Setup and Component Installation
1. ການກະກຽມກໍລະນີ
- ວາງກະເປົ໋າໄວ້ເທິງພື້ນຜິວທີ່ຮາບພຽງ ແລະ ໝັ້ນຄົງ.
- ເອົາແຜງດ້ານຂ້າງອອກໂດຍການໝຸນສະກູທີ່ຢູ່ດ້ານຫຼັງອອກ ແລະ ເລື່ອນແຜງໄປທາງຫຼັງ.

ຮູບ 2: ພາຍໃນ view of the Natec Cabassu G2 case with the side panel removed, illustrating the internal layout for component installation.
2. ການຕິດຕັ້ງເມນບອດ
- ຕິດຕັ້ງ I/O ໄສ້ເຂົ້າໄປໃນຊ່ອງເປີດດ້ານຫລັງຂອງກໍລະນີ.
- Align the motherboard with the pre-installed standoffs. The Cabassu G2 supports Mini ITX, Micro ATX, and ATX motherboards.
- ຮັບປະກັນ motherboard ດ້ວຍ screws ທີ່ສະຫນອງໃຫ້.
3. ການຕິດຕັ້ງການສະຫນອງພະລັງງານ
- ແຫຼ່ງຈ່າຍໄຟຕິດຕັ້ງຢູ່ທາງລຸ່ມຂອງເຄສ.
- Slide the power supply into its designated bay from the rear of the case.
- Secure it with screws from the rear.
4. ການຕິດຕັ້ງໄດຣຟ໌ເກັບຂໍ້ມູນ
- 2.5" Drives (SSDs/HDDs): The case features 3 x 2.5" drive bays. Mount drives using the provided screws in the designated locations.
- 3.5" Drives (HDDs): The case also supports 3.5" drives.
5. ການຕິດຕັ້ງບັດຂະຫຍາຍ
- Remove the necessary expansion slot covers from the rear of the case (7 expansion slots available).
- ໃສ່ກາດກຣາບຟິກ ຫຼື ບັດຂະຫຍາຍອື່ນໆຂອງທ່ານເຂົ້າໃນຊ່ອງ PCIe ຂອງເມນບອດ.
- ຮັດບັດໃຫ້ແໜ້ນດ້ວຍສະກູ.

ຮູບ 3: ດ້ານຫລັງ view of the Natec Cabassu G2 case, detailing the I/O shield cutout, power supply opening, and seven expansion slots.
6. ການຄຸ້ມຄອງສາຍໄຟ
Route cables behind the motherboard tray where possible to improve airflow and aesthetics. Use the included cable ties to secure bundles.
7. ການເຊື່ອມຕໍ່ສາຍ Panel Front
Connect the front panel cables (USB 2.0, USB 3.0, audio, power switch, reset switch, HDD LED, power LED) to the corresponding headers on your motherboard. Refer to your motherboard manual for exact pin assignments.

Figure 4: Close-up of the Natec Cabassu G2 front panel, showing 2x USB 2.0 ports, 2x USB 3.0 ports, audio jacks, and power/reset buttons.
ຄໍາແນະນໍາການດໍາເນີນງານ
ເປີດ/ປິດ
- ເປີດ: ກົດປຸ່ມເປີດປິດທີ່ຕັ້ງຢູ່ເທິງແຜງດ້ານຫນ້າ.
- ປິດພະລັງງານ: Initiate shutdown through your operating system. For a forced shutdown, press and hold the power button for several seconds.
- ຕັ້ງຄ່າ ໃໝ່: Press the reset button on the front panel to restart the system.
Using Front Panel Ports
ແຜງດ້ານໜ້າໃຫ້ການເຂົ້າເຖິງທີ່ສະດວກສະບາຍຕໍ່:
- 2 x USB 2.0 ພອດ
- 2 x USB 3.0 ພອດ
- Audio input (microphone) and output (headphone) jacks
Connect compatible devices to these ports as needed.
ບໍາລຸງຮັກສາ
ທໍາຄວາມສະອາດ
- Regularly clean the exterior of the case with a soft, damp ຜ້າ. ຫຼີກລ້ຽງການເຮັດຄວາມສະອາດຂັດ.
- Use compressed air to remove dust from fan filters and internal components. Ensure the system is powered off and unplugged before cleaning.
ການກັ່ນຕອງຂີ້ຝຸ່ນ
The case may include removable dust filters. Periodically remove and clean these filters to maintain optimal airflow and cooling performance.
ການແກ້ໄຂບັນຫາ
| ບັນຫາ | ສາເຫດທີ່ເປັນໄປໄດ້ | ການແກ້ໄຂ |
|---|---|---|
| ລະບົບບໍ່ເປີດ. | Power cables not connected properly. Faulty power supply. | Check all power connections (motherboard, CPU, GPU, power supply to wall). Ensure power supply switch is ON. |
| ພອດ USB ທີ່ແຜງດ້ານໜ້າບໍ່ເຮັດວຽກ. | Front panel USB cables not connected to motherboard. | Verify that the USB 2.0 and USB 3.0 headers are correctly connected to the motherboard. |
| ສຽງພັດລົມດັງເກີນໄປ. | Dust accumulation. Loose fan. | Clean dust from fans and filters. Ensure all fans are securely mounted. |
ຂໍ້ມູນຈໍາເພາະ
| ຄຸນສົມບັດ | ລາຍລະອຽດ |
|---|---|
| ຊື່ຕົວແບບ | Cabassu G2 |
| ໝາຍເລກຕົວແບບ | S5624687 |
| ປະເພດກໍລະນີ | ຫໍ Midi |
| ຂະໜາດ (LxWxH) | 19.69 x 19.69 x 11.02 ນິ້ວ (50 x 50 x 28 cm) |
| ນ້ຳໜັກ | 7.04 ປອນ (3.19 ກິໂລ) |
| ວັດສະດຸ | Acrylonitrile Butadiene Styrene (ABS), ເຫຼັກໂລຫະປະສົມ |
| ຄວາມເຂົ້າກັນໄດ້ຂອງເມນບອດ | Mini ITX, Micro ATX, ATX |
| ຊ່ອງຂັບ 2.5" | 3 |
| ສະລັອດຕິງຂະຫຍາຍ | 7 |
| ທ່າເຮືອທາງ ໜ້າ I / O | 2 x USB 2.0, 2 x USB 3.0, ສຽງເຂົ້າ/ອອກ |
| ສະຫນັບສະຫນູນພັດລົມ | 120mm (rear, pre-installed if applicable) |
| ວິທີການເຮັດຄວາມເຢັນ | ອາກາດ |
| ການຕິດຕັ້ງການສະຫນອງພະລັງງານ | ພູລຸ່ມ |
ຂໍ້ມູນການຮັບປະກັນ
Natec products are covered by a manufacturer's warranty. Specific warranty terms and conditions may vary by region and retailer. Please refer to the warranty card included with your product or visit the official Natec website for detailed information regarding warranty coverage and claims.
ສະຫນັບສະຫນູນ
For technical assistance, troubleshooting, or further inquiries, please visit the official Natec support webເວັບໄຊ ຫຼືຕິດຕໍ່ພະແນກບໍລິການລູກຄ້າຂອງເຂົາເຈົ້າ. ໂດຍທົ່ວໄປແລ້ວຂໍ້ມູນການຕິດຕໍ່ສາມາດພົບເຫັນຢູ່ໃນການຫຸ້ມຫໍ່ຜະລິດຕະພັນຫຼືຍີ່ຫໍ້ຢ່າງເປັນທາງການ webເວັບໄຊ.
Webເວັບໄຊ: www.natec-zone.com (ຕ. ຢample link, link ຕົວຈິງອາດຈະແຕກຕ່າງກັນ)


