ແນະນຳ
This manual provides detailed instructions for the setup, operation, and maintenance of your BISOFICE H5 Handheld POS Terminal. Please read this manual thoroughly before using the device to ensure proper functionality and to prevent damage. Keep this manual for future reference.
ສິນຄ້າເກີນview
The BISOFICE H5 is a versatile handheld POS terminal designed for various business applications, integrating a barcode scanner, thermal printer, and robust communication capabilities within an Android 8.1 operating system.
ຄຸນນະສົມບັດທີ່ສໍາຄັນ:
- Android 8.1 OS for smooth and stable operation.
- Compact and wireless design with a 2550mAh rechargeable battery.
- Built-in 58mm thermal receipt printer with a printing speed of over 75mm/s.
- Intelligent payment terminal with 3G, WiFi, BT4.0, and WCDMA network support.
- 2MP focus camera for 1D/2D barcode scanning.
- 5.0-inch IPS touchscreen display (1280x720 resolution).
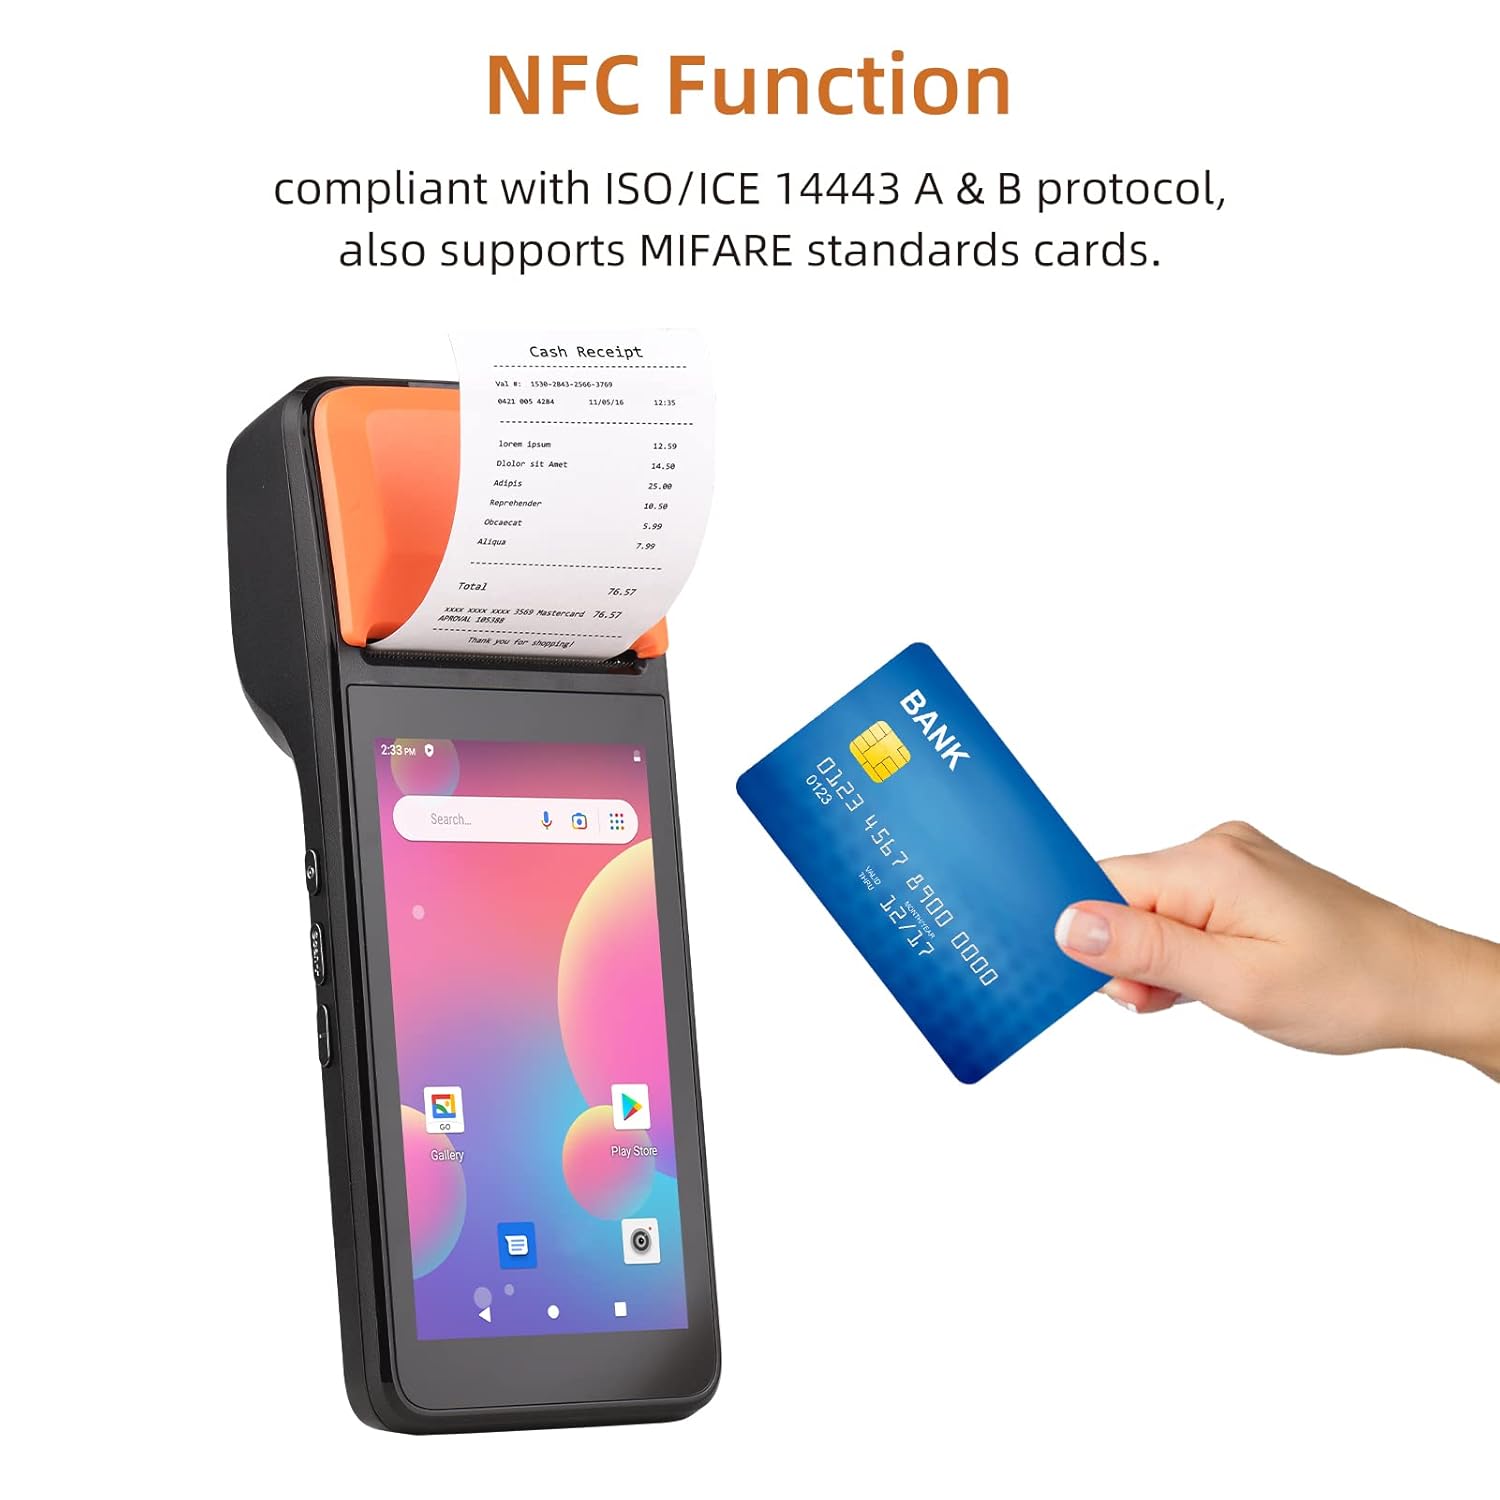
- NFC function compliant with ISO/ICE 14443 A & B protocol, supporting MIFARE standard cards.
ທົ່ວໄປ View:

ຂະໜາດອຸປະກອນ:

ການດໍາເນີນງານມືຖື:

ຟັງຊັນ NFC:
Thermal Printer Details:

Camera and Barcode Reader:

ຂໍ້ມູນຈໍາເພາະ
The following table details the technical specifications of the BISOFICE H5 Handheld POS Terminal:
| ຄຸນສົມບັດ | ລາຍລະອຽດ |
|---|---|
| ຕົວແບບ | H5 |
| CPU | MTK Dual CPU, 4-core 1.3GHz |
| ລະບົບປະຕິບັດການ | Android 8.1 |
| ຄວາມຊົງຈໍາ | ROM 8GB + RAM 1GB |
| ຈໍສະແດງຜົນ | 5.0" HD IPS (1280x720), G+FF features, Touch Screen |
| ເຄື່ອງພິມ | High-speed 58mm thermal printer, >75mm/s print speed, 58x40mm paper roll |
| ກ້ອງຫຼັງ | 2 million focus camera (2MP), supports 1D/2D barcode recognition |
| ແບັດເຕີຣີ | 8.8V, 2550mAh Lithium ion polymer Battery |
| ເວລາສາກໄຟ | 2 ຊົ່ວໂມງ |
| ເວລາປ່ອຍ | 30 ຊົ່ວໂມງ |
| ເວລາສະແຕນບາຍ | 85 ຊົ່ວໂມງ |
| ການສື່ສານໄຮ້ສາຍ | GSM: B2/B3/B5/B8; WCDMA: B1/B2/B5/B8 |
| WiFi | 2.4G, support IEEE 802.11 a/b/g/n |
| Bluetooth | BT2.1/3.0/4.0 BLE |
| NFC | Yes, compliant with ISO/ICE 14443 A & B protocol |
| ຊ່ອງໃສ່ຊິມກາດ | Standard SIM card holder |
| ການໂຕ້ຕອບການສື່ສານ | Type-C (supports OTG) |
| Charger Input/Output | Input: AC 100-240V, Output: 5V, 2A |
| ຂະໜາດ (LxWxH) | 20.83 x 7.62 x 8.89 cm |
| ນ້ໍາຫນັກລາຍການ | 499 g |
| ອົງປະກອບລວມ | PDA Machine, Type-C Cable, Thermal Paper Roll |

ຄູ່ມືການຕິດຕັ້ງ
1. ການສາກອຸປະກອນ
Before first use, fully charge the device. Connect the provided Type-C cable to the device's charging port and the other end to the AC adapter. Plug the adapter into a power outlet. The charging indicator will illuminate. A full charge takes approximately 2 hours.
2. Installing the SIM Card (Optional)
If you require 3G network connectivity, install a standard SIM card:
- Locate the SIM card slot, usually under the battery cover or on the side.
- Insert the standard SIM card into the slot with the metal contacts facing down, ensuring it clicks into place.
- ປິດຝາປິດຢ່າງປອດໄພ.
3. Loading Thermal Paper Roll
The device uses 58mm wide thermal paper rolls with a maximum diameter of 40mm.
- Open the printer cover by gently pushing the latch or button.
- Insert the thermal paper roll with the printing surface facing the print head. Ensure the paper feeds smoothly.
- Pull a small amount of paper out past the cutting edge.
- ປິດຝາເຄື່ອງພິມໃຫ້ແໜ້ນ ຈົນກວ່າມັນຈະກົດໃສ່ບ່ອນ.
4. ເປີດ / ປິດພະລັງງານ
- ເພື່ອເປີດເຄື່ອງ: Press and hold the power button (typically on the side) until the screen illuminates.
- ປິດເຄື່ອງ: Press and hold the power button until a power-off menu appears. Select "Power off" and confirm.
ຄໍາແນະນໍາການດໍາເນີນງານ
1. Basic Android Navigation
The BISOFICE H5 operates on Android 8.1. Navigate using the 5.0-inch touchscreen:
- ແຕະ: ເພື່ອເລືອກລາຍການ ຫຼືເປີດແອັບພລິເຄຊັນ.
- ປັດ: To scroll through lists or screens.
- ເມື່ອເຂົ້າຕາຈົນ: To zoom in or out (if supported by the application).
- ປຸ່ມຫນ້າທໍາອິດ: ກັບຄືນໄປໜ້າຈໍຫຼັກ.
- ປຸ່ມກັບຄືນ: ກັບໄປໜ້າຈໍກ່ອນໜ້າ.
- ປຸ່ມແອັບຫຼ້າສຸດ: ສະແດງຄໍາຮ້ອງສະຫມັກທີ່ໃຊ້ໃນບໍ່ດົນມານີ້.
2. ການເຊື່ອມຕໍ່ເຄືອຂ່າຍ
- Wi-Fi: ໄປທີ່ ການຕັ້ງຄ່າ > ເຄືອຂ່າຍ ແລະອິນເຕີເນັດ > Wi-Fi. ເປີດ Wi-Fi, ເລືອກເຄືອຂ່າຍທີ່ທ່ານຕ້ອງການ, ແລະໃສ່ລະຫັດຜ່ານຖ້າຖືກເຕືອນ.
- 3G/Mobile Data: If a SIM card is installed, go to ການຕັ້ງຄ່າ > ເຄືອຂ່າຍ ແລະອິນເຕີເນັດ > ເຄືອຂ່າຍມືຖື ແລະຮັບປະກັນວ່າຂໍ້ມູນມືຖືຖືກເປີດໃຊ້ງານແລ້ວ.
- Bluetooth: ໄປທີ່ ການຕັ້ງຄ່າ > ອຸປະກອນທີ່ເຊື່ອມຕໍ່ > Bluetooth. ເປີດ Bluetooth ເພື່ອຈັບຄູ່ກັບອຸປະກອນອື່ນ.
3. Using the Barcode Scanner
The device features a 2MP camera and CCD 1D reader for scanning barcodes.
- Open an application that supports barcode scanning (e.g., a POS application or a dedicated scanner app).
- Point the camera/scanner lens at the barcode, ensuring it is within the focus area.
- The device will typically emit a sound or vibrate upon successful scan.
4. Printing Receipts/Labels
The integrated thermal printer allows for quick printing of receipts or labels.
- Ensure thermal paper is correctly loaded.
- Within your POS or printing application, select the print option.
- Confirm print settings if prompted (e.g., number of copies).
- The device will automatically print the document. Tear off the receipt using the serrated edge.
5. Using NFC Function
The NFC function enables contactless transactions and data exchange.
- Ensure NFC is enabled in ການຕັ້ງຄ່າ > ອຸປະກອນທີ່ເຊື່ອມຕໍ່ > NFC.
- Open an application that supports NFC (e.g., a payment app).
- Hold the NFC-enabled card or device near the NFC reader area (typically near the printer section) until the transaction is confirmed.
ບໍາລຸງຮັກສາ
1. ທຳ ຄວາມສະອາດອຸປະກອນ
- ໃຊ້ຜ້າອ່ອນ, ແຫ້ງ, ແລະ ບໍ່ມີຂົນເພື່ອທຳຄວາມສະອາດດ້ານນອກຂອງອຸປະກອນ.
- For the touchscreen, use a screen cleaner specifically designed for electronic displays. Do not spray cleaner directly onto the screen.
- ຫຼີກເວັ້ນການນໍາໃຊ້ສານເຄມີທີ່ຮຸນແຮງ, ສານລະລາຍ, ຫຼືວັດສະດຸຂັດ.
2. Printer Head Maintenance
Regularly clean the thermal print head to ensure clear print quality.
- ປິດອຸປະກອນກ່ອນທີ່ຈະທໍາຄວາມສະອາດ.
- ເປີດຝາປິດເຄື່ອງພິມ.
- Gently wipe the print head with an alcohol swab or a soft cloth dampປະກອບດ້ວຍເຫຼົ້າ isopropyl.
- Allow the print head to dry completely before closing the cover and powering on the device.
3. ການດູແລຫມໍ້ໄຟ
- ຫຼີກເວັ້ນການເປີດເຜີຍອຸປະກອນກັບອຸນຫະພູມທີ່ຮຸນແຮງ.
- ຢ່າປະຖິ້ມຫມໍ້ໄຟເຕັມທີ່ເລື້ອຍໆ. ໄລ່ມັນກ່ອນທີ່ມັນຈະຫຼຸດລົງຕໍ່າເກີນໄປ.
- ຖ້າເກັບຮັກສາອຸປະກອນໄວ້ເປັນເວລາດົນ, ໃຫ້ສາກແບັດເຕີຣີໃຫ້ເຫຼືອປະມານ 50% ແລະ ເກັບຮັກສາໄວ້ໃນບ່ອນທີ່ເຢັນແລະແຫ້ງ.
ການແກ້ໄຂບັນຫາ
| ບັນຫາ | ສາເຫດທີ່ເປັນໄປໄດ້ | ການແກ້ໄຂ |
|---|---|---|
| ອຸປະກອນບໍ່ເປີດ. | Low battery; device crash. | Charge the device for at least 30 minutes. If still unresponsive, perform a forced restart (refer to device documentation for specific key combination, usually holding power button for 10-15 seconds). |
| ບໍ່ສາມາດພິມໄດ້. | No paper; paper jammed; printer cover not closed; print head dirty; application error. | Check and load paper. Clear any paper jams. Ensure printer cover is securely closed. Clean the print head. Restart the printing application or the device. |
| ຄຸນນະພາບການພິມບໍ່ດີ. | Dirty print head; low quality thermal paper; paper loaded incorrectly. | Clean the print head. Use high-quality thermal paper. Ensure paper is loaded correctly with the thermal side facing the print head. |
| ເຄື່ອງສະແກນບາໂຄດບໍ່ເຮັດວຽກ. | Poor lighting; barcode damaged; scanner lens dirty; application not active. | Ensure adequate lighting. Check barcode for damage. Clean the scanner lens. Ensure the scanning application is open and active. |
| No network connection (Wi-Fi/3G). | Wi-Fi/Mobile data off; incorrect password; out of range; SIM card issue. | Check Wi-Fi/Mobile data settings. Re-enter Wi-Fi password. Move closer to the Wi-Fi router. Reinsert SIM card or check its activation status. |
ການຮັບປະກັນແລະການສະຫນັບສະຫນູນ
For warranty information and technical support, please refer to the warranty card included with your product or contact BISOFICE customer service through their official website or the retailer where the product was purchased. Please have your product model (H5) and serial number ready when contacting support.


