1. ບົດແນະນຳ
This manual provides essential instructions for the safe and effective operation of your AGFA Photo Realishot DC5200 compact digital camera. Please read this manual thoroughly before using the camera and retain it for future reference.

ຮູບ 1: ດ້ານຫນ້າ view of the AGFA Photo Realishot DC5200 compact camera.

Figure 2: AGFA Photo Realishot DC5200 highlighting 21MP photo resolution and HD video capability.
2. ເນື້ອໃນຊຸດ
Verify that all items listed below are included in your camera package:
- AGFA Photo Realishot DC5200 Camera
- ສາຍ USB
- ຄູ່ມືຜູ້ໃຊ້ (ເອກະສານນີ້)
- ແບັດເຕີຣີ Lithium ທີ່ສາມາດສາກໄດ້
3. ອົງປະກອບກ້ອງຖ່າຍຮູບ
3.1 ແນວ ໜ້າ View
The front of the camera features the lens, flash, and self-timer lamp.
3.2 ດ້ານຫຼັງ View (ຈໍ LCD)
The rear of the camera is dominated by the 2.4-inch TFT LCD screen, used for framing shots, reviewໃນຮູບພາບ, ແລະການນໍາທາງເມນູ.

ຮູບ 3: ດ້ານຫລັງ view of the camera displaying the 2.4-inch LCD screen.
3.3 ດ້ານເທິງແລະດ້ານຂ້າງ Views
The top and sides house the power button, shutter button, zoom controls, and ports for connectivity.
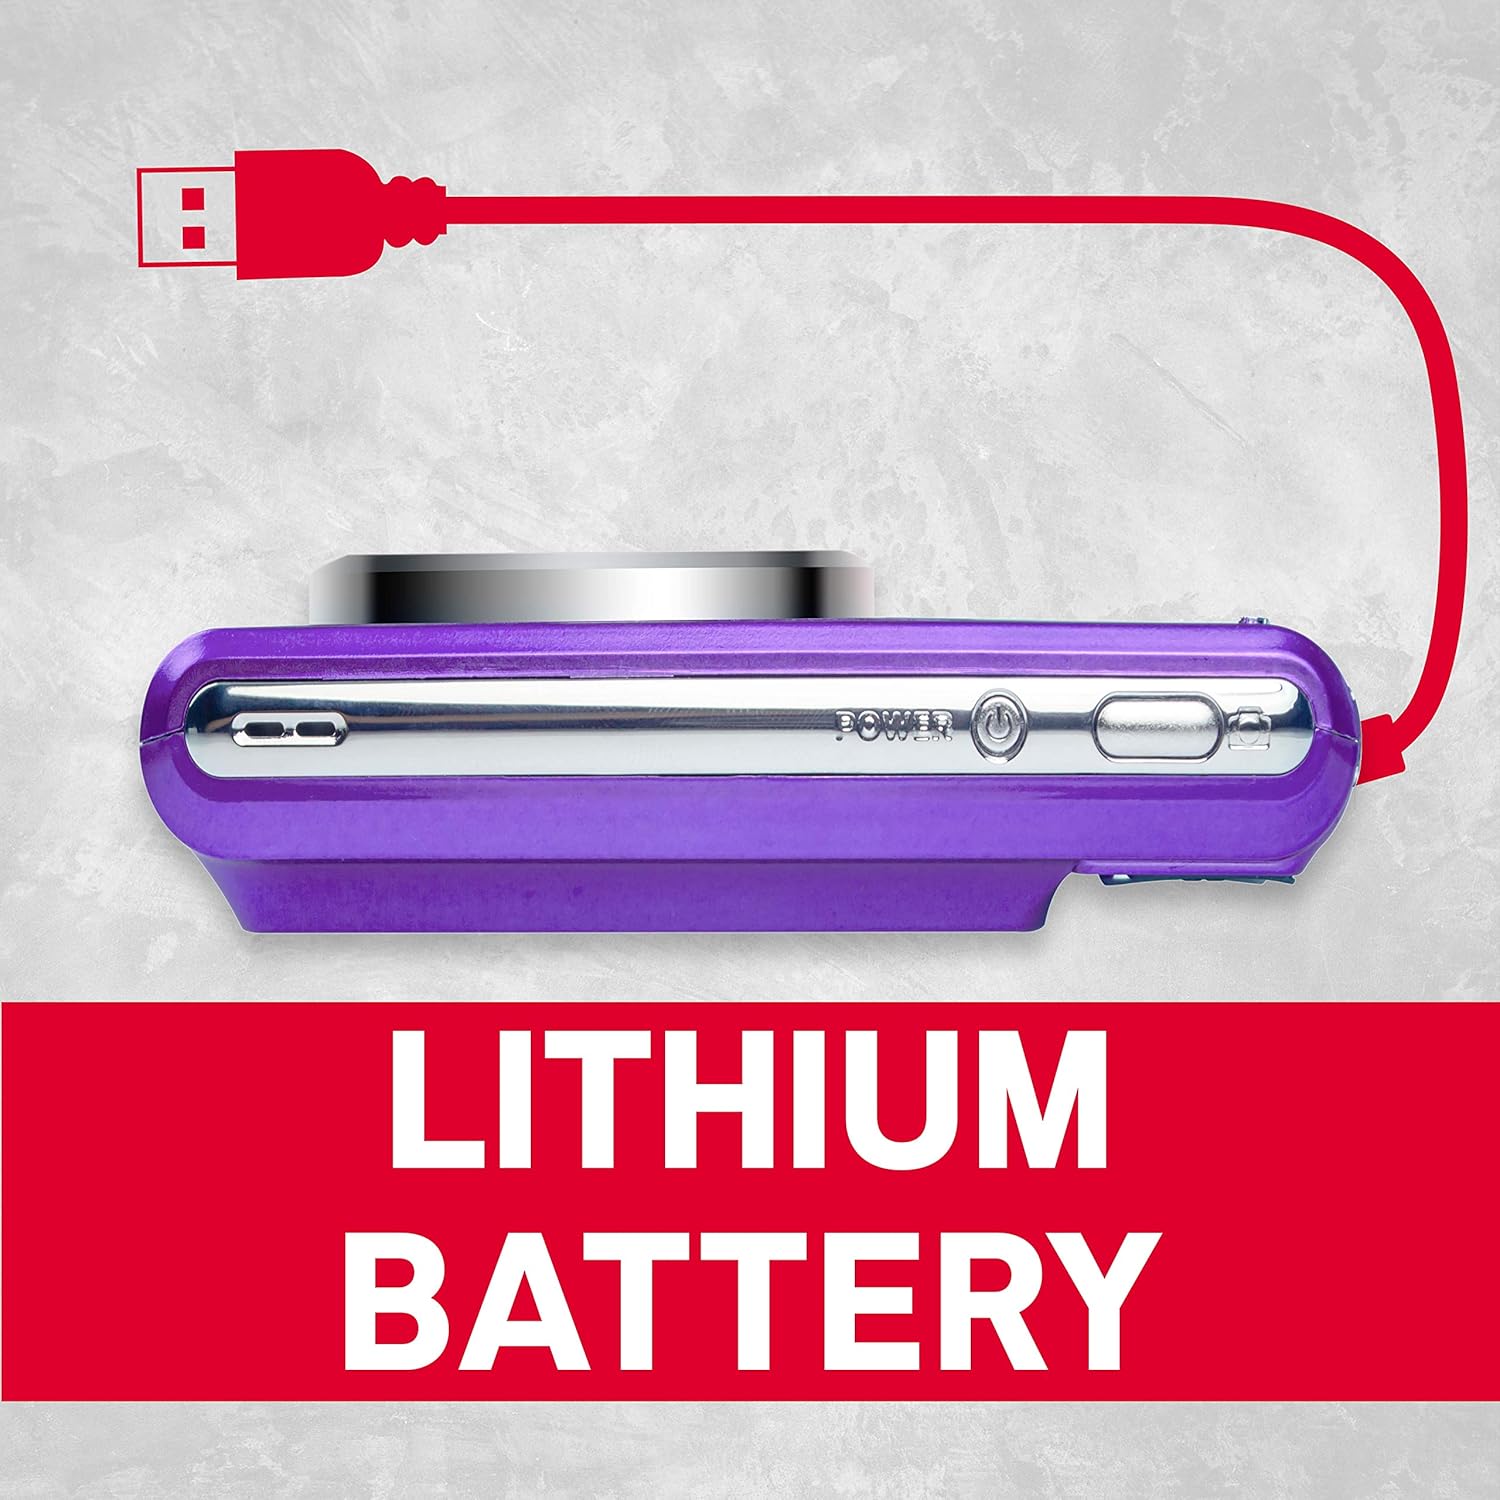
ຮູບ 4: ຂ້າງ view of the camera showing the USB port for charging and data transfer.
4. ການຕິດຕັ້ງເບື້ອງຕົ້ນ
4.1 ການສາກແບັດເຕີຣີ
- Insert the provided lithium battery into the battery compartment, ensuring correct polarity.
- Connect the camera to a power source using the supplied USB cable. The charging indicator will illuminate.
- ການສາກໄຟສຳເລັດແລ້ວເມື່ອໄຟຊີ້ບອກປິດ.
4.2 ການໃສ່ SD Card
The camera supports SD cards up to 32 GB (not included). A memory card is required to save photos and videos.
- ເປີດຝາປິດຊ່ອງສຽບ SD card.
- ໃສ່ SD card ໂດຍໃຫ້ດ້ານໂລຫະຫັນໜ້າໄປໃນທິດທາງທີ່ຖືກຕ້ອງຈົນກວ່າມັນຈະເຂົ້າທີ່.
- ປິດຝາປິດຊ່ອງສຽບກາດ SD ຢ່າງປອດໄພ.
5. ການດໍາເນີນງານພື້ນຖານ
5.1 ເປີດ/ປິດ
ກົດຄ້າງໄວ້ ພະລັງງານ ປຸ່ມເພື່ອເປີດຫຼືປິດກ້ອງຖ່າຍຮູບ.
5.2 ການຖ່າຍຮູບ
- ເປີດກ້ອງຖ່າຍຮູບ.
- ຂອບຮູບຂອງທ່ານໂດຍໃຊ້ຈໍ LCD.
- ກົດ ຊັດເຕີ ກົດປຸ່ມເຄິ່ງທາງເພື່ອໂຟກັສ, ຈາກນັ້ນກົດລົງສຸດເພື່ອຖ່າຍຮູບ.
5.3 ການບັນທຶກວິດີໂອ
- Switch to video mode (if applicable, refer to on-screen menu).
- ກົດ ຊັດເຕີ ປຸ່ມເພື່ອເລີ່ມຕົ້ນການບັນທຶກ.
- ກົດ ຊັດເຕີ ປຸ່ມອີກເທື່ອ ໜຶ່ງ ເພື່ອຢຸດການບັນທຶກ.
5.4 ການນໍາໃຊ້ Digital Zoom
The camera features 8x digital zoom. Use the zoom controls (typically labeled W for Wide and T for Telephoto) to adjust the focal length.

ຮູບທີ 5: ຕົວຢ່າງample of 8x digital zoom capability.
5.5 ໂໝດສາກ
The camera offers various scene modes to optimize settings for different shooting conditions. Common modes include:
- ແບບອັດຕະໂນມັດ: General purpose shooting.
- ໂໝດກາງຄືນ: For low-light environments.
- ໂໝດຫາດຊາຍ: For bright, reflective scenes.
Access scene modes through the camera's menu system.

Figure 6: Visual representation of different scene modes available on the camera.
6. ຄຸນສົມບັດຂັ້ນສູງ
6.1 ການກວດຫາໃບໜ້າ
The camera can automatically detect faces in the frame and optimize focus and exposure for portraits.

Figure 7: Camera demonstrating face detection technology.
6.2 Digital Image Stabilization
This feature helps reduce blur caused by camera shake, resulting in clearer images, especially in challenging conditions.
6.3 ຕົວຕັ້ງເວລາຕົນເອງ
Set a delay of 2, 5, or 10 seconds before the shutter fires, useful for self-portraits or group photos.
6.4 Red-Eye Reduction Flash
When using the flash, this feature emits a pre-flash to minimize the red-eye effect in portraits.
7. Viewໃນຮູບພາບແລະວິດີໂອ
ກັບຄືນມາview ຮູບພາບ ແລະ ວິດີໂອທີ່ບັນທຶກໄວ້:
- ກົດ ຫຼິ້ນຄືນ ປຸ່ມ (ມັກຈະສະແດງໂດຍໄອຄອນຫຼິ້ນ).
- Use the directional buttons to navigate through your files.
- ກົດ OK or ເຂົ້າ ປຸ່ມ view ຮູບພາບ ຫຼືຫຼິ້ນວິດີໂອ.
8. ການໂອນຍ້າຍ Files ກັບຄອມພິວເຕີ
You can transfer photos and videos to a computer using the supplied USB cable.
- ໃຫ້ແນ່ໃຈວ່າກ້ອງຖ່າຍຮູບປິດຢູ່.
- ເຊື່ອມຕໍ່ກ້ອງຖ່າຍຮູບກັບຄອມພິວເຕີຂອງທ່ານໂດຍໃຊ້ສາຍ USB.
- Power on the camera. It should appear as a removable disk or device on your computer.
- ຄັດລອກທີ່ຕ້ອງການ files ຈາກກາດຫນ່ວຍຄວາມຈໍາຂອງກ້ອງຖ່າຍຮູບກັບຄອມພິວເຕີຂອງທ່ານ.
- Safely eject the camera from your computer before disconnecting the USB cable.
9. ການດູແລແລະບໍາລຸງຮັກສາ
- Keep the camera clean. Use a soft, dry cloth to wipe the camera body.
- For the lens and LCD screen, use a specialized lens cleaning cloth. Avoid harsh chemicals.
- ເກັບຮັກສາກ້ອງຖ່າຍຮູບໄວ້ໃນບ່ອນທີ່ເຢັນ, ແຫ້ງ, ຫ່າງຈາກແສງແດດໂດຍກົງ ແລະອຸນຫະພູມທີ່ຮຸນແຮງ.
- ເອົາແບດເຕີຣີອອກຖ້າກ້ອງຖ່າຍຮູບຈະບໍ່ຖືກໃຊ້ເປັນໄລຍະເວລາທີ່ຍາວນານ.
10. ການແກ້ໄຂບັນຫາ
| ບັນຫາ | ສາເຫດທີ່ເປັນໄປໄດ້ | ການແກ້ໄຂ |
|---|---|---|
| ກ້ອງຖ່າຍຮູບບໍ່ເປີດ. | ແບັດເຕີຣີໝົດ ຫຼືໃສ່ເຂົ້າບໍ່ຖືກຕ້ອງ. | ສາກແບັດເຕີຣີໃຫ້ເຕັມ. ກວດໃຫ້ແນ່ໃຈວ່າໃສ່ແບັດດ້ວຍຂົ້ວທີ່ຖືກຕ້ອງ. |
| ບໍ່ສາມາດຖ່າຍຮູບໄດ້. | ບັດ SD ເຕັມ, ຖືກລັອກ ຫຼື ບໍ່ໄດ້ໃສ່. | Insert an SD card, unlock it, or delete unnecessary files. |
| ຮູບພາບແມ່ນມົວ. | ການສັ່ນຂອງກ້ອງຖ່າຍຮູບ, ການເຄື່ອນໄຫວຂອງວັດຖຸ ຫຼື ການໂຟກັສທີ່ບໍ່ຖືກຕ້ອງ. | Hold the camera steady. Ensure adequate lighting. Use digital image stabilization. |
| Flash ບໍ່ໄຟ. | ແຟລດຖືກປິດໃຊ້ງານ ຫຼື ແບັດເຕີຣີອ່ອນ. | Enable flash in settings. Recharge battery. |
11. ຂໍ້ກໍານົດດ້ານວິຊາການ
- ຄວາມລະອຽດຮູບ: 21 ລ້ານພິກເຊລ
- ຄວາມລະອຽດວິດີໂອ: 720p HD (1280x720)
- ຈໍ LCD: ຈໍ LCD TFT 2.4 ນິ້ວ
- ຊູມດິຈິຕອນ: 8x
- ສະຖຽນລະພາບຮູບພາບ: ດິຈິຕອລ
- ຄຸນນະສົມບັດພິເສດ: Face Detection, Self-Timer (2s/5s/10s), Red-Eye Reduction Flash
- ແບັດເຕີຣີ: ແບັດເຕີຣີ Lithium ທີ່ສາມາດສາກໄດ້
- ການເກັບຮັກສາ: Supports SD Card up to 32 GB (not included)
- ສະຫນັບສະຫນູນ File ຮູບແບບ: JPEG (photos), AVI (videos)
- ຂະໜາດຜະລິດຕະພັນ: 3.74 x 2.28 x 1.06 ນິ້ວ
- ນ້ໍາຫນັກລາຍການ: 3.14 ອອນ

ຮູບ 8: ເກີນview of key camera features and specifications.
12. ການຮັບປະກັນແລະການສະຫນັບສະຫນູນ
For warranty information and customer support, please refer to the documentation provided with your purchase or visit the official AgfaPhoto webເວັບໄຊ. ຮັກສາຫຼັກຖານການຊື້ຂອງທ່ານສໍາລັບການຮ້ອງຂໍການຮັບປະກັນ.


