1. ບົດແນະນຳ
Thank you for choosing the Acer Vero CB272P6bmiprx Full-HD Office Monitor. This manual provides essential information for the safe and efficient use of your new monitor. Please read these instructions carefully before installation and operation, and retain them for future reference.
2. ຂໍ້ມູນຄວາມປອດໄພ
- ວາງຈໍພາບຢູ່ເທິງພື້ນຜິວທີ່ມີລະດັບຄວາມໝັ້ນຄົງສະເໝີເພື່ອປ້ອງກັນບໍ່ໃຫ້ມັນຕົກ.
- ຮັບປະກັນການລະບາຍອາກາດທີ່ເຫມາະສົມຮອບຈໍ. ຫ້າມປິດຊ່ອງລະບາຍອາກາດ.
- ໃຊ້ພຽງແຕ່ອະແດັບເຕີໄຟ ແລະສາຍທີ່ໃຫ້ມາກັບຈໍພາບເທົ່ານັ້ນ.
- ຢ່າເຮັດໃຫ້ຈໍສະແດງຜົນຖືກຝົນຫຼືຄວາມຊຸ່ມຊື່ນເພື່ອຫຼີກເວັ້ນການຖືກໄຟຟ້າຊອດ.
- ຫຼີກເວັ້ນການວາງຈໍພາບຢູ່ໃກ້ກັບແຫຼ່ງຄວາມຮ້ອນ ຫຼືຢູ່ໃນແສງແດດໂດຍກົງ.
- ໃຫ້ຖອດສາຍໄຟອອກຈາກປລັກກ່ອນການທຳຄວາມສະອາດ ຫຼື ຖ້າຈໍພາບຈະບໍ່ໄດ້ໃຊ້ເປັນເວລາດົນນານ.
3. ເນື້ອໃນຊຸດ
ກວດສອບວ່າລາຍການທັງຫມົດແມ່ນມີຢູ່ໃນຊຸດຂອງທ່ານ:
- Acer Vero CB272P6bmiprx Monitor
- Monitor Stand (ຖານ ແລະ ຄໍ)
- ສາຍໄຟ
- ສາຍ HDMI
- ສາຍ DisplayPort
- ສາຍ USB Upstream
- ຄູ່ມືເລີ່ມຕົ້ນດ່ວນ
4. ຕັ້ງຄ່າ
4.1 ການປະກອບ Monitor Stand
- ເອົາຈໍພາບອອກຈາກການຫຸ້ມຫໍ່ຢ່າງລະມັດລະວັງ, ໂດຍຮັກສາໃຫ້ມັນປອດໄພ.
- ແນບຄໍຂາຕັ້ງໃສ່ກັບແຜງຈໍພາບ. ໃຫ້ແນ່ໃຈວ່າມັນກົດຢ່າງປອດໄພເຂົ້າໄປໃນສະຖານທີ່ຫຼືໄດ້ຖືກ fastened ດ້ວຍ screws ຖ້າຫາກວ່າໄດ້ສະຫນອງໃຫ້.
- ຕິດຖານຂາຕັ້ງເຂົ້າກັບຄໍຂາຕັ້ງ. ຂັນສະກູນິ້ວໂປ້ ຫຼື ສະກູຈາກດ້ານລຸ່ມຂອງຖານໃຫ້ແໜ້ນ.
- ວາງຈໍພາບທີ່ປະກອບໄວ້ເທິງໂຕະ ຫຼືພື້ນຜິວທີ່ໝັ້ນຄົງ.

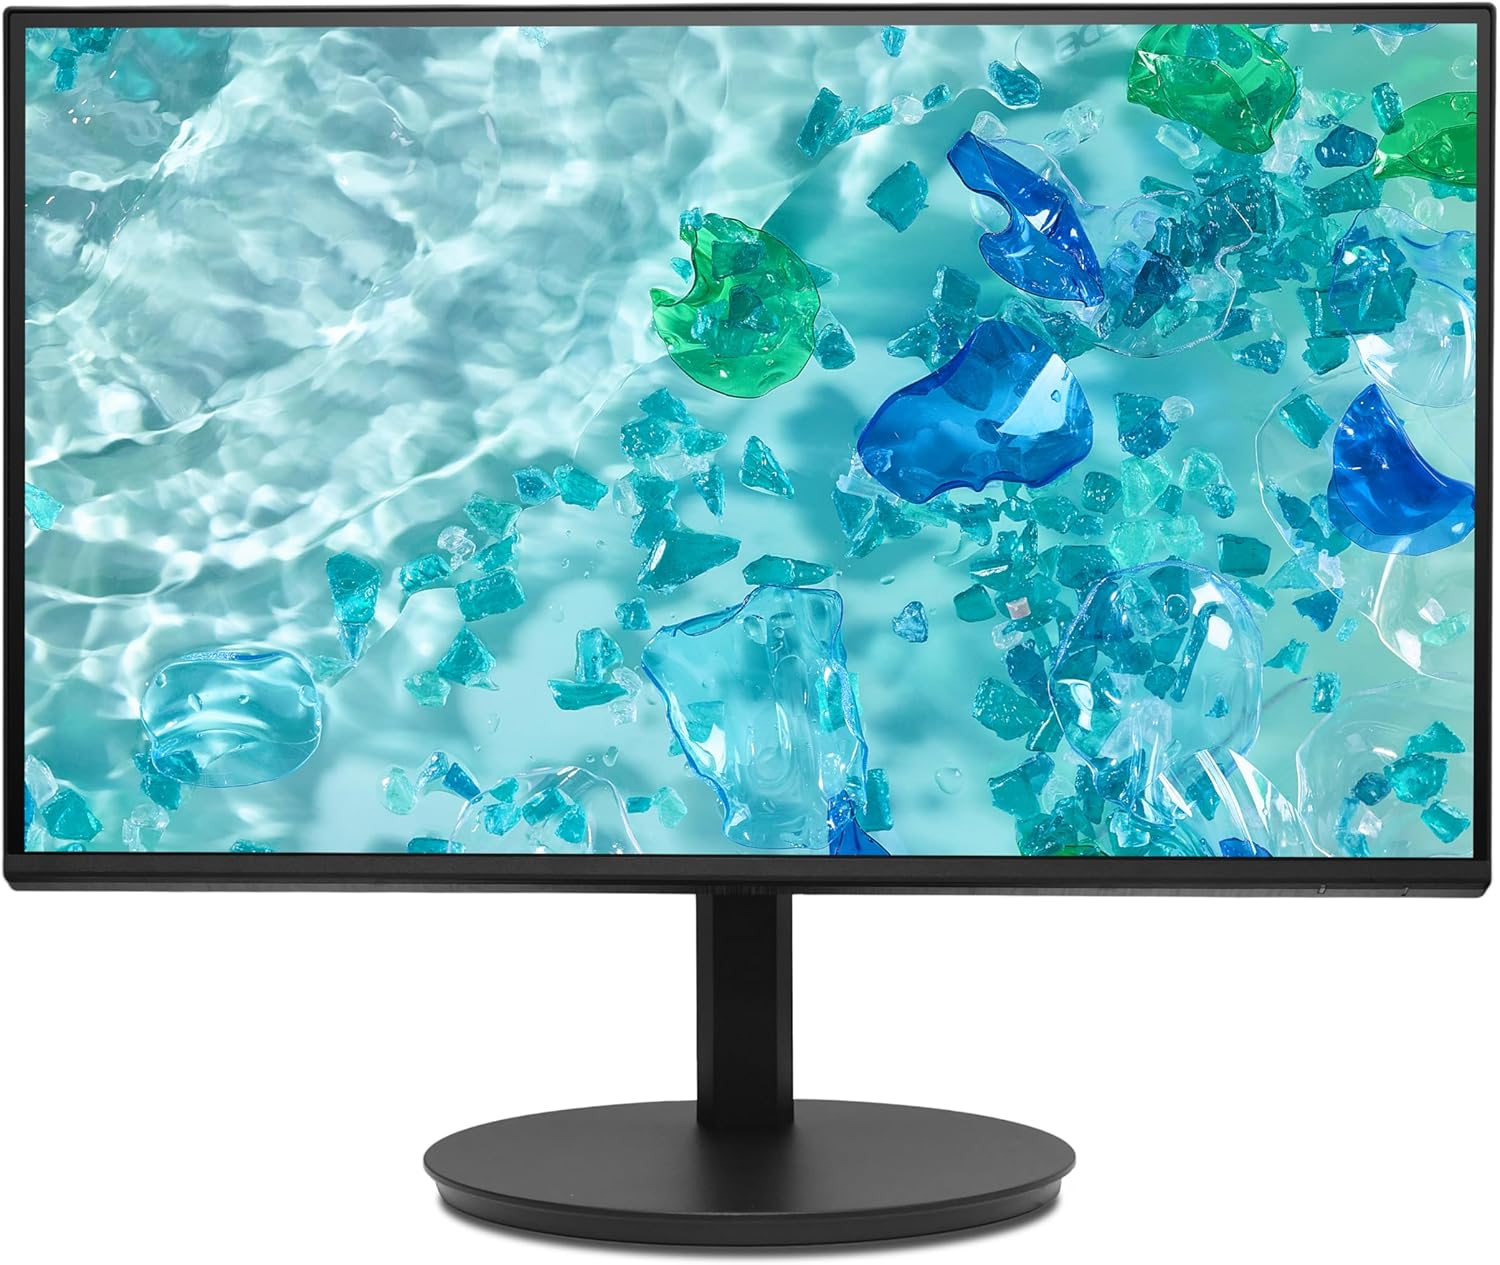
ຮູບພາບ 1: ດ້ານຫນ້າ view of the Acer Vero CB272P6bmiprx monitor on its stand.
4.2 ສາຍເຊື່ອມຕໍ່
- ການເຊື່ອມຕໍ່ພະລັງງານ: ເຊື່ອມຕໍ່ສາຍໄຟເຂົ້າກັບຊ່ອງສຽບໄຟຂອງຈໍພາບ, ຈາກນັ້ນສຽບປາຍອີກດ້ານໜຶ່ງເຂົ້າກັບປລັກໄຟ.
- ການເຊື່ອມຕໍ່ວິດີໂອ: Connect one end of your preferred video cable (HDMI, DisplayPort, or VGA) to the corresponding port on the monitor and the other end to your computer's graphics card. For optimal performance, DisplayPort or HDMI is recommended.
- ການເຊື່ອມຕໍ່ USB: If you wish to use the monitor's USB ports, connect the USB upstream cable from the monitor to an available USB port on your computer.
ຮູບພາບ 2: ດ້ານຫລັງ view of the Acer Vero CB272P6bmiprx monitor, highlighting the input ports for power, video, and USB.
5. ການເຮັດວຽກ
5.1 ເປີດ/ປິດ
Press the power button, usually located on the back or bottom right side of the monitor, to turn the monitor on or off. The power indicator light will illuminate when the monitor is on.
5.2 ເມນູການສະແດງເທິງໜ້າຈໍ (OSD).
The OSD menu allows you to adjust various monitor settings. Use the control buttons (joystick or individual buttons) typically located on the back or bottom of the monitor to navigate the menu.
- ປ້ອນຂໍ້ມູນ: Select the active video input source (HDMI, DisplayPort, VGA).
- ຮູບ: ປັບຄວາມສະຫວ່າງ, ກົງກັນຂ້າມ, ຄວາມຄົມຊັດ, ແລະອຸນຫະພູມສີ.
- ສີ: Fine-tune color settings, including gamma and sRGB mode.
- ສຽງ: Adjust speaker volume or mute.
- OSD: ປ່ຽນພາສາ OSD, ຄວາມໂປ່ງໃສ ແລະໝົດເວລາ.
5.3 Using the Integrated Speakers
The monitor features integrated speakers. Adjust the volume through the OSD menu or your computer's audio settings. Ensure your computer's audio output is directed to the monitor if using HDMI or DisplayPort for audio transmission.
6. ບໍາລຸງຮັກສາ
6.1 ການທໍາຄວາມສະອາດ Monitor
- ໜ້າຈໍ: ເຊັດໜ້າຈໍຢ່າງອ່ອນໂຍນດ້ວຍຜ້າອ່ອນໆ, ບໍ່ມີເຈັ້ຍ. ສໍາລັບຮອຍແຂງ, ເລັກນ້ອຍ dampໃສ່ຜ້າດ້ວຍນ້ໍາຫຼືເຄື່ອງເຮັດຄວາມສະອາດຫນ້າຈໍທີ່ບໍ່ມີການຂັດ. ຢ່າສີດນໍ້າໂດຍກົງໃສ່ໜ້າຈໍ.
- Casing: ໃຊ້ຜ້າປຽກແຫ້ງເພື່ອເຮັດຄວາມສະອາດຈໍສະແດງຜົນ casinຊ. ຫຼີກລ່ຽງການໃຊ້ຜົງຊັກຟອກ ຫຼື ຕົວລະລາຍທີ່ແຮງ.
6.2 ການເກັບຮັກສາ
ຖ້າເກັບຮັກສາຈໍພາບໄວ້ເປັນເວລາດົນ, ໃຫ້ຖອດສາຍເຄເບີນທັງໝົດອອກ, ບັນຈຸມັນໄວ້ໃນບັນຈຸພັນເດີມ ຖ້າເປັນໄປໄດ້, ແລະເກັບຮັກສາໄວ້ໃນບ່ອນທີ່ເຢັນ, ແຫ້ງແລ້ງຫ່າງຈາກແສງແດດໂດຍກົງ ແລະ ອຸນຫະພູມທີ່ຮ້າຍກາດ.
7. ການແກ້ໄຂບັນຫາ
ຖ້າເຈົ້າພົບບັນຫາກັບຈໍພາບຂອງເຈົ້າ, ໃຫ້ອ້າງອີງເຖິງບັນຫາ ແລະວິທີແກ້ໄຂບັນຫາທົ່ວໄປຕໍ່ໄປນີ້:
| ບັນຫາ | ການແກ້ໄຂທີ່ເປັນໄປໄດ້ |
|---|---|
| ບໍ່ມີພະລັງງານ | ກວດສອບວ່າສາຍໄຟໄດ້ເຊື່ອມຕໍ່ກັບທັງຈໍພາບ ແລະ ປລັກໄຟຢ່າງແໜ້ນໜາແລ້ວຫຼືບໍ່. ໃຫ້ແນ່ໃຈວ່າປລັກໄຟໃຊ້ງານໄດ້. |
| ບໍ່ມີສັນຍານ | Verify that the video cable is correctly connected to both the monitor and the computer. Select the correct input source using the OSD menu. Ensure the computer is powered on and not in sleep mode. |
| ຮູບພາບຖືກບິດເບືອນ ຫຼືມົວ | Check the video cable connection. Adjust resolution and refresh rate settings on your computer to match the monitor's native resolution (1920x1080) and refresh rate (144Hz). |
| ບໍ່ມີສຽງຈາກ ລຳ ໂພງ | Ensure the audio cable (if separate) is connected, or if using HDMI/DP, check your computer's audio output settings. Adjust the monitor's volume via the OSD menu. |
8. ຂໍ້ມູນຈໍາເພາະ
Key technical specifications for the Acer Vero CB272P6bmiprx monitor:
| ຄຸນສົມບັດ | ຂໍ້ມູນຈໍາເພາະ |
|---|---|
| ຍີ່ຫໍ້ | ເອເຊີ |
| ໝາຍເລກຕົວແບບ | Vero CB272P6bmiprx |
| ຂະໜາດໜ້າຈໍ | 27 ນິ້ວ (68.6 ຊມ) |
| ຄວາມລະອຽດ | Full-HD (1920 x 1080) |
| ປະເພດແຜງ | IPS |
| ອັດຕາການໂຫຼດຂໍ້ມູນຄືນໃໝ່ | 144 Hz |
| ສີ Gamut | 99% sRGB |
| ເວລາຕອບສະຫນອງ | 1 Millisecond (VRB) |
| ອັດຕາສ່ວນ | 16:9 |
| ວິດີໂອປ້ອນຂໍ້ມູນ | 1x HDMI (1.4), 1x DisplayPort (1.2), 1x VGA |
| ພອດ USB | 4 (USB 3.0) |
| ລໍາໂພງ | ປະສົມປະສານ |
| ສະບັບtage | 230 ໂວນ |
| ນ້ໍາຫນັກລາຍການ | 5.61 ກິໂລກຣາມ |
9. ການຮັບປະກັນແລະການສະຫນັບສະຫນູນ
Your Acer Vero CB272P6bmiprx monitor comes with a standard manufacturer's warranty. For detailed warranty terms, conditions, and registration, please refer to the warranty card included in your package or visit the official Acer support webເວັບໄຊ.
For technical assistance, driver downloads, or further support, please visit the Acer support webສະຖານທີ່ຢູ່ www.acer.com/support.