1. ບົດແນະນຳ
The Audio-Technica PRO24CM is a lightweight, compact stereo condenser microphone designed for digital recording with high-fidelity stereo sound. It is optimized for use with camcorders that feature an accessory shoe and a stereo microphone input. The microphone utilizes a pair of cardioid elements in an X-Y configuration to capture the spatial impact and realism of a live sound field.
This manual provides essential information for the proper setup, operation, and maintenance of your PRO24CM microphone.
2. ເນື້ອໃນຊຸດ
ກວດສອບວ່າທຸກລາຍການດັ່ງຕໍ່ໄປນີ້ແມ່ນລວມຢູ່ໃນຊຸດຂອງທ່ານ:
- PRO24CM Stereo Condenser Microphone with permanently attached 6-12 inch coiled cable and right-angle 3.5 mm stereo mini plug
- Video-camera shoe mount
- LR44 battery (1.5V)
- ແວ່ນກັນລົມ
- ກະເປົ໋າປ້ອງກັນອ່ອນໆ

Image: Included accessories for the PRO24CM microphone.
3. ຕັ້ງຄ່າ
3.1 ການຕິດຕັ້ງຫມໍ້ໄຟ
The PRO24CM can operate on a 1.5V LR44 battery or via plug-in power from your camcorder. If your camcorder does not provide plug-in power, battery installation is required.
- Locate the battery compartment on the microphone body.
- ເປີດຊ່ອງໃສ່ຢ່າງລະມັດລະວັງ.
- Insert one LR44 battery, ensuring correct polarity (+/-).
- ປິດຊ່ອງໃສ່ຫມໍ້ໄຟຢ່າງປອດໄພ.
Image: The LR44 battery for microphone power.
3.2 ການຕິດຕັ້ງໄມໂຄຣໂຟນ
The PRO24CM is designed to attach to a camcorder's accessory shoe.
- Slide the video-camera shoe mount onto your camcorder's accessory shoe.
- Secure the mount by tightening its locking mechanism.
- Insert the microphone into the shoe mount.
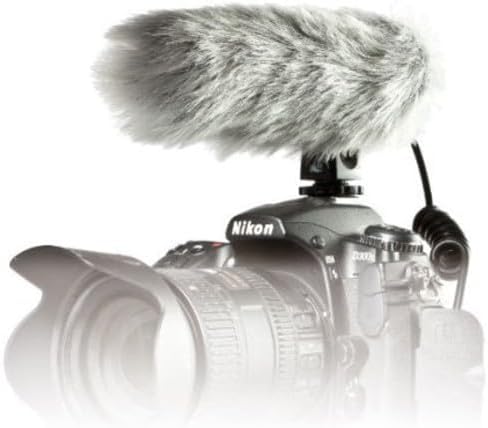
Image: PRO24CM microphone attached to a camcorder.
3.3 Connecting to a Camcorder
Connect the microphone to your camcorder's stereo microphone input.
- Locate the 3.5 mm stereo mini plug on the microphone's coiled cable.
- Insert the plug firmly into the microphone input jack on your camcorder.

Image: The PRO24CM microphone showing its coiled cable and 3.5mm connector.
3.4 ການນໍາໃຊ້ Windscreen
For outdoor recording or in windy conditions, attach the included windscreen to reduce wind noise and plosives.
- Gently slide the foam windscreen over the microphone's capsule.
- Ensure it fits snugly without obstructing the microphone elements.
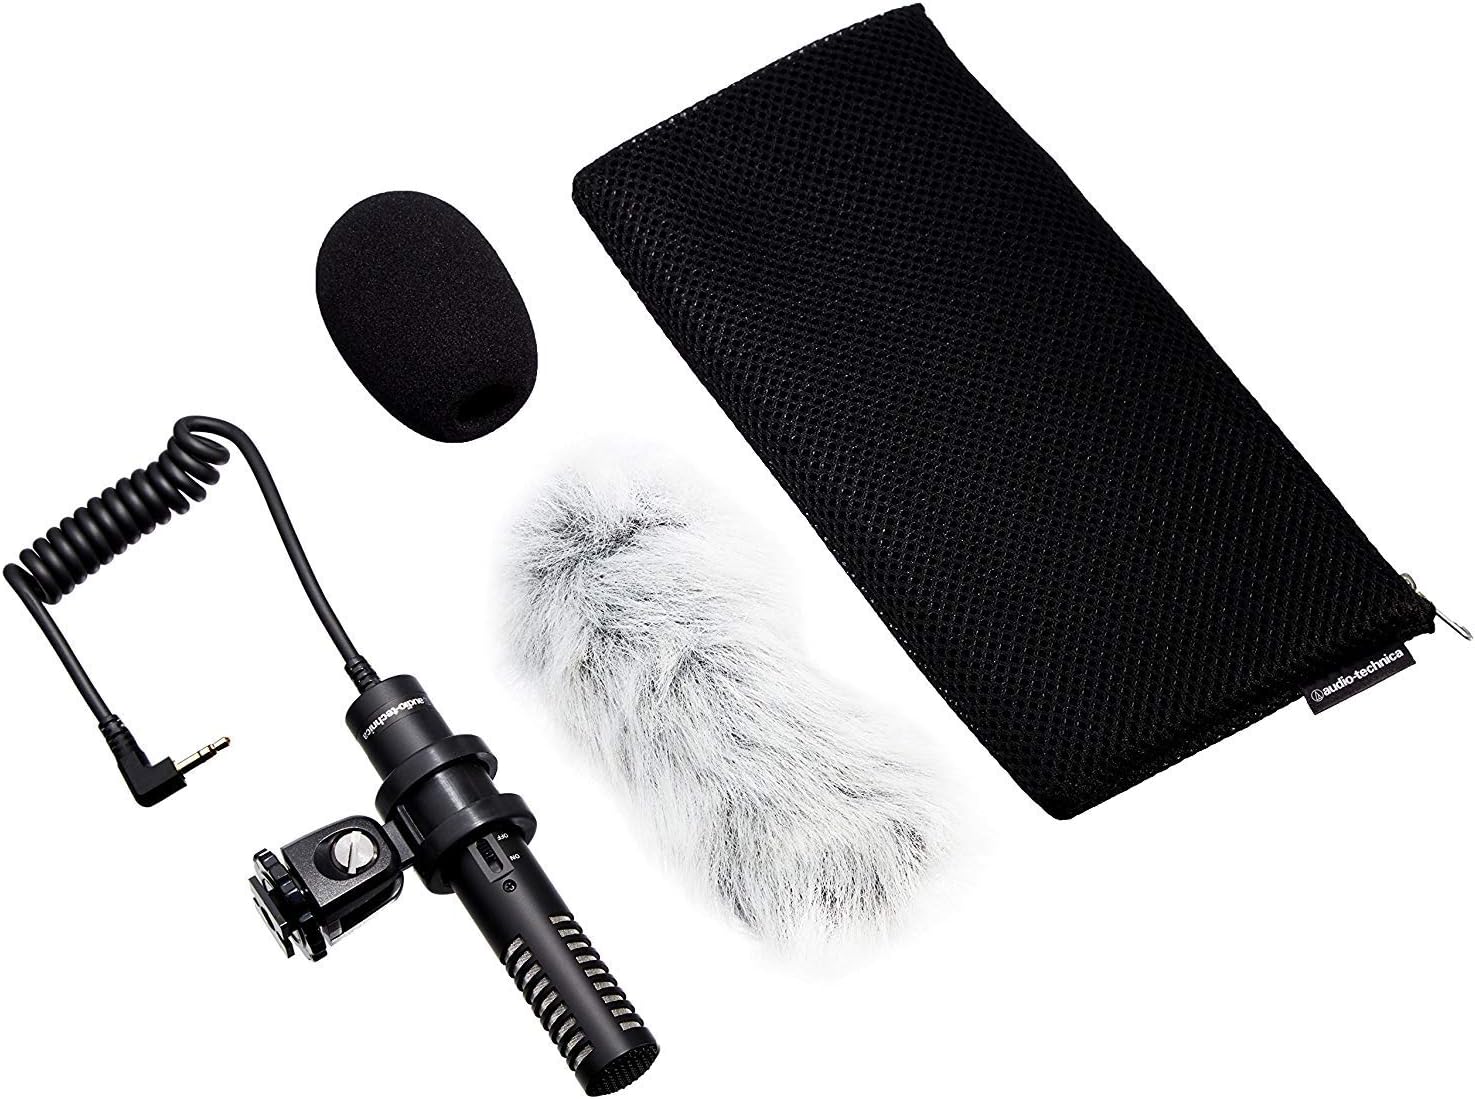
Image: PRO24CM microphone with windscreen and other accessories.
4. ການດໍາເນີນງານ
4.1 ການເປີດ/ປິດ
The PRO24CM features an on/off switch for convenient operation.
- ເພື່ອຫັນໄມໂຄຣໂຟນ ON, ເລື່ອນສະຫຼັບກັບຕໍາແຫນ່ງ "ON".
- ເພື່ອຫັນໄມໂຄຣໂຟນ ປິດ, ເລື່ອນສະຫຼັບກັບຕໍາແຫນ່ງ "ປິດ".
When using plug-in power from your camcorder, the microphone will draw power directly from the camcorder, and battery operation is not required. However, it is still recommended to turn the microphone off when not in use to conserve battery life if a battery is installed.
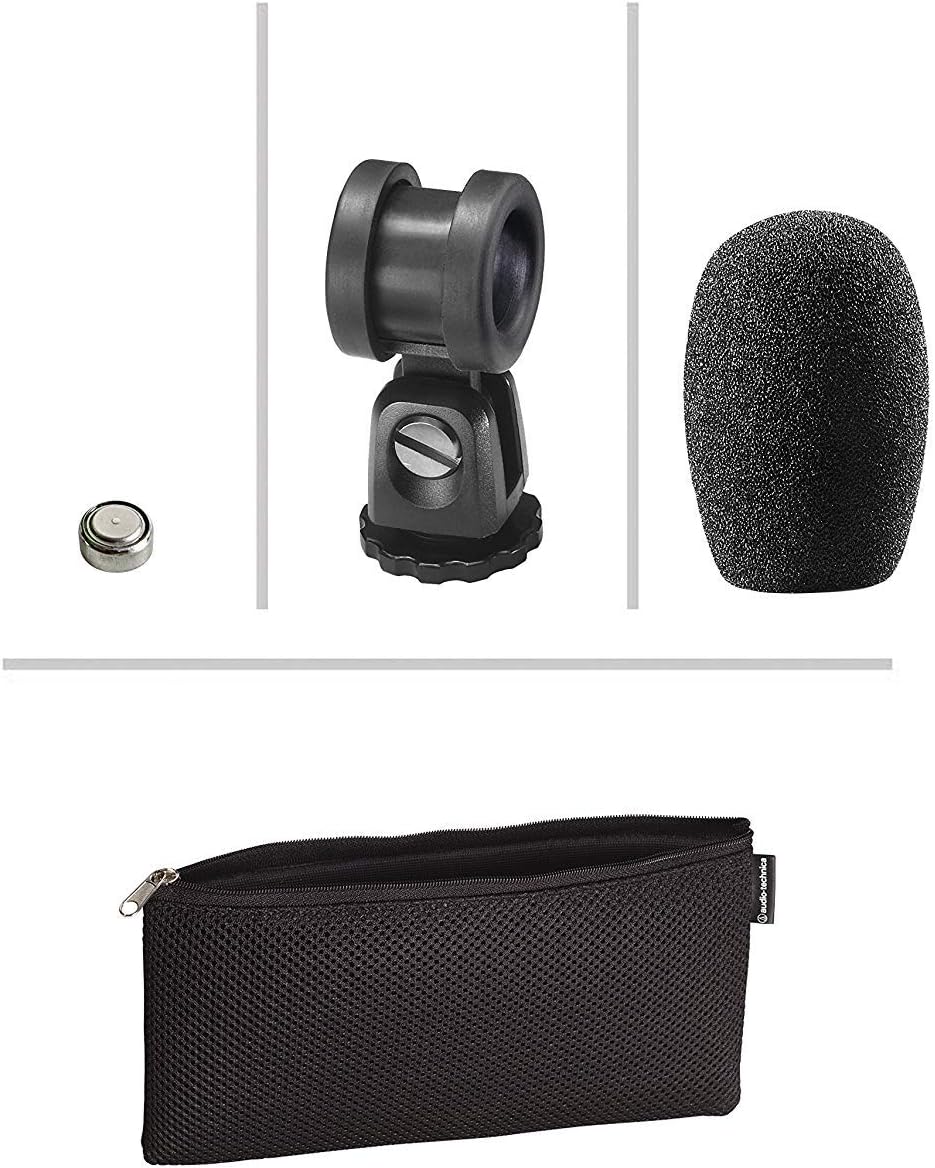
Image: The PRO24CM microphone with its on/off switch visible.
4.2 Recording Considerations
- ການຈັດວາງ: Position the microphone to capture the desired sound source. The X-Y stereo configuration is designed to provide a natural stereo image.
- ການຕິດຕາມ: Always monitor your audio through headphones connected to your camcorder to ensure optimal sound quality and to detect any unwanted noise.
- ເພີ່ມລະດັບ: Adjust the input gain on your camcorder to prevent clipping (distortion) while ensuring a strong signal.
5. ບໍາລຸງຮັກສາ
- ທໍາຄວາມສະອາດ: ໃຊ້ຜ້າປຽກແຫ້ງເພື່ອເຮັດຄວາມສະອາດຕົວຂອງໄມໂຄຣໂຟນ. ຫຼີກເວັ້ນການນໍາໃຊ້ສານເຄມີທີ່ຮຸນແຮງຫຼືວັດສະດຸຂັດ.
- ການເກັບຮັກສາ: When not in use, store the microphone in its protective pouch to prevent dust and damage. Remove the battery if storing for extended periods to prevent leakage.
- ການດູແລສາຍໄຟ: Avoid sharp bends or kinks in the microphone cable.
6. ການແກ້ໄຂບັນຫາ
- ບໍ່ມີສຽງ:
- Ensure the microphone's on/off switch is in the "ON" position.
- ກວດສອບວ່າແບັດເຕີຣີຖືກຕິດຕັ້ງຢ່າງຖືກຕ້ອງ ແລະ ມີປະຈຸພຽງພໍຫຼືບໍ່. ປ່ຽນໃໝ່ຖ້າຈຳເປັນ.
- Verify the 3.5 mm plug is fully inserted into the camcorder's microphone input.
- Confirm the camcorder's audio input settings are correct and the input gain is not set to zero.
- ສຽງບິດເບືອນ:
- Reduce the input gain on your camcorder.
- ໃຫ້ແນ່ໃຈວ່າໄມໂຄຣໂຟນບໍ່ຢູ່ໃກ້ກັບແຫຼ່ງສຽງເກີນໄປ, ເຊິ່ງຈະເຮັດໃຫ້ເກີດການໂຫຼດເກີນ.
- ສຽງລົມດັງເກີນໄປ:
- Ensure the windscreen is properly installed.
- Consider using an additional furry wind muff for extreme conditions (not included).
7. ຂໍ້ມູນຈໍາເພາະ
| ຄຸນສົມບັດ | ຂໍ້ມູນຈໍາເພາະ |
|---|---|
| ອົງປະກອບ | ແຜ່ນສາກຫຼັງມີສ້ອມຄົງທີ່ condenser polarized ຢ່າງຖາວອນ |
| ຮູບແບບຂົ້ວໂລກ | X/Y Stereo |
| ການຕອບສະໜອງຄວາມຖີ່ | 100-17,000 Hz |
| ເປີດວົງຈອນທີ່ລະອຽດອ່ອນ | -50 dB (3.1 mV) re 1V ທີ່ 1 Pa |
| impedance | 600 ໂອມ |
| ລະດັບສຽງປ້ອນຂໍ້ມູນສູງສຸດ | 119 dB SPL, 1 kHz ທີ່ 1% THD |
| Dynamic Range (typical) | 82 dB, 1 kHz ທີ່ SPL ສູງສຸດ |
| ອັດຕາສ່ວນສັນຍານເຖິງສຽງດັງ | 57 dB, 1 kHz ທີ່ 1 Pa |
| ຄວາມຕ້ອງການພະລັງງານ | 2-10V DC plug-in power or 1.5V LR44 battery |
| ປະເພດຫມໍ້ໄຟ | 1.5V LR44 |
| ປະຈຸບັນຫມໍ້ໄຟ / ຊີວິດ | 0.6 mA / 200 hours typical |
| ສະຫຼັບ | ເປີດ/ປິດ |
| ນ້ຳໜັກ | 3.9 oz (111 g) / 120 Grams |
| Dimensions (L x Max Body Dia.) | 4.59" (116.5 mm) long, 0.83" (21.0 mm) maximum body diameter |
| ຕົວເຊື່ອມຕໍ່ຜົນໄດ້ຮັບ | 3.5 mm stereo mini plug on cable |
| ສາຍ | Permanently attached 152.4 mm - 304.8 mm (6"-12") coiled cable with right-angle molded 3.5 mm stereo mini-plug |
8. ຂໍ້ມູນຄວາມປອດໄພ
- ຫ້າມເປີດໄມໂຄຣໂຟນກັບອຸນຫະພູມທີ່ຮຸນແຮງ, ຄວາມຊຸ່ມຊື່ນ, ຫຼືແສງແດດໂດຍກົງ.
- ຫຼີກລ່ຽງການລຸດລົງ ຫຼື ວາງໄມໂຄຣໂຟນຕໍ່ກັບຜົນກະທົບທີ່ຮຸນແຮງ.
- ຮັກສາໄມໂຄຣໂຟນຢູ່ຫ່າງຈາກສະໜາມແມ່ເຫຼັກທີ່ເຂັ້ມແຂງ.
- Do not attempt to disassemble or modify the microphone. This will void any warranty.
- ຖິ້ມແບັດເຕີລີທີ່ໃຊ້ແລ້ວຢ່າງມີຄວາມຮັບຜິດຊອບຕາມລະບຽບທ້ອງຖິ່ນ.
9. ການຮັບປະກັນແລະການສະຫນັບສະຫນູນ
For warranty information or technical support, please contact Audio-Technica customer service or visit their official webເວັບໄຊ. ຮັກສາໃບຮັບເງິນການຊື້ຂອງທ່ານໄວ້ເປັນຫຼັກຖານການຊື້.
Audio-Technica Contact Information:
- Official Audio-Technica Webເວັບໄຊ
- ອ້າງເຖິງການຫຸ້ມຫໍ່ຜະລິດຕະພັນຂອງທ່ານຫຼືຢ່າງເປັນທາງການ website for specific regional contact details.