1. ຜະລິດຕະພັນເກີນview
The Midiplus Studio M is a compact and high-performance USB audio interface designed for studio recording. It features one input and two outputs, supporting high-quality microphone input and 24-bit/192kHz high-precision sampling. The device is powered via PC USB and includes 48V phantom power for condenser microphones. Its small, exquisite design is compatible with both Mac and Windows operating systems, making it a versatile tool for musicians and producers.
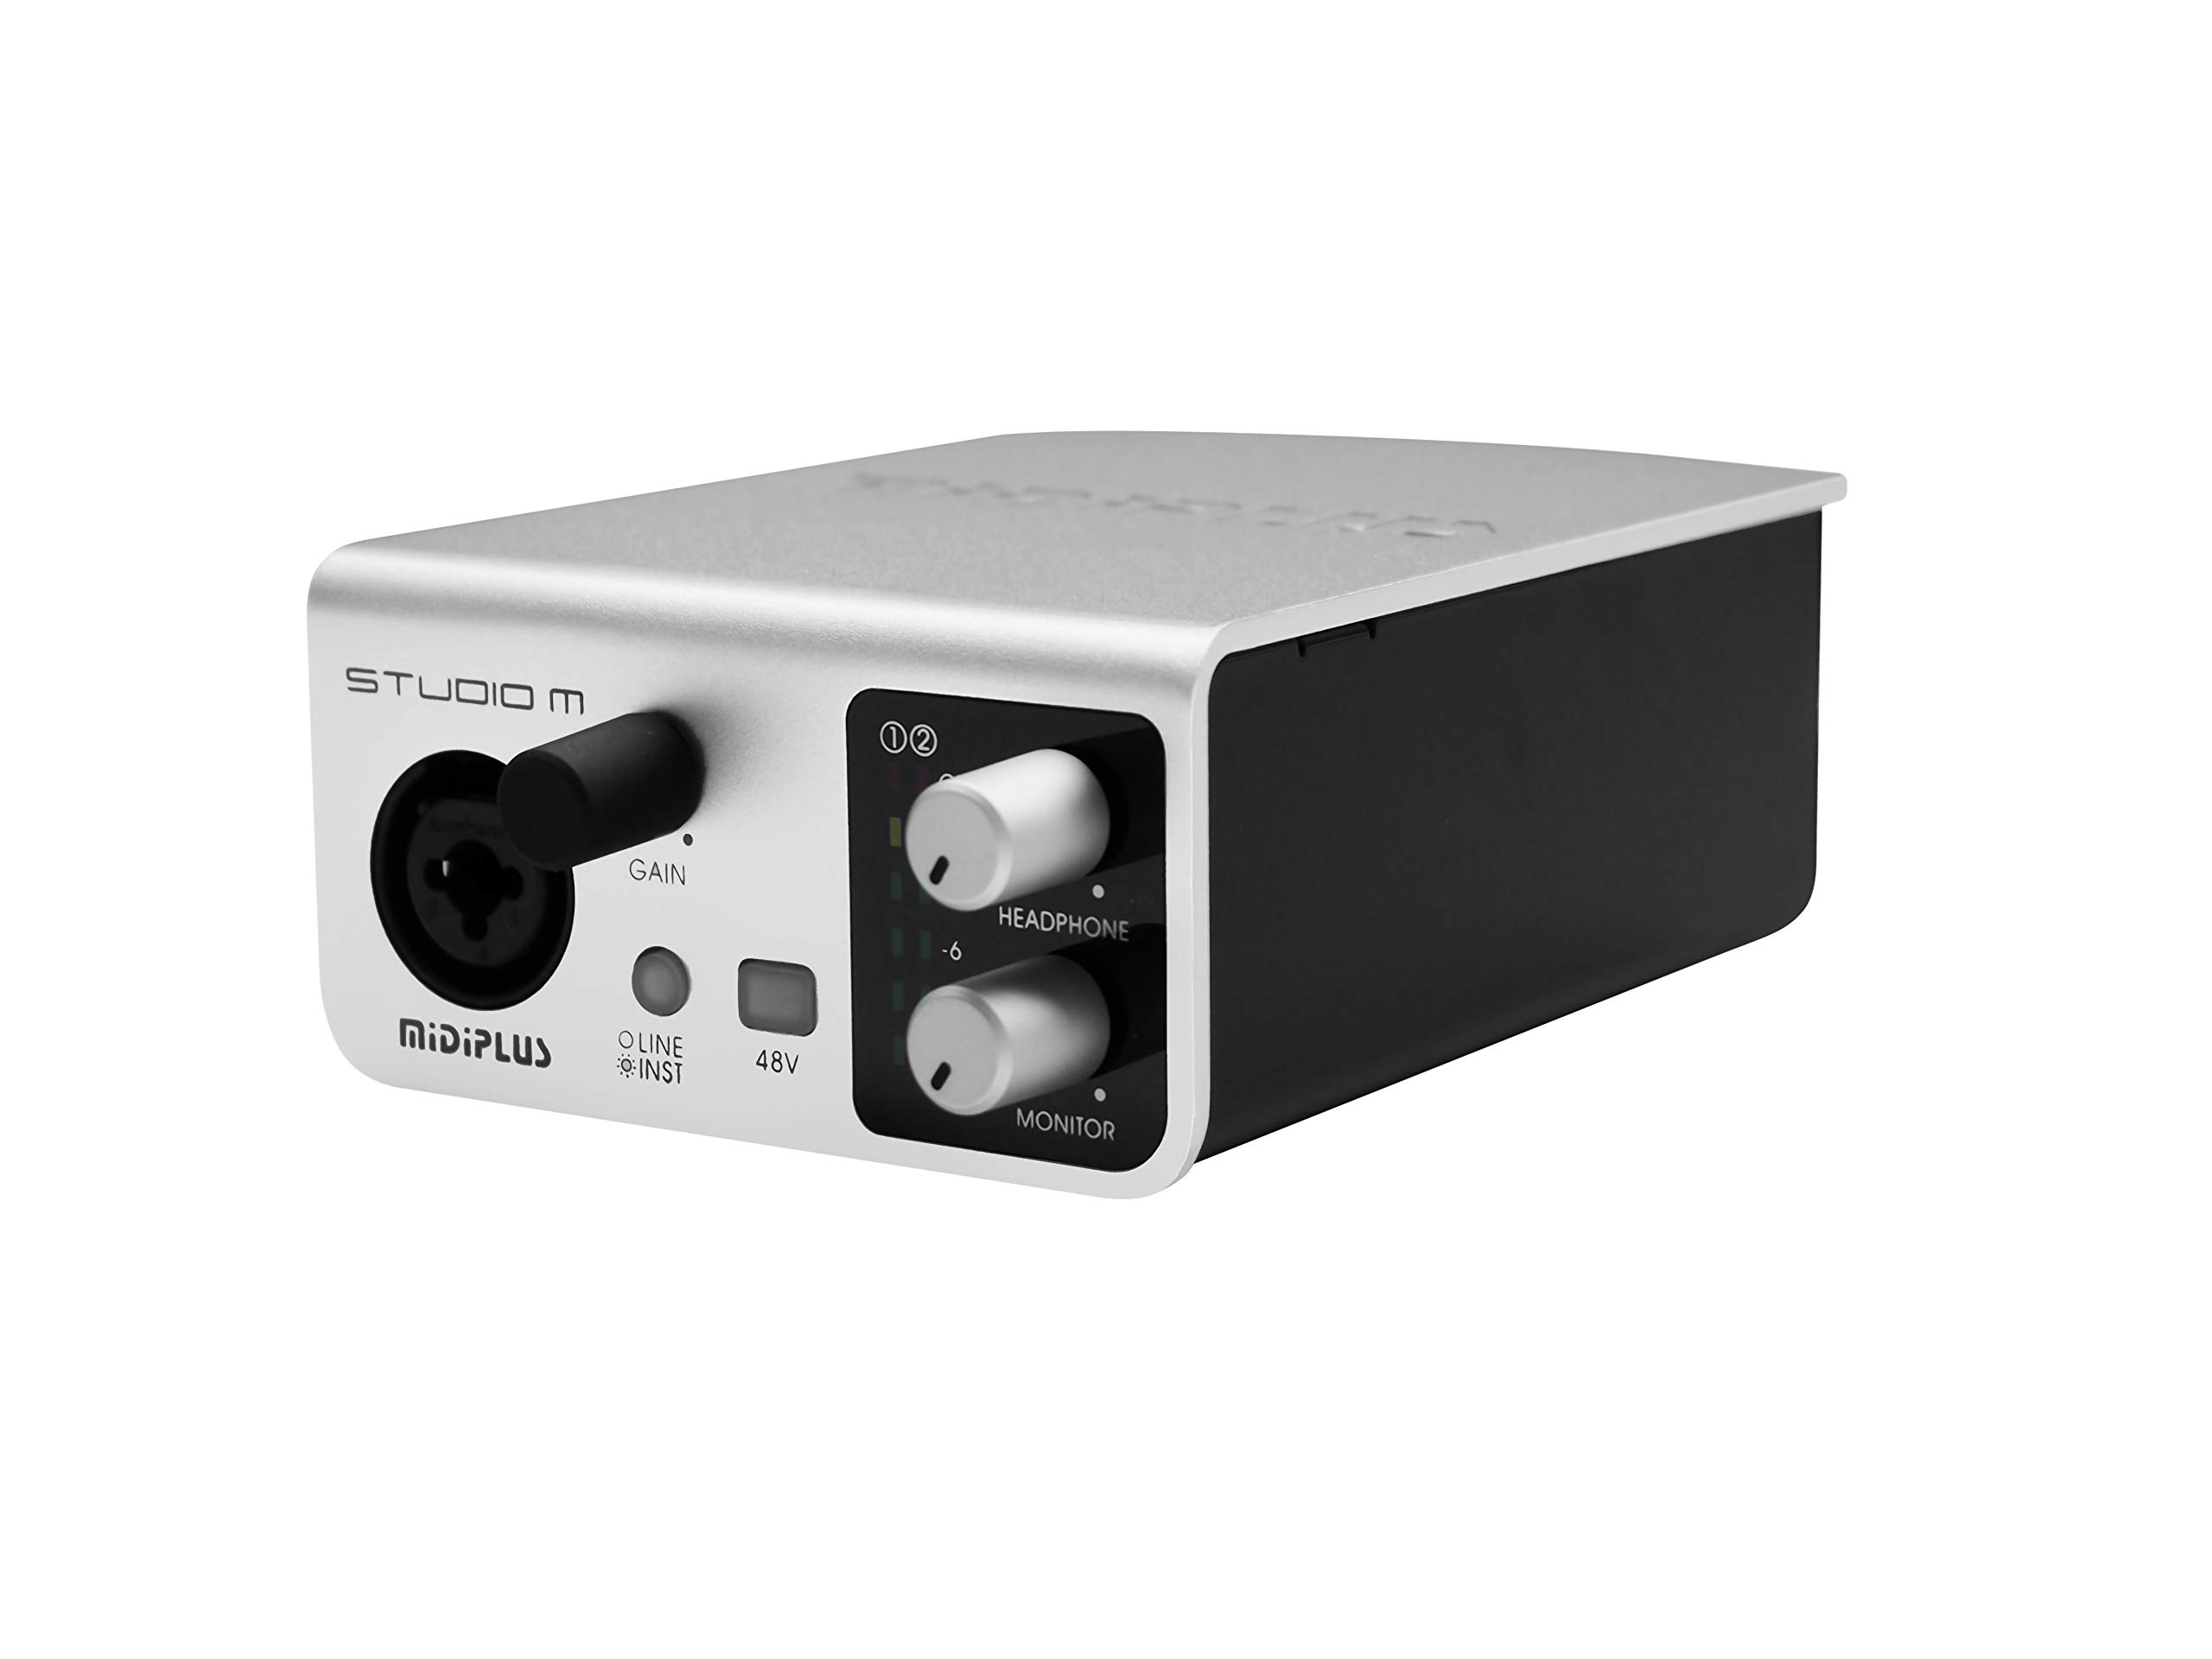
ຮູບ 1: ດ້ານຫນ້າແລະຫລັງ view of the Midiplus Studio M USB Audio Interface.
2. ຄູ່ມືການຕິດຕັ້ງ
2.1 ເນື້ອໃນຊຸດ
- Midiplus Studio M USB Audio Interface
- ສາຍ USB
- ຄູ່ມືເຈົ້າຂອງ (ເອກະສານສະບັບນີ້)
- ບັດຂໍ້ມູນ
2.2 ຄວາມຕ້ອງການລະບົບ
- ລະບົບປະຕິບັດການ: Windows, macOS
- Compatible Devices: Personal Computer with USB port
2.3 ການເຊື່ອມຕໍ່ອຸປະກອນ
- Connect the Midiplus Studio M to your computer using the provided USB cable. The device is USB-powered.
- Ensure your operating system (Windows or macOS) recognizes the device. Drivers may be required for optimal performance; refer to the Midiplus webເວັບໄຊທ໌ສໍາລັບການດາວໂຫຼດໄດເວີຫຼ້າສຸດ.
- Connect your microphone or instrument to the Input (MIC/Line/Hi-z) interface on the front panel.
- Connect your headphones to the headphone interface on the front panel, or your studio monitors to the Output interface (Left/Right) on the rear panel.

Figure 2: Midiplus Studio M connected to a computer, showing input and output cables.
3. ຄໍາແນະນໍາການດໍາເນີນງານ
3.1 ແຜງຄວບຄຸມດ້ານໜ້າ
- Input Gain Control Knob: Adjusts the input level for the connected microphone or instrument.
- Switch (Mic/Instrument) Button: Toggles between microphone and instrument input modes.
- 48V Phantom Power ON/OFF: Activates or deactivates 48V phantom power for condenser microphones.
- Headphone Volume Control Button: Adjusts the output volume for connected headphones.
- Output Volume Control Button: Adjusts the main output volume for connected studio monitors.

Figure 3: Midiplus Studio M in a studio setup, demonstrating its compact size and integration.
3.2 ການເຊື່ອມຕໍ່ແຜງດ້ານຫລັງ
- ການໂຕ້ຕອບ USB: USB2.0 port for connection to your computer and power supply.
- Output Interface (Left/Right): Connects to your studio monitors or other output devices.
- Extensible Device Interface: Provides additional connectivity options for other devices.
4. ບໍາລຸງຮັກສາ
- ຮັກສາອຸປະກອນໃຫ້ສະອາດໂດຍການເຊັດດ້ວຍຜ້າອ່ອນ, ແຫ້ງ. ຫຼີກເວັ້ນການນໍາໃຊ້ສານເຄມີທີ່ຮຸນແຮງຫຼືວັດສະດຸຂັດ.
- ໃຫ້ແນ່ໃຈວ່າສາຍໄຟທັງໝົດໄດ້ເຊື່ອມຕໍ່ກັນຢ່າງແໜ້ນໜາເພື່ອປ້ອງກັນການສູນເສຍສັນຍານ ຫຼື ຄວາມເສຍຫາຍ.
- ເກັບຮັກສາສ່ວນຕິດຕໍ່ໄວ້ໃນບ່ອນທີ່ເຢັນ, ແຫ້ງ, ຫ່າງຈາກແສງແດດໂດຍກົງແລະອຸນຫະພູມທີ່ສຸດ.
- ຫຼີກລ້ຽງການວາງວັດຖຸໜັກຢູ່ເທິງເຄື່ອງ.
5. ການແກ້ໄຂບັນຫາ
5.1 ບໍ່ມີສຽງອອກ
- Check all cable connections (USB, input, output, headphones).
- Ensure the device is powered on and recognized by your computer.
- Verify that the output volume controls (headphone and main output) are turned up.
- Check your computer's sound settings to ensure the Midiplus Studio M is selected as the output device.
5.2 Input Signal Issues
- Adjust the Input Gain Control Knob.
- Ensure the correct input mode (Mic/Instrument) is selected.
- If using a condenser microphone, verify that 48V Phantom Power is enabled.
- Check the microphone/instrument cable for damage.
5.3 Device Not Recognized by Computer
- ລອງເຊື່ອມຕໍ່ສາຍ USB ກັບພອດ USB ອື່ນໃນຄອມພິວເຕີຂອງທ່ານ.
- ປິດເປີດຄອມພິວເຕີຂອງທ່ານຄືນໃໝ່.
- Ensure the latest drivers for the Midiplus Studio M are installed from the official Midiplus webເວັບໄຊ.
- ທົດສອບດ້ວຍສາຍ USB ອື່ນຖ້າມີ.
6. ຂໍ້ກໍານົດດ້ານວິຊາການ
| ຄຸນສົມບັດ | ລາຍລະອຽດ |
|---|---|
| ໝາຍເລກຕົວແບບ | Studio M |
| ຍີ່ຫໍ້ | ກາງ |
| ເຕັກໂນໂລຊີການເຊື່ອມຕໍ່ | USB (USB2.0) |
| ຄວາມລະອຽດສຽງ | 24-bit / 192kHz |
| ວັດສະດຸປ້ອນ | 1 (MIC/Line/Hi-z) |
| ຜົນໄດ້ຮັບ | 2 (Left/Right) |
| ພະລັງງານ Phantom | 48V (ສາມາດສະຫຼັບໄດ້) |
| ລະບົບປະຕິບັດການທີ່ເຂົ້າກັນໄດ້ | Windows, macOS |
| ຂະໜາດສິນຄ້າ | 5.28 x 3.54 x 1.89 ນິ້ວ |
| ນ້ໍາຫນັກລາຍການ | 14.1 ອອນສ໌ (0.4 ກິໂລກຣາມ) |
7. ການຮັບປະກັນແລະການສະຫນັບສະຫນູນ
ສຳລັບຂໍ້ມູນການຮັບປະກັນ ແລະ ການຊ່ວຍເຫຼືອດ້ານເຕັກນິກ, ກະລຸນາອ້າງອີງເຖິງ Midiplus ຢ່າງເປັນທາງການ website or contact your local dealer. Keep your purchase receipt as proof of purchase for any warranty claims.


