1. ບົດແນະນຳ
This manual provides essential information for the safe and efficient use of your Lexmark E260D Monochrome Laser Printer. Please read these instructions carefully before operating the device and retain them for future reference. The Lexmark E260D is designed for fast, high-quality black and white document printing, featuring automatic two-sided printing for efficiency.
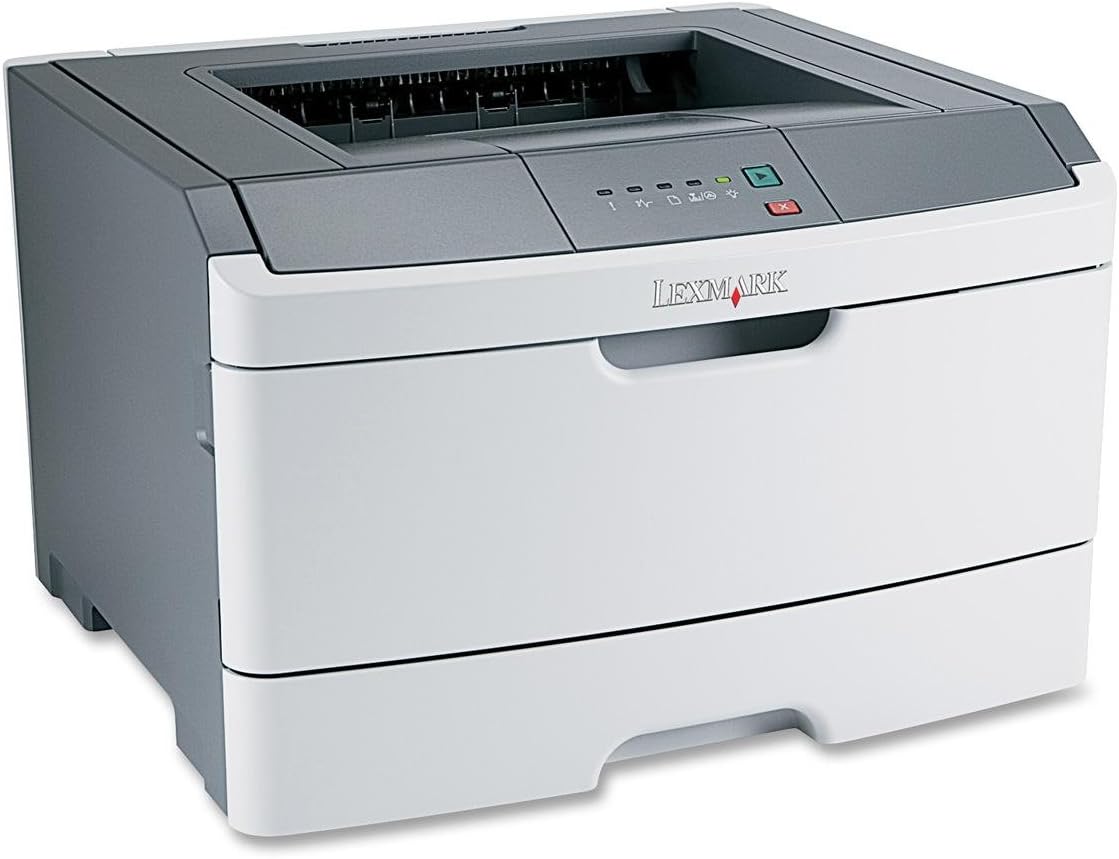
ຮູບທີ 1: Lexmark E260D Monochrome Laser Printer. This image shows the printer from a front-right angle, highlighting its compact design with a white body and a dark gray top cover. The output tray is visible on top, and the Lexmark logo is displayed on the front panel above the paper input tray.
2. ຂໍ້ມູນຄວາມປອດໄພ
- ເຊື່ອມຕໍ່ເຄື່ອງພິມເຂົ້າກັບປລັກສຽບໄຟທີ່ມີຮາກຖານຢູ່ສະເໝີ.
- ຫ້າມກີດຂວາງການເປີດລະບາຍອາກາດ.
- Keep the printer away from water or excessive moisture.
- Use only specified power cords and accessories.
- ຫຼີກລ່ຽງການສຳຜັດບໍລິເວນຟິວເຊີ ເພາະມັນອາດຈະຮ້ອນໄດ້.
3. ເນື້ອໃນຊຸດ
ກວດສອບວ່າລາຍການທັງຫມົດແມ່ນມີຢູ່ໃນຊຸດ:
- Lexmark E260D Monochrome Laser Printer
- ສາຍໄຟ
- Starter Toner Cartridge (may vary by region)
- Setup Guide or Documentation
- USB Cable (may be sold separately)
4. ຕັ້ງຄ່າ
4.1 ຖອດເຄື່ອງພິມອອກ
- ເອົາເຄື່ອງພິມອອກຈາກການຫຸ້ມຫໍ່ຂອງມັນ.
- ເອົາວັດສະດຸຫຸ້ມຫໍ່, ເທບ, ແລະຮູບເງົາປ້ອງກັນທັງຫມົດອອກຈາກພາຍນອກແລະພາຍໃນຂອງເຄື່ອງພິມ.
- ວາງເຄື່ອງພິມໄວ້ເທິງພື້ນຜິວທີ່ໝັ້ນຄົງ, ຮາບພຽງ ແລະ ມີລະບາຍອາກາດພຽງພໍ.
4.2 ການເຊື່ອມຕໍ່ເຄື່ອງພິມ
- ເຊື່ອມຕໍ່ສາຍໄຟກັບເຄື່ອງພິມ ແລະຈາກນັ້ນໄປຫາປສຽບໄຟຟ້າທີ່ມີດິນ.
- ເຊື່ອມຕໍ່ປາຍສາຍ USB ດ້ານໜຶ່ງເຂົ້າກັບພອດ USB ຂອງເຄື່ອງພິມ ແລະ ປາຍອີກດ້ານໜຶ່ງເຂົ້າກັບຄອມພິວເຕີຂອງທ່ານ.
4.3 ການຕິດຕັ້ງ Toner Cartridge
- ເປີດປະຕູທາງເຂົ້າຂອງເຄື່ອງພິມ.
- Carefully remove the toner cartridge from its packaging and shake it gently to distribute the toner.
- ໃສ່ຫມຶກຫມຶກໃສ່ເຄື່ອງພິມຈົນກວ່າມັນຈະກົດໃສ່ບ່ອນ.
- ປິດປະຕູທາງເຂົ້າດ້ານໜ້າໃຫ້ແໜ້ນ.
4.4 ການໂຫຼດເຈ້ຍ
- ດຶງຖາດເຈ້ຍອອກ.
- ປັບຕົວແນະນຳເຈ້ຍໃຫ້ກົງກັບຂະໜາດຂອງເຈ້ຍທີ່ເຈົ້າກຳລັງໂຫລດ.
- ໃສ່ເຈ້ຍລົງໃນຖາດ, ຮັບປະກັນວ່າມັນຮາບພຽງ ແລະ ບໍ່ເກີນຂີດຈຳກັດສູງສຸດ.
- Push the paper tray back into the printer until it locks.
4.5 ການຕິດຕັ້ງໄດເວີ
After connecting the printer, your operating system may automatically detect and install the necessary drivers. If not, follow these steps:
- Insert the driver CD (if included) into your computer's CD/DVD drive, or download the latest drivers from the official Lexmark support webເວັບໄຊ.
- ປະຕິບັດຕາມຄໍາແນະນໍາໃນຫນ້າຈໍເພື່ອສໍາເລັດການຕິດຕັ້ງໄດເວີ.
- ປິດເປີດຄອມພິວເຕີຂອງທ່ານຄືນໃໝ່ຖ້າຖືກຖາມ.
5. ການເຮັດວຽກຂອງເຄື່ອງພິມ
5.1 ການພິມພື້ນຖານ
- ກວດໃຫ້ແນ່ໃຈວ່າເຄື່ອງພິມເປີດຢູ່ ແລະເຊື່ອມຕໍ່ກັບຄອມພິວເຕີຂອງທ່ານ.
- ເປີດເອກະສານທີ່ທ່ານຕ້ອງການພິມໃນຄອມພິວເຕີຂອງທ່ານ.
- ເລືອກ File > ພິມ (ຫຼືຄໍາສັ່ງທຽບເທົ່າໃນຄໍາຮ້ອງສະຫມັກຂອງທ່ານ).
- Choose the Lexmark E260D from the list of available printers.
- Adjust print settings as needed (e.g., number of copies, page range).
- ກົດ ພິມ.
5.2 ການພິມສອງດ້ານ (ສອງດ້ານ)
The Lexmark E260D supports automatic two-sided printing.
- ເມື່ອສົ່ງວຽກພິມ, ໃຫ້ເຂົ້າເຖິງຄຸນສົມບັດ ຫຼື ການຕັ້ງຄ່າເຄື່ອງພິມ.
- ຊອກຫາຕົວເລືອກທີ່ກ່ຽວຂ້ອງກັບ ການພິມສອງຊັ້ນ or ພິມທັງສອງດ້ານ.
- ເລືອກທາງເລືອກຄູ່ທີ່ຕ້ອງການ (ຕົວຢ່າງ, ການຜູກມັດຂອບຍາວ, ການຜູກມັດຂອບສັ້ນ).
- Confirm your settings and click ພິມ.
6. ບໍາລຸງຮັກສາ
6.1 ການທໍາຄວາມສະອາດເຄື່ອງພິມ
- ພາຍນອກ: ເຊັດພື້ນຜິວພາຍນອກດ້ວຍຜ້າອ່ອນໆ, ງamp, ຜ້າບໍ່ມີ lint. ຢ່າໃຊ້ເຄື່ອງເຮັດຄວາມສະອາດຂັດຫຼືສານລະລາຍ.
- ພາຍໃນ: Periodically open the front access door and gently remove any loose toner dust with a dry, lint-free cloth. Avoid touching sensitive components.
6.2 ການປ່ຽນຕະຫລັບຫມຶກ
When the toner level is low, the printer's control panel will indicate it. Replace the toner cartridge as follows:
- ກວດໃຫ້ແນ່ໃຈວ່າເຄື່ອງພິມເປີດຢູ່.
- ເປີດປະຕູທາງເຂົ້າ.
- ຄ່ອຍໆເອົາຕະຫລັບໝຶກພິມເກົ່າອອກໂດຍການດຶງມັນອອກຊື່ໆ.
- Unpack the new Lexmark E260D compatible toner cartridge and shake it gently.
- ໃສ່ໄສ້ຕອງໃໝ່ໃສ່ເຄື່ອງພິມຈົນກວ່າມັນຈະລັອກເຂົ້າບ່ອນ.
- ປິດປະຕູທາງເຂົ້າ.
7. ການແກ້ໄຂບັນຫາ
7.1 ເຈ້ຍຕິດ
If a paper jam occurs, the printer's control panel will display an error. Follow these general steps:
- ປິດເຄື່ອງພິມ ແລະຖອດມັນອອກຈາກປລັກສຽບໄຟ.
- Open all accessible covers (front door, rear door, etc.).
- Carefully remove any jammed paper, pulling it in the direction of the paper path to avoid tearing.
- ປິດຝາທັງໝົດຢ່າງປອດໄພ.
- ສຽບເຂົ້າ ແລະເປີດເຄື່ອງພິມ.
7.2 ບັນຫາຄຸນນະພາບການພິມ
- ຮອຍພິມຈາງລົງ ຫຼື ຈາງລົງ: The toner cartridge may be low. Try shaking the cartridge gently or replace it.
- ຮອຍດ່າງ ຫຼືຮອຍເປື້ອນ: Clean the interior of the printer, especially around the toner cartridge area. Ensure the paper type setting matches the loaded paper.
- ໜ້າເປົ່າ: Ensure the toner cartridge is properly installed and has toner. Check printer drivers and print settings.
7.3 ບັນຫາການເຊື່ອມຕໍ່
- ກວດບໍ່ພົບເຄື່ອງພິມ: Ensure the USB cable is securely connected to both the printer and the computer. Try a different USB port or cable. Reinstall printer drivers if necessary.
- Print Jobs Stuck: Clear the print queue on your computer. Restart both the printer and the computer.
7.4 Envelope Printing on Mac
Users printing envelopes on macOS may encounter issues with incorrect print orientation or partial printing. To resolve this:
- In the print dialogue box, locate the menu that initially reads 'Layout'.
- Select 'Paper Feed' from this menu.
- Change the 'Auto Select' option to 'Manual Envelope'.
- ດໍາເນີນການກັບການພິມ.
8. ຂໍ້ມູນຈໍາເພາະ
| ຄຸນສົມບັດ | ຂໍ້ມູນຈໍາເພາະ |
|---|---|
| ຊື່ຕົວແບບ | E260D |
| ເຕັກໂນໂລຊີການພິມ | ເລເຊີ |
| ຜົນຜະລິດເຄື່ອງພິມ | ໂມໂນໂຄມ |
| ຄວາມໄວການພິມສູງສຸດ (ໂມໂນໂຄມ) | 35 ppm |
| ຄວາມລະອຽດການພິມສູງສຸດ (ສີດໍາ ແລະສີຂາວ) | 1200 dpi |
| ການພິມສອງຊັ້ນ | ອັດຕະໂນມັດ |
| ເຕັກໂນໂລຊີການເຊື່ອມຕໍ່ | USB 2.0 |
| ຄວາມອາດສາມາດຂອງແຜ່ນປ້ອນຂໍ້ມູນສູງສຸດ | 250 ແຜ່ນ |
| Supported Print Media | Envelopes, Labels, Paper (plain), Transparencies |
| ຄວາມອາດສາມາດເກັບຮັກສາຫນ່ວຍຄວາມຈໍາ | 32 MB |
| ຂະໜາດສິນຄ້າ | 16.5 x 18.1 x 14 ນິ້ວ |
| ນ້ໍາຫນັກລາຍການ | 29.8 ປອນ (13.53 ກິໂລ) |
| ການບໍລິໂພກພະລັງງານ (ໃນໂໝດ) | 16 ວັດ |
9. ຂໍ້ມູນການຮັບປະກັນ
The Lexmark E260D Monochrome Laser Printer comes with an Exchange Warranty. For specific terms, conditions, and duration of your warranty, please refer to the warranty documentation included with your product or visit the official Lexmark support webເວັບໄຊ.
10. ການຊ່ວຍເຫຼືອລູກຄ້າ
For further assistance, technical support, or to order replacement parts and supplies, please contact Lexmark Customer Support. You can find contact information and additional resources on the official Lexmark webເວັບໄຊ:
- Lexmark Support Webເວັບໄຊ: www.lexmark.com/support (ກະລຸນາສັງເກດ: ນີ້ແມ່ນຕົວຍຶດ URL. Refer to your product documentation for the exact support link.)


