1. ບົດແນະນຳ
This manual provides essential information for the safe and effective installation, operation, and maintenance of the Generic TOB7Z-63 2P DC 1000V Solar Mini Din Rail Circuit Breaker. This device is designed to protect photovoltaic (PV) systems from overcurrents and short circuits, ensuring the safety and longevity of your solar installation. Please read this manual thoroughly before installation and keep it for future reference.
2. ຂໍ້ມູນຄວາມປອດໄພ
ຄຳເຕືອນ: ອັນຕະລາຍຈາກໄຟຟ້າຊອດ. ການຕິດຕັ້ງແລະການບໍາລຸງຮັກສາຄວນຈະຖືກປະຕິບັດໂດຍບຸກຄະລາກອນທີ່ມີຄຸນວຸດທິເທົ່ານັ້ນ.
- Always disconnect power before installing or servicing the circuit breaker. Use appropriate lockout/tagອອກຂະບວນການ.
- ໃຫ້ແນ່ໃຈວ່າສາຍໄຟທັງຫມົດປະຕິບັດຕາມລະຫັດໄຟຟ້າທ້ອງຖິ່ນແລະແຫ່ງຊາດ.
- Do not operate the circuit breaker with wet hands or in damp ເງື່ອນໄຂ.
- Verify correct DC polarity before making connections. Incorrect polarity can damage the circuit breaker and other components.
- The circuit breaker is designed for DC applications up to 1000V. Do not use it in AC circuits.
- Ensure proper torque is applied to terminal screws to prevent loose connections and overheating.
3. ຜະລິດຕະພັນເກີນview
The Generic TOB7Z-63 is a miniature circuit breaker specifically designed for DC applications in solar photovoltaic systems. It provides reliable protection against overloads and short circuits.
3.1 ຄຸນສົມບັດ
- Ensures safety in photovoltaic systems, preventing damage from short circuits and overloads.
- Made with high-quality insulating materials to withstand extreme outdoor conditions.
- Flame-retardant & UV-resistant housing for long-term durability in solar installations.
- Screw-type terminals ensure a stable and secure electrical connection.
- ເໝາະສຳລັບເຄື່ອງແປງໄຟຟ້າພະລັງງານແສງຕາເວັນ, ຕົວຄວບຄຸມການສາກໄຟ, ແລະ ແບັດເຕີຣີ.
3.2 ອົງປະກອບ

ຮູບທີ 1: ດ້ານໜ້າ view of the TOB7Z-63 DC Circuit Breaker. This image shows the main body of the circuit breaker, including the operating handle, terminal screws, and product labeling with specifications like model number, current rating, and voltage.
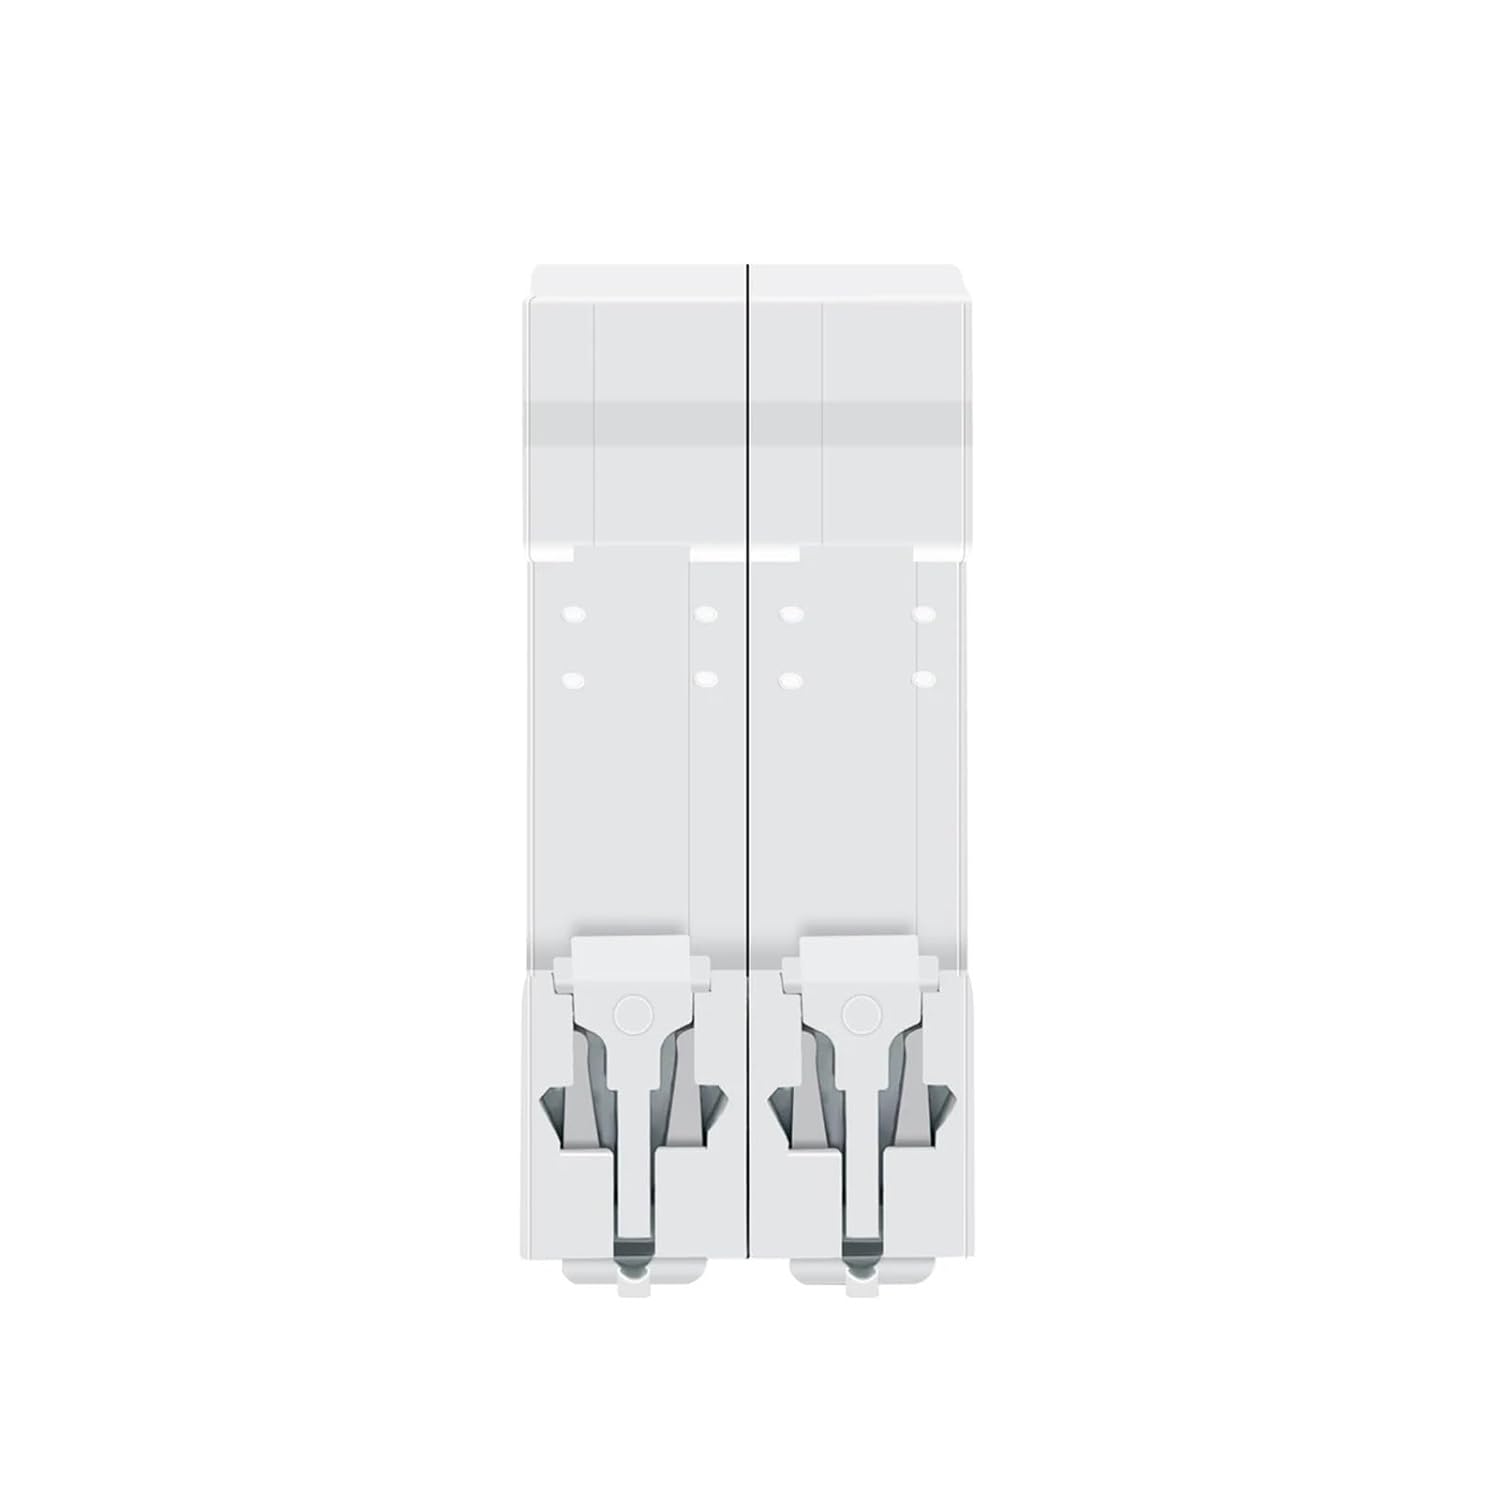
ຮູບທີ 2: ເທິງແລະລຸ່ມ view of the TOB7Z-63 DC Circuit Breaker. This image highlights the screw terminals for electrical connections at both the input and output ends of the breaker.
- ມືຈັບປະຕິບັດການ: Used to manually switch the circuit breaker ON or OFF, and indicates its status (ON/OFF/TRIPPED).
- screws terminal: For connecting input and output DC wiring.
- ຄລິບລົດໄຟ DIN: Located at the back for easy mounting on a standard DIN rail.
- Indicator Window: Displays the operational status (green for OFF/closed, red for ON/open).
4. ການຕິດຕັ້ງແລະການຕິດຕັ້ງ
Follow these steps for proper installation of the circuit breaker.
4.1 ການຕິດຕັ້ງ
- Ensure the power supply to the PV system is completely disconnected and secured against accidental re-energization.
- Locate a suitable position on a standard 35mm DIN rail within an appropriate enclosure.
- Hook the top edge of the circuit breaker onto the DIN rail.
- Press the bottom of the circuit breaker firmly until it clicks into place on the DIN rail.

ຮູບທີ 3: TOB7Z-63 DC Circuit Breaker mounted on a DIN rail. This image demonstrates how the circuit breaker securely attaches to a standard DIN rail, showing its compact form factor.

ຮູບທີ 4: ຂ້າງ view of the TOB7Z-63 DC Circuit Breaker, highlighting the DIN rail clip mechanism. This view shows the design of the clip that allows for quick and secure mounting onto a DIN rail.
4.2 ການເຊື່ອມຕໍ່ສາຍໄຟ
- Identify the input (source) and output (load) terminals. The circuit breaker typically has markings for input and output, and positive (+) and negative (-) terminals.
- Strip the insulation from the DC cables to the appropriate length, ensuring no stray strands.
- Insert the positive (+) DC cable from the PV array or charge controller into the positive input terminal.
- Insert the negative (-) DC cable from the PV array or charge controller into the negative input terminal.
- Connect the positive (+) DC cable to the load (e.g., inverter) from the positive output terminal.
- Connect the negative (-) DC cable to the load from the negative output terminal.
- Tighten all terminal screws securely. Refer to the product specifications for recommended torque values if available. Over-tightening or under-tightening can cause damage or poor connections.
- Double-check all connections for correct polarity and tightness before restoring power.
5. ຄໍາແນະນໍາການດໍາເນີນງານ
5.1 ເປີດ/ປິດ
- ເພື່ອເປີດ: Push the operating handle upwards to the 'ON' position. The indicator window should display red.
- ເພື່ອປິດ: Push the operating handle downwards to the 'OFF' position. The indicator window should display green.
5.2 Understanding Indicator Windows

ຮູບທີ 5: Indicator windows showing ON (Red) and OFF (Green) states. This image clearly illustrates the visual cues for the circuit breaker's operational status, with a red indicator for 'ON' and a green indicator for 'OFF' or 'closed'.
- ຕົວຊີ້ວັດສີແດງ: The circuit breaker is in the 'ON' position, and current is flowing through the circuit.
- ຕົວຊີ້ວັດສີຂຽວ: The circuit breaker is in the 'OFF' position, and the circuit is open (no current flow).
5.3 Resetting After a Trip
If an overload or short circuit occurs, the circuit breaker will automatically trip, moving the handle to an intermediate or 'OFF' position. The indicator window will show green.
- Identify and resolve the cause of the trip (e.g., remove overload, fix short circuit).
- Before resetting, ensure the circuit is safe and the fault has been cleared.
- Push the operating handle fully downwards to the 'OFF' position first, then push it upwards to the 'ON' position to reset the breaker.
- If the breaker trips immediately again, do not force it. Re-evaluate the circuit for persistent faults.
6. ບໍາລຸງຮັກສາ
Regular maintenance helps ensure the reliable operation and longevity of your circuit breaker.
- ການກວດກາສາຍຕາ: ກວດເບິ່ງເຄື່ອງຕັດວົງຈອນເປັນໄລຍະໆເພື່ອເບິ່ງອາການຂອງຄວາມເສຍຫາຍທາງຮ່າງກາຍ, ການປ່ຽນສີ, ຫຼືການເຊື່ອມຕໍ່ຂາດ.
- ທໍາຄວາມສະອາດ: Keep the circuit breaker clean and free from dust and debris. Use a dry, soft cloth for cleaning. Do not use solvents or abrasive cleaners.
- ກວດສອບຢູ່ປາຍຍອດ: Annually, with power disconnected, check the tightness of all terminal screws. Re-tighten if necessary to prevent overheating due to loose connections.
- ເງື່ອນໄຂສິ່ງແວດລ້ອມ: ໃຫ້ແນ່ໃຈວ່າສະພາບແວດລ້ອມການດໍາເນີນງານຍັງຄົງຢູ່ພາຍໃນຂອບເຂດອຸນຫະພູມແລະຄວາມຊຸ່ມຊື່ນທີ່ກໍານົດໄວ້.
7. ການແກ້ໄຂບັນຫາ
| ບັນຫາ | ສາເຫດທີ່ເປັນໄປໄດ້ | ການແກ້ໄຂ |
|---|---|---|
| ການເດີນທາງ breaker ວົງຈອນເລື້ອຍໆ. | ການໂຫຼດເກີນໃນວົງຈອນ, ວົງຈອນສັ້ນ, ຫຼືເຄື່ອງໃຊ້ຂັດຂ້ອງ. | Reduce load, inspect wiring for short circuits, check connected devices for faults. |
| ເບກເກີບໍ່ຕັ້ງຄ່າໃໝ່. | Persistent fault in the circuit, internal damage to the breaker. | Ensure the fault is cleared. If it still doesn't reset, the breaker may be damaged and require replacement. |
| No power output when breaker is ON. | Loose connections, internal fault, or issue with upstream/downstream components. | Check terminal tightness. Verify power from the source. Test continuity if possible. Replace if internal fault is suspected. |
8. ຂໍ້ມູນຈໍາເພາະ
| ພາລາມິເຕີ | ມູນຄ່າ |
|---|---|
| ໝາຍເລກຕົວແບບ | TOB7Z-63 (Item model number: JBCFAXXFI-10A) |
| ອັນດັບທີtage | DC 1000V |
| ອັນດັບປັດຈຸບັນ | Available in 3A, 6A, 10A, 16A, 20A, 25A, 32A, 40A, 50A, 63A (This specific product is 10A) |
| ເສົາ | 2P |
| Interrupting Capacity (Icu) | 6kA |
| ມາດຕະຖານ | IEC/EN60947-2 |
| ການຕິດຕັ້ງ | ລາງລົດໄຟ DIN 35 ມມ |
| ຂະໜາດແພັກເກັດ | 0.39 x 0.39 x 0.39 ນິ້ວ |
| ນ້ໍາຫນັກລາຍການ | 3.53 ອອນ |
| ວັດສະດຸທີ່ຢູ່ອາໄສ | Flame-retardant & UV-resistant insulating materials |
9. ການຮັບປະກັນແລະການສະຫນັບສະຫນູນ
For warranty information or technical support, please refer to the product packaging or contact the retailer or manufacturer directly. Keep your purchase receipt as proof of purchase.


