
1. ການແນະນໍາ ແລະຫຼາຍກວ່າview
The ASUS NUC 15 Pro Slim Mini PC is a compact and powerful computing solution designed for various applications, from business productivity to everyday personal use. This model (RNUC15CRKI3063CU) comes fully configured with an Intel Series 1 Core 3 100U processor, 16GB DDR5 RAM, a 512GB PCIe G4x4 NVMe SSD, and Windows 11 Pro. It offers extensive connectivity options including Thunderbolt™ 4, Wi-Fi 7, and Bluetooth 5.4, all within a tool-less chassis for easy upgrades.
This manual provides essential information for setting up, operating, maintaining, and troubleshooting your ASUS NUC 15 Pro Slim Mini PC.
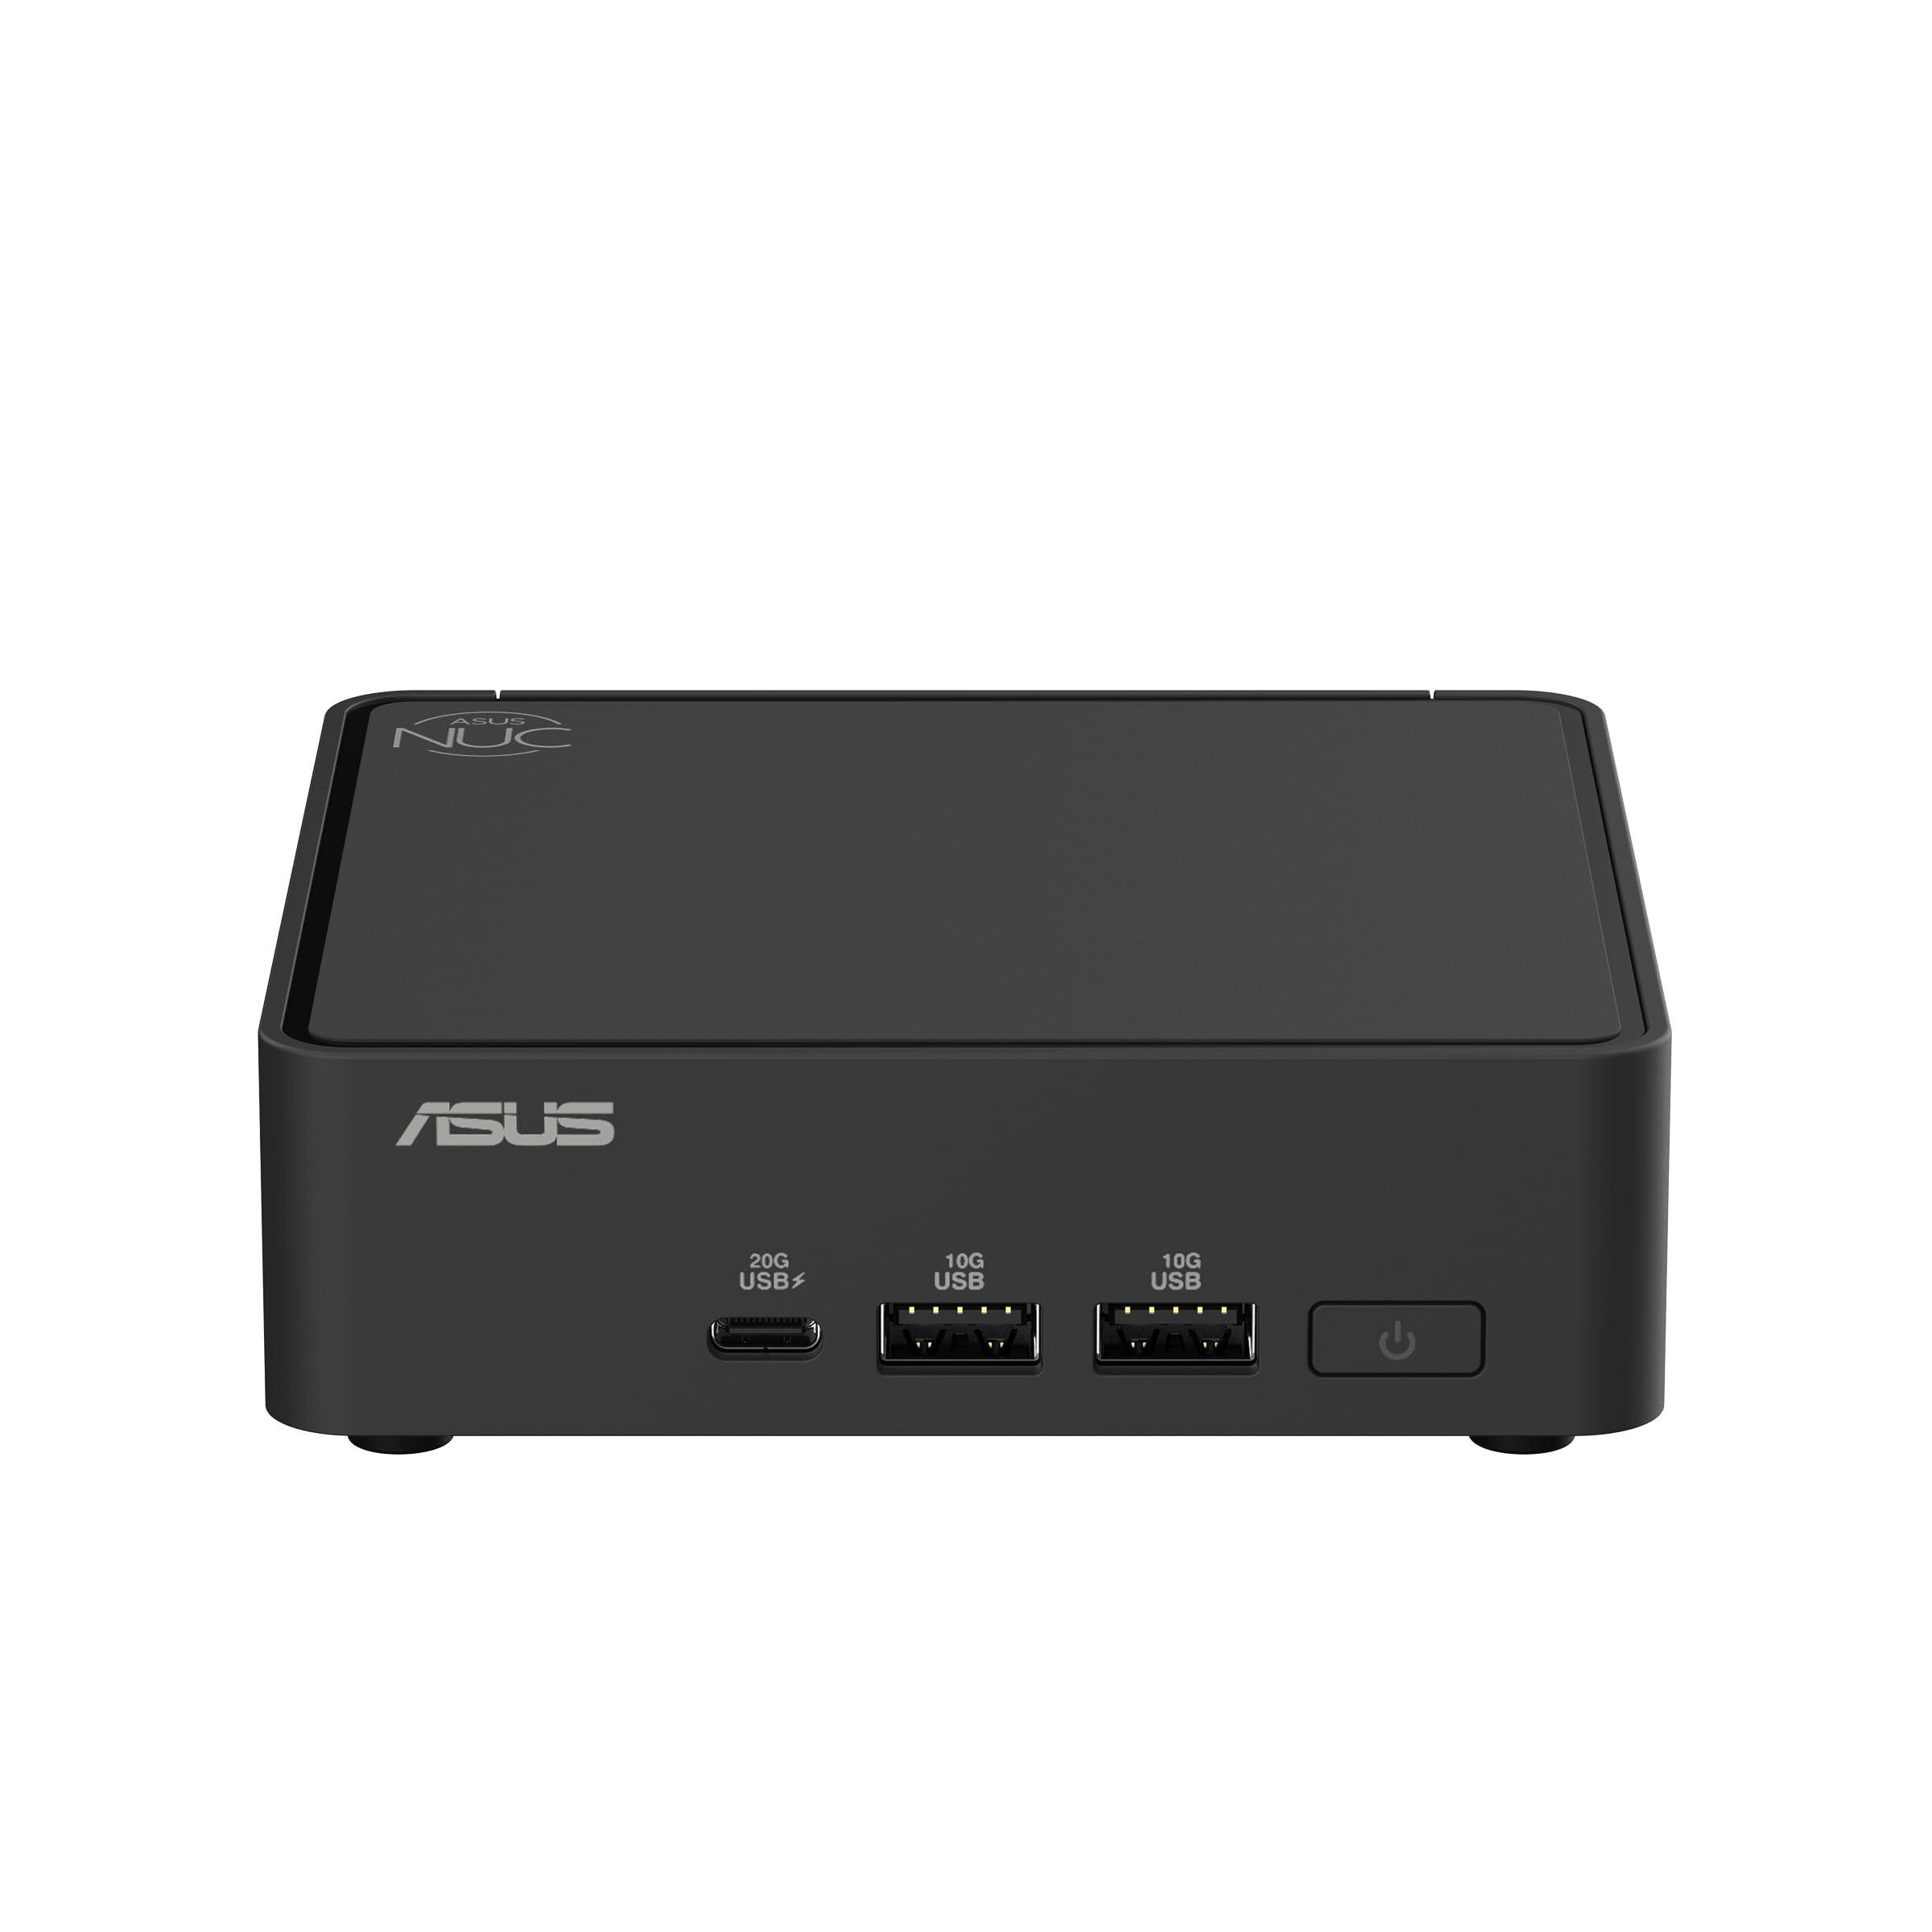
Figure 1: ASUS NUC 15 Pro Slim Mini PC, a compact and powerful computing device.
2. ສິ່ງທີ່ຢູ່ໃນກ່ອງ
Carefully unpack your ASUS NUC 15 Pro Slim Mini PC and ensure all items are present:
- ASUS NUC 15 Pro Slim Mini PC (Model: RNUC15CRKI3063CU)
- ຊຸດ VESA Mount
- ເຄື່ອງປັບໄຟຟ້າ AC
- ສາຍໄຟ
3. ຄໍາແນະນໍາການຕິດຕັ້ງ
3.1 ການເຊື່ອມຕໍ່ອຸປະກອນຕໍ່
ກ່ອນທີ່ຈະເປີດເຄື່ອງໃນ Mini PC ຂອງທ່ານ, ໃຫ້ເຊື່ອມຕໍ່ອຸປະກອນຕໍ່ພ່ວງທີ່ຈໍາເປັນທັງໝົດ:
- ເຊື່ອມຕໍ່ຈໍສະແດງຜົນ: Use an HDMI 2.1 or Thunderbolt 4 cable to connect your monitor(s) to the corresponding ports on the Mini PC. The device supports up to four 4K displays.
- ເຊື່ອມຕໍ່ແປ້ນພິມ ແລະເມົາສ໌: Plug your USB keyboard and mouse into the available USB 3.0 or USB 2.0 ports.
- ເຊື່ອມຕໍ່ເຄືອຂ່າຍ (ທາງເລືອກ): For a wired internet connection, connect an Ethernet cable to the 2.5Gb Ethernet port. For wireless, ensure your Wi-Fi network is available during initial setup.
- ເຊື່ອມຕໍ່ພະລັງງານ: Plug the AC Power Adapter into the DC-in port on the Mini PC, then connect the power cord to an electrical outlet.

Figure 2: Front ports including USB 3.2 Gen 2x2 Type-C, 2x USB 3.2 Gen2 Type-A, and Power button.

Figure 3: Rear ports including Security mechanism for power cable, HDMI 2.1, 2.5Gb Ethernet, USB 3.2 Gen2 Type-A, USB 2.0 Type-A, and Thunderbolt 4 ports.
3.2 ການຕິດຕັ້ງ Mount VESA (ທາງເລືອກ)
The included VESA mount allows you to attach the Mini PC to the back of a compatible monitor or to a wall, saving desk space. Follow the instructions provided with the VESA mount kit for proper installation.

Figure 4: Flexible configuration with VESA mounting for space-saving setup.
4. ຄໍາແນະນໍາການດໍາເນີນງານ
4.1 ການເປີດ/ປິດ
- ເພື່ອເປີດເຄື່ອງ: ກົດປຸ່ມເປີດປິດທີ່ຕັ້ງຢູ່ດ້ານຫນ້າຂອງ Mini PC.
- ປິດເຄື່ອງ: From Windows 11 Pro, click the Start button, then Power > Shut down. Alternatively, you can press and hold the power button for 4 seconds to force a shutdown (use only when necessary).
4.2 ການຕິດຕັ້ງ Windows 11 Pro ເບື້ອງຕົ້ນ
Upon first boot, follow the on-screen instructions to complete the Windows 11 Pro setup, including region, keyboard layout, network connection, and user account creation.
4.3 ການເຊື່ອມຕໍ່ເຄືອຂ່າຍ
- ການເຊື່ອມຕໍ່ສາຍ: If an Ethernet cable is connected, the system will automatically detect and use the wired network.
- ການເຊື່ອມຕໍ່ໄຮ້ສາຍ: During Windows setup or via the Windows Settings menu, select your Wi-Fi network and enter the password. The Mini PC supports Intel Wi-Fi 7 for fast wireless speeds.
4.4 Using Thunderbolt™ 4 Ports
The Thunderbolt™ 4 ports offer versatile connectivity for high-speed data transfer, video output, and power delivery. You can connect external displays, storage devices, or docking stations.
5. ບໍາລຸງຮັກສາ
5.1 ການທໍາຄວາມສະອາດ
Regularly clean the exterior of the Mini PC with a soft, dry cloth. Avoid using liquid cleaners or solvents. Ensure ventilation openings are free from dust and obstructions to maintain optimal cooling.
5.2 ການປັບປຸງຊອບແວ
Keep your Windows 11 Pro operating system and device drivers updated to ensure optimal performance and security. Windows Update can be accessed via Settings > Windows Update.
5.3 Hardware Upgrades (Tool-less Access)
The ASUS NUC 15 Pro Slim features a tool-less chassis design, allowing for easy access to internal components for upgrades such as RAM or storage. Refer to the detailed upgrade guide on the ASUS support webເວັບໄຊສໍາລັບຄໍາແນະນໍາສະເພາະ.

Figure 5: Tool-less integration allows for easy and quick hardware upgrades.
6. ການແກ້ໄຂບັນຫາ
ພາກນີ້ແກ້ໄຂບັນຫາທົ່ວໄປທີ່ທ່ານອາດຈະພົບກັບ Mini PC ຂອງທ່ານ.
| ບັນຫາ | ການແກ້ໄຂທີ່ເປັນໄປໄດ້ |
|---|---|
| ບໍ່ມີພະລັງງານ | Ensure the power adapter and cord are securely connected to both the Mini PC and a working electrical outlet. Test the outlet with another device. |
| ບໍ່ມີຈໍສະແດງຜົນ | Verify that the monitor is powered on and the display cable (HDMI or Thunderbolt) is securely connected to both the Mini PC and the monitor. Try a different display cable or monitor if possible. |
| ບໍ່ມີການເຊື່ອມຕໍ່ອິນເຕີເນັດ | For wired connections, check the Ethernet cable and router status. For Wi-Fi, ensure Wi-Fi is enabled in Windows settings, you are connected to the correct network, and the password is correct. Restart your router/modem. |
| System Slowdown / Overheating | Ensure the Mini PC's ventilation openings are clear. Close unnecessary applications. Check for background processes consuming high resources via Task Manager. Ensure drivers and Windows are up to date. |
7. ຂໍ້ມູນຈໍາເພາະ
Detailed technical specifications for the ASUS NUC 15 Pro Slim Mini PC (RNUC15CRKI3063CU):
| ຄຸນສົມບັດ | ລາຍລະອຽດ |
|---|---|
| ໂຮງງານຜະລິດ | Intel Series 1 Core 3 100U (1.2 GHz) |
| RAM | 16 GB DDR5 (5600 MHz) |
| ການເກັບຮັກສາ | 512 GB PCIe G4x4 NVMe SSD |
| Graphics Coprocessor | ປະສົມປະສານ Intel Graphics |
| ລະບົບປະຕິບັດການ | Windows 11 Pro |
| ຄວາມລະອຽດໜ້າຈໍສູງສຸດ | 3840 x 2160 ພິກເຊລ (4K) |
| ຜົນຜະລິດວິດີໂອ | HDMI 2.1, Thunderbolt™ 4 (supports up to four 4K displays) |
| ການເຊື່ອມຕໍ່ໄຮ້ສາຍ | Intel Wi-Fi 7 (802.11.be), Bluetooth 5.4 |
| ພອດ USB | 1x USB 3.2 Gen 2x2 Type-C, 2x USB 3.2 Gen2 Type-A, 1x USB 2.0 Type-A (front); 1x USB 3.2 Gen2 Type-A, 1x USB 2.0 Type-A (rear) |
| ອີເທີເນັດ | 2.5Gb Ethernet |
| ຂະໜາດ (LxWxH) | 4.61 x 4.41 x 1.45 ນິ້ວ |
| ນ້ໍາຫນັກລາຍການ | 12.6 ອອນ |
| Chassis Access | Tool-less 2.0 |
| ການຕິດຕັ້ງ | VESA Mount Included |
| ຄວາມຫນ້າເຊື່ອຖື | 24/7 reliability, MIL-STD-810H certification |
8. ການຮັບປະກັນແລະການສະຫນັບສະຫນູນ
ສໍາລັບຂໍ້ມູນການຮັບປະກັນ, ການສະຫນັບສະຫນູນດ້ານວິຊາການ, ແລະຊັບພະຍາກອນເພີ່ມເຕີມ, ກະລຸນາເຂົ້າໄປທີ່ການສະຫນັບສະຫນູນ ASUS ຢ່າງເປັນທາງການ webເວັບໄຊ. ທ່ານສາມາດຊອກຫາຄົນຂັບລົດ, FAQs, ແລະຂໍ້ມູນການຕິດຕໍ່ສໍາລັບການບໍລິການລູກຄ້າມີ.
ຮອງຮັບ ASUS Webເວັບໄຊ: www.asus.com/support/