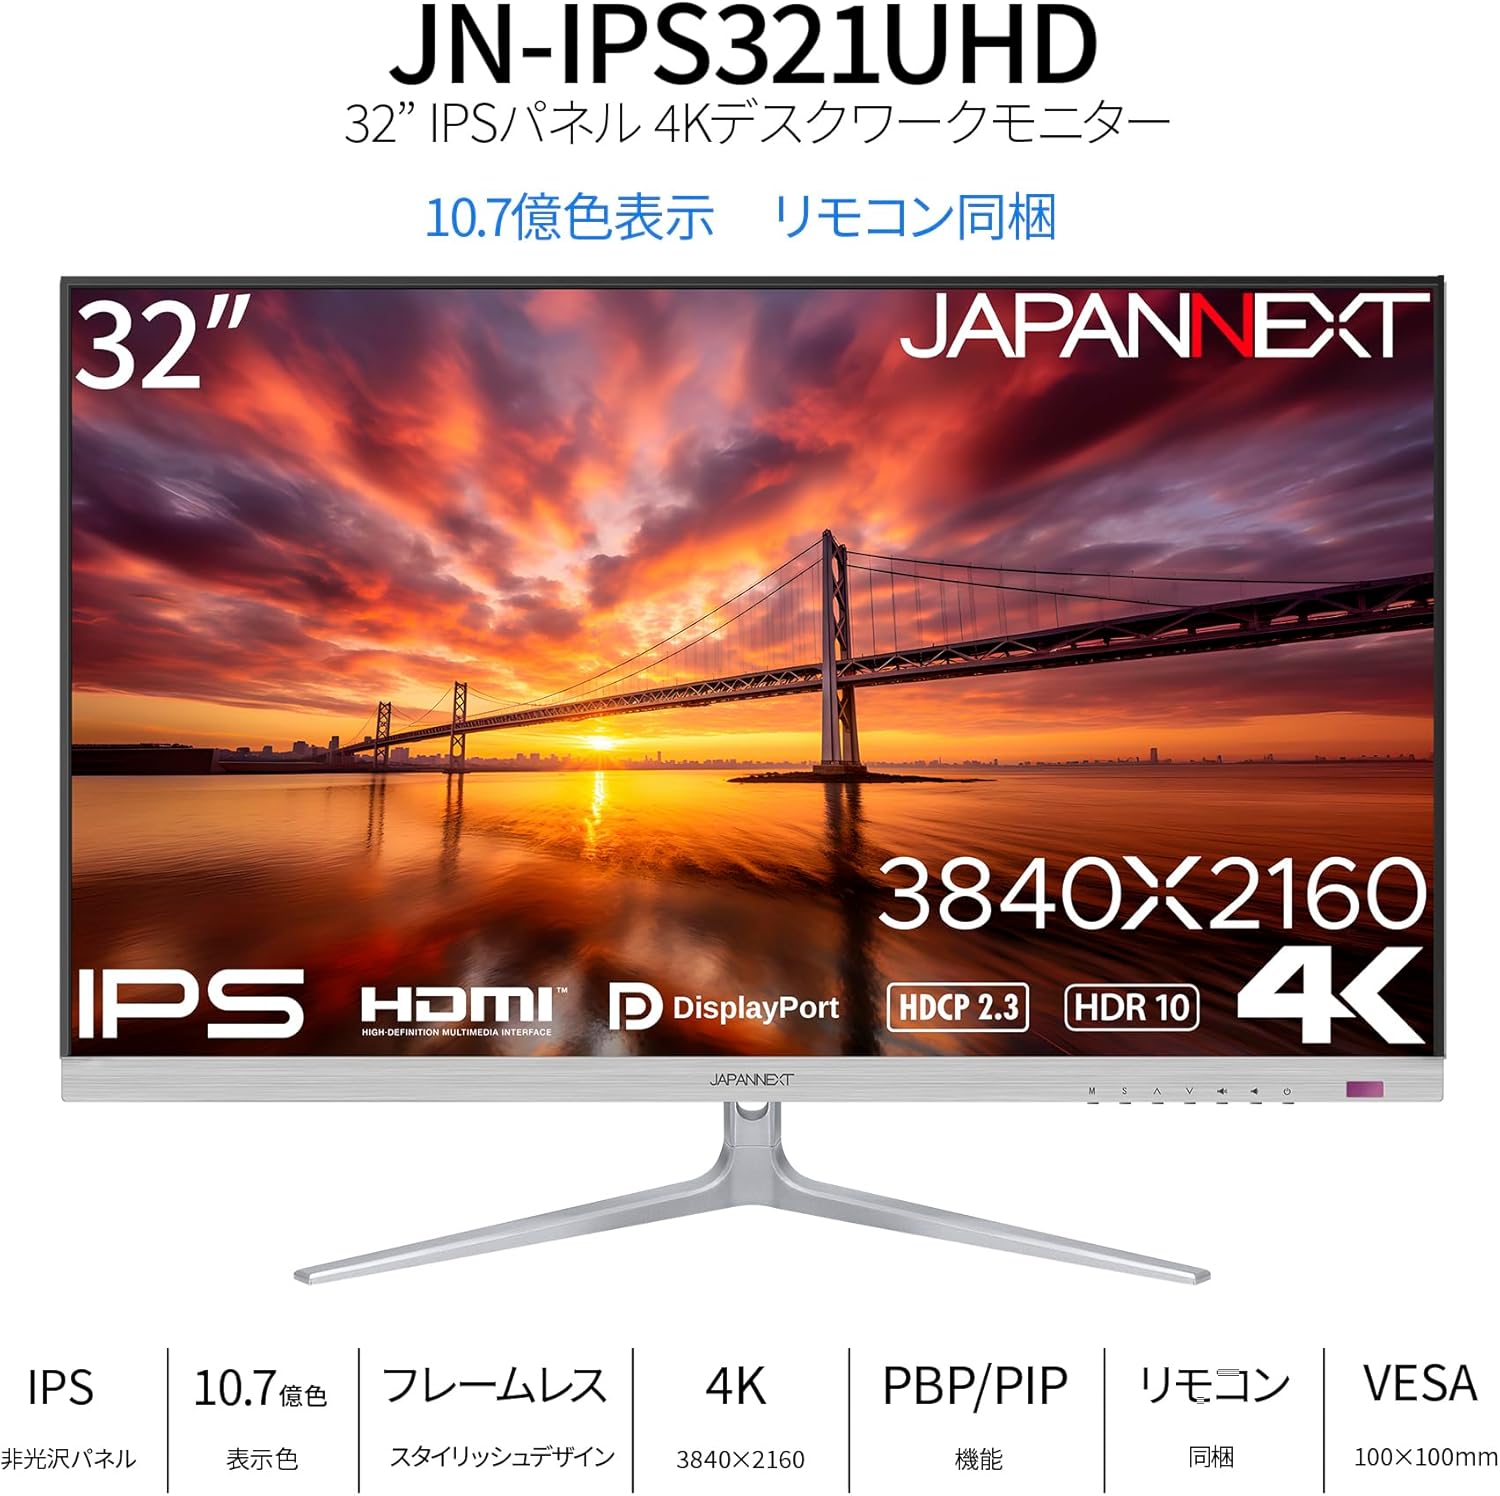
1. ບົດແນະນຳ
ຂອບໃຈສໍາລັບການຊື້asing the JAPANNEXT JN-IPS321UHD 32-inch 4K UHD IPS Monitor. This monitor is designed to provide a high-quality visual experience with its 3840x2160 resolution, wide viewing angles, and HDR support. This manual will guide you through the setup, operation, maintenance, and troubleshooting of your new monitor to ensure optimal performance and longevity.
2. ຂໍ້ມູນຄວາມປອດໄພ
Please read and follow these safety guidelines carefully before using the monitor:
- ຢ່າເຮັດໃຫ້ຈໍສະແດງຜົນຖືກຝົນ, ຄວາມຊຸ່ມຊື່ນ, ຫຼືອຸນຫະພູມທີ່ຮຸນແຮງ.
- ຮັບປະກັນການລະບາຍອາກາດທີ່ເຫມາະສົມຮອບຈໍເພື່ອປ້ອງກັນຄວາມຮ້ອນເກີນ.
- ໃຊ້ພຽງແຕ່ອະແດັບເຕີພະລັງງານທີ່ສະໜອງໃຫ້ກັບຈໍພາບເທົ່ານັ້ນ.
- ຫຼີກເວັ້ນການວາງວັດຖຸຫນັກໃສ່ສາຍໄຟ.
- ຢ່າພະຍາຍາມຖອດ ຫຼືສ້ອມແປງຈໍສະແດງຜົນດ້ວຍຕົວເອງ. ອ້າງອີງການບໍລິການທັງໝົດໃຫ້ກັບບຸກຄະລາກອນທີ່ມີຄຸນວຸດທິ.
- ເຮັດຄວາມສະອາດຫນ້າຈໍດ້ວຍຜ້າອ່ອນໆ, ທີ່ບໍ່ມີເສັ້ນດ່າງ. ຫຼີກເວັ້ນການນໍາໃຊ້ສານເຄມີທີ່ຮຸນແຮງ.
3. ເນື້ອໃນຊຸດ
ກວດສອບວ່າລາຍການທັງຫມົດແມ່ນມີຢູ່ໃນຊຸດ:
- JAPANNEXT JN-IPS321UHD Monitor
- ຕິດຕາມ Stand
- ສາຍ HDMI
- ສາຍ DisplayPort
- ສາຍໄຟ
- Power Adapter
- ຄູ່ມືຜູ້ໃຊ້
- ບັດຮັບປະກັນ
- ການຄວບຄຸມໄລຍະໄກ (ບໍ່ລວມຫມໍ້ໄຟ)
4. ຕັ້ງຄ່າ
4.1 ການຕິດຕັ້ງ
Carefully place the monitor face down on a soft, clean surface to prevent scratches. Attach the stand base to the stand neck, then secure the assembled stand to the back of the monitor using the provided screws.
ຮູບພາບ: ທາງຫນ້າ view of the monitor with its attached stand.
4.2 ການຕິດຕັ້ງ Mount VESA (ທາງເລືອກ)
The monitor supports a 100x100mm VESA mount. If you prefer to mount the monitor on a wall or an alternative stand, remove the factory stand and attach your VESA-compatible mounting bracket. Ensure the mounting screws are of appropriate length to avoid damaging internal components.

ຮູບພາບ: ດ້ານຫລັງ view of the monitor, highlighting the VESA mount area and input ports.
4.3 ສາຍເຊື່ອມຕໍ່
Connect the power adapter to the monitor's power port and then to a power outlet. Connect your video source (PC, game console, etc.) to one of the available input ports (HDMI or DisplayPort) on the monitor. If desired, connect external speakers or headphones to the audio output port.
Image: Close-up of the monitor's input panel, showing Audio Out, DisplayPort 1.4 (x2), HDMI 2.1 (x2), and Power Port.
5. ການດໍາເນີນງານຂອງ Monitor
5.1 ເປີດ/ປິດ
Press the power button on the monitor or the remote control to turn the monitor on or off. The power indicator light will show the monitor's status (e.g., blue for on, amber for standby).
5.2 ການຄັດເລືອກການປ້ອນຂໍ້ມູນ
Use the input selection button on the monitor or the remote control to cycle through the available input sources (HDMI 1, HDMI 2, DisplayPort 1, DisplayPort 2). The monitor will automatically detect an active signal.
5.3 ເມນູການສະແດງເທິງໜ້າຈໍ (OSD).
Access the OSD menu using the buttons on the monitor or the remote control to adjust various settings such as brightness, contrast, color temperature, and picture modes. Navigate through the menu using the directional buttons and confirm selections with the OK/Enter button.
5.4 Picture-by-Picture (PBP) and Picture-in-Picture (PIP)
The monitor supports PBP and PIP functions, allowing you to display content from multiple input sources simultaneously. Refer to the OSD menu for options to configure these modes, including layout and source selection. PBP mode can display up to two input images side-by-side, while PIP mode displays one input as a smaller window over another main input.
5.5 ໂໝດເກມ
The monitor features a dedicated Game Mode to optimize visual settings for gaming. This mode can enhance visibility in dark areas and improve response times. Activate and configure Game Mode through the OSD menu.

Image: Monitor screen showing a game with the 'Picture Mode' menu, including FPS and Game options.
5.6 ຄຸນສົມບັດສຽງ
The monitor includes built-in 2W x 2 stereo speakers for audio output. You can adjust the volume through the OSD menu or the remote control. For higher quality audio, connect external speakers or headphones to the audio output port.

Image: Monitor displaying a music scene, illustrating the integrated speakers.
ຮອງຮັບ HDR 5.7
The monitor supports High Dynamic Range (HDR) content, providing a wider range of colors and contrast for a more immersive viewing experience. Ensure your connected device and content also support HDR for this feature to function.
5.8 Blue Light Reduction
To reduce eye strain during prolonged use, the monitor features a blue light reduction mode. This setting can be adjusted or enabled/disabled via the OSD menu.
6. ບໍາລຸງຮັກສາ
6.1 ການທໍາຄວາມສະອາດ Monitor
Before cleaning, ensure the monitor is turned off and unplugged from the power outlet. Use a soft, dry, lint-free cloth to gently wipe the screen and exterior surfaces. For stubborn marks, lightly dampen the cloth with water. Avoid using alcohol, ammonia, or abrasive cleaners, as these can damage the screen or finish.
6.2 ການເບິ່ງແຍງທົ່ວໄປ
Keep the monitor away from direct sunlight, heat sources, and areas with high humidity. Do not block the ventilation openings. When moving the monitor, handle it carefully to avoid impact or damage.
7. ການແກ້ໄຂບັນຫາ
ຖ້າຫາກທ່ານພົບບັນຫາກັບການຕິດຕາມກວດກາຂອງທ່ານ, ກະລຸນາເບິ່ງບັນຫາທົ່ວໄປດັ່ງຕໍ່ໄປນີ້ແລະການແກ້ໄຂ:
- ບໍ່ມີພະລັງງານ: Ensure the power cable is securely connected to both the monitor and the power outlet. Check if the power adapter is functioning correctly.
- ບໍ່ມີສັນຍານ: Verify that the video cable (HDMI or DisplayPort) is properly connected to both the monitor and your source device. Ensure the correct input source is selected on the monitor.
- ຮູບພາບທີ່ກະພິບ ຫຼືບິດເບືອນ: Check the video cable for damage. Try a different cable or input port. Ensure your source device's display resolution and refresh rate are compatible with the monitor's specifications.
- ບໍ່ມີສຽງຈາກລຳໂພງ: Check the volume settings on both the monitor and your source device. Ensure the audio cable (if used) is properly connected.
- ການຄວບຄຸມໄລຍະໄກບໍ່ເຮັດວຽກ: Check the batteries in the remote control. Ensure there are no obstructions between the remote and the monitor's IR receiver.
ຖ້າບັນຫາຍັງຄົງຢູ່ຫຼັງຈາກພະຍາຍາມຂັ້ນຕອນເຫຼົ່ານີ້, ກະລຸນາຕິດຕໍ່ຝ່າຍຊ່ວຍເຫຼືອລູກຄ້າ.
8. ຂໍ້ມູນຈໍາເພາະ
Below are the detailed technical specifications for the JAPANNEXT JN-IPS321UHD monitor:

Image: Detailed specifications table for the monitor.
| ຄຸນສົມບັດ | ຂໍ້ມູນຈໍາເພາະ |
|---|---|
| ໝາຍເລກຕົວແບບ | JN-IPS321UHD |
| ຂະໜາດໜ້າຈໍ | 32 ນິ້ວ |
| ປະເພດແຜງ | IPS (AHVA) |
| ຄວາມລະອຽດ | 3840 x 2160 (4K UHD) |
| ອັດຕາສ່ວນ | 16:9 |
| ອັດຕາການໂຫຼດຂໍ້ມູນຄືນໃໝ່ | 60Hz |
| ເວລາຕອບສະຫນອງ | 12ms (ສູງສຸດ) |
| ຄວາມສະຫວ່າງ | 300 cd/m² |
| ອັດຕາສ່ວນກົງກັນຂ້າມ | 1000:1 |
| Viewໃນມຸມ | H:178° V:178° |
| ສະຫນັບສະຫນູນສີ | 1.07 billion colors, sRGB:96% |
| ຮອງຮັບ HDR | HDR10 |
| ສະຫນັບສະຫນູນ HDCP | HDCP 2.3 |
| ວັດສະດຸປ້ອນ | HDMI 2.1 x2 (60Hz), DisplayPort 1.4 x2 (60Hz) |
| ສຽງອອກ | ແມ່ນແລ້ວ |
| ລໍາໂພງ | ຂະ ໜາດ 2W x 2 |
| VESA ພູເຂົາ | 100x100ມມ |
| ຂະໜາດ (ມີຂາຕັ້ງ) | 725mm x 505mm x 207mm |
| ຂະໜາດ (ບໍ່ມີຂາຕັ້ງ) | 725mm x 432mm x 51mm |
| ນ້ຳໜັກ (ຜະລິດຕະພັນ) | 8.9 ກິໂລ |
| ການບໍລິໂພກພະລັງງານ | 47W (typical), 1W (standby) |
9. ການຮັບປະກັນແລະການສະຫນັບສະຫນູນ
Your JAPANNEXT JN-IPS321UHD monitor comes with a warranty. Please refer to the included warranty card for detailed terms and conditions, including the warranty period and coverage. Keep your proof of purchase for warranty claims.
For technical assistance, troubleshooting beyond this manual, or warranty inquiries, please contact JAPANNEXT customer support. Contact information can typically be found on the official JAPANNEXT webສະຖານທີ່ຫຼືຢູ່ໃນບັດຮັບປະກັນທີ່ສະຫນອງໃຫ້ກັບຜະລິດຕະພັນຂອງທ່ານ.