
1. ບົດແນະນຳ
Thank you for choosing the TURN RAISE AT040 210° Two-Way Articulating Borescope. This industrial endoscope is designed for detailed visual inspection in hard-to-reach areas, featuring a dual-lens system, a 7-inch IPS display, and a flexible articulating probe. This manual provides essential information for the safe and effective operation, maintenance, and troubleshooting of your device. Please read it thoroughly before use.
2. ຜະລິດຕະພັນເກີນview
2.1 ລັກສະນະທີ່ສໍາຄັນ
- 210° Two-Way Articulating Probe: Allows precise control and locking of the probe tip for optimal viewມຸມ.
- ລະບົບເລນຄູ່: Front and side cameras for comprehensive inspection, supporting split-screen display.
- ຈໍສະແດງຜົນ IPS ຂະໜາດ 7 ນິ້ວ: Provides a wide and clear view of inspection areas.
- 0.25-inch (6.5mm) Slim Probe: Designed for access into small diameter gaps.
- Adjustable LED Illumination: Integrated lights on the probe with adjustable brightness for clear visibility in dark environments.
- Photo and Video Recording: Capture images and videos to a 32GB memory card.
- ການອອກແບບ Ergonomic: Facilitates comfortable one-hand operation.
- ແບັດເຕີຣີໃນຕົວ 4000mAh: ສະເຫນີເຖິງ 4 ຊົ່ວໂມງຂອງການດໍາເນີນງານຢ່າງຕໍ່ເນື່ອງ.
- IP67 Rating Probe: Water-resistant for use in damp ຫຼືເງື່ອນໄຂທີ່ຊຸ່ມ.
2.2 ເນື້ອໃນຊຸດ
- Borescope with light (Main Unit) x1
- ກະເປົາຖື x1
- ສາຍສາກໄຟ Type-C x1
- ຄູ່ມືຜູ້ໃຊ້ x1
- 32GB Memory Card (pre-installed or separate) x1
2.3 ອົງປະກອບອຸປະກອນ

Figure 1: Main components of the TURN RAISE AT040 Borescope, including the display unit, articulating probe, and protective carrying case.
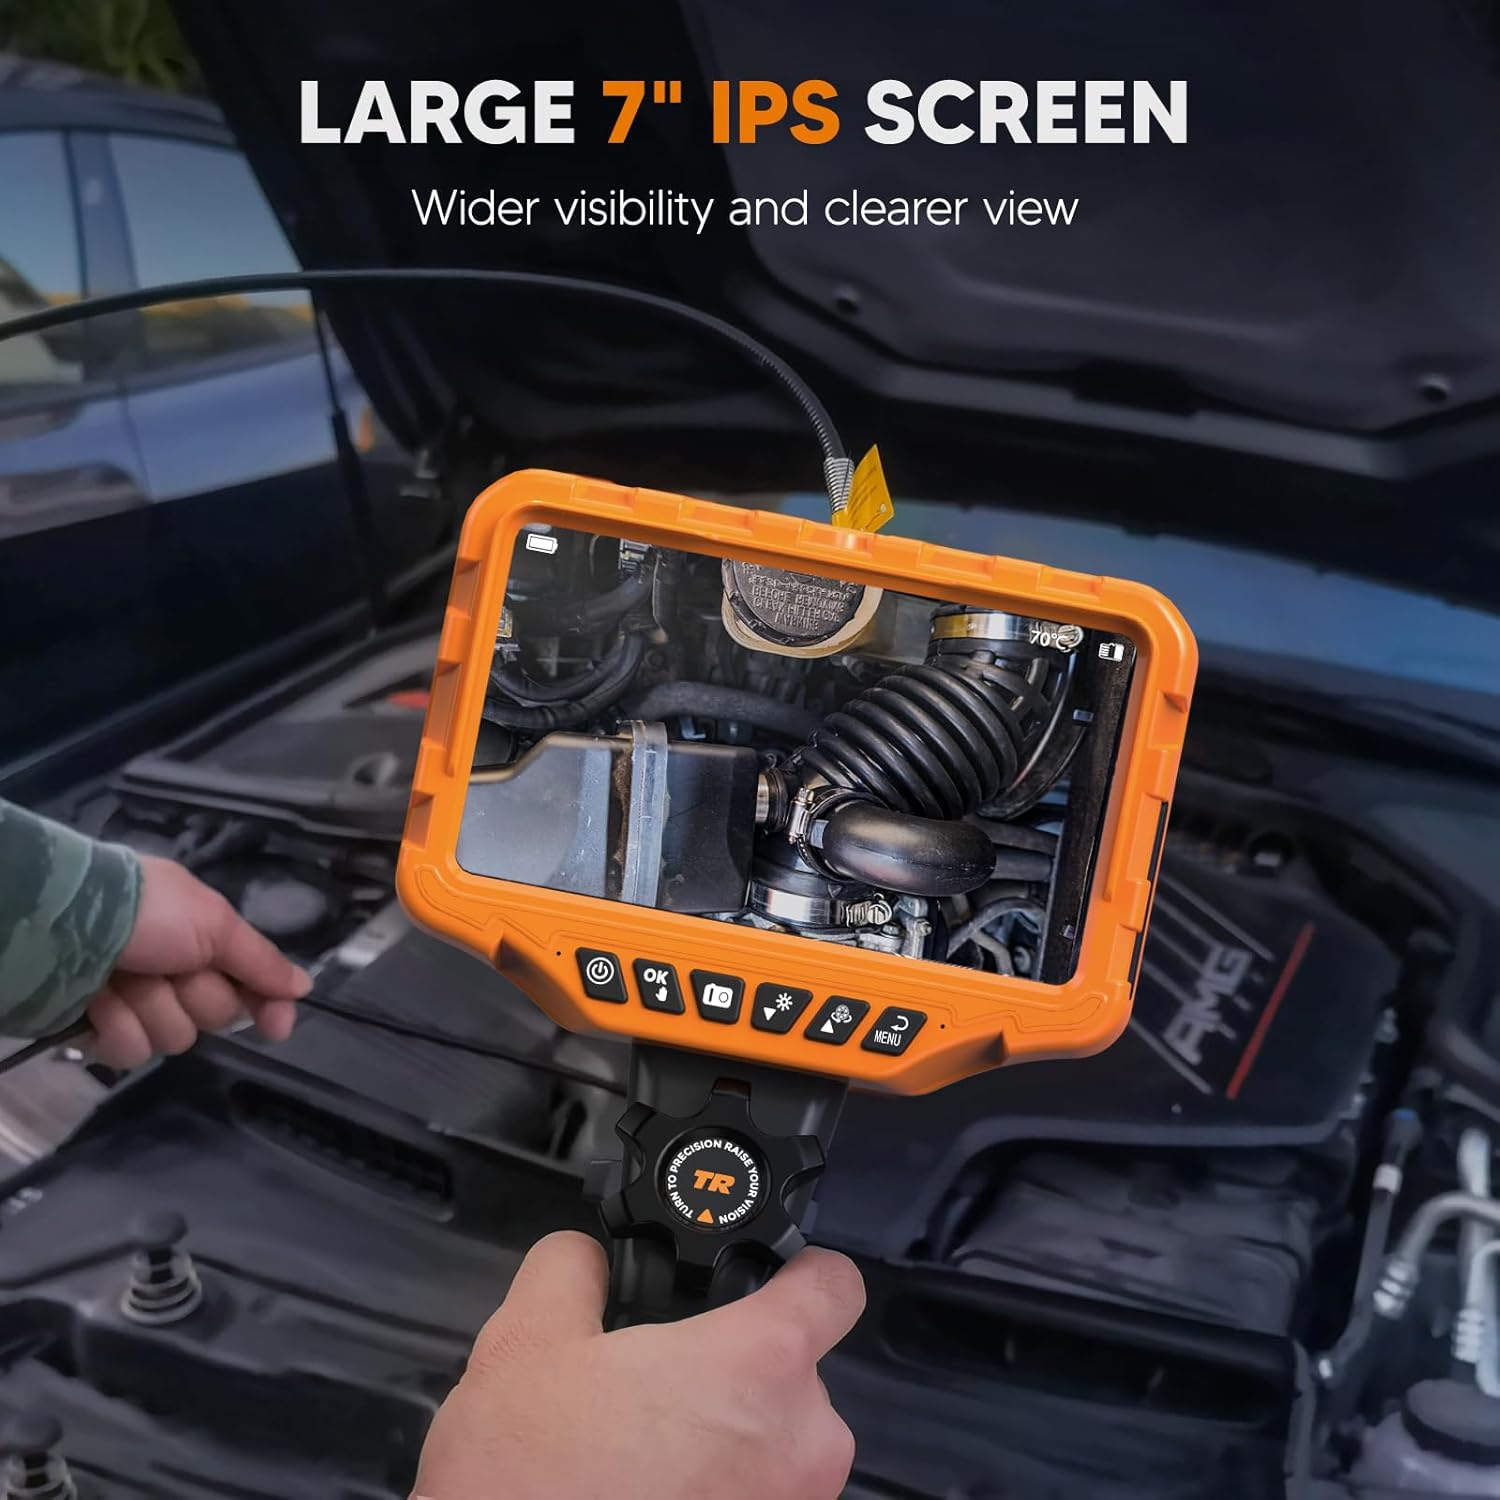
Figure 2: The large 7-inch IPS screen provides a clear and detailed view during inspections.
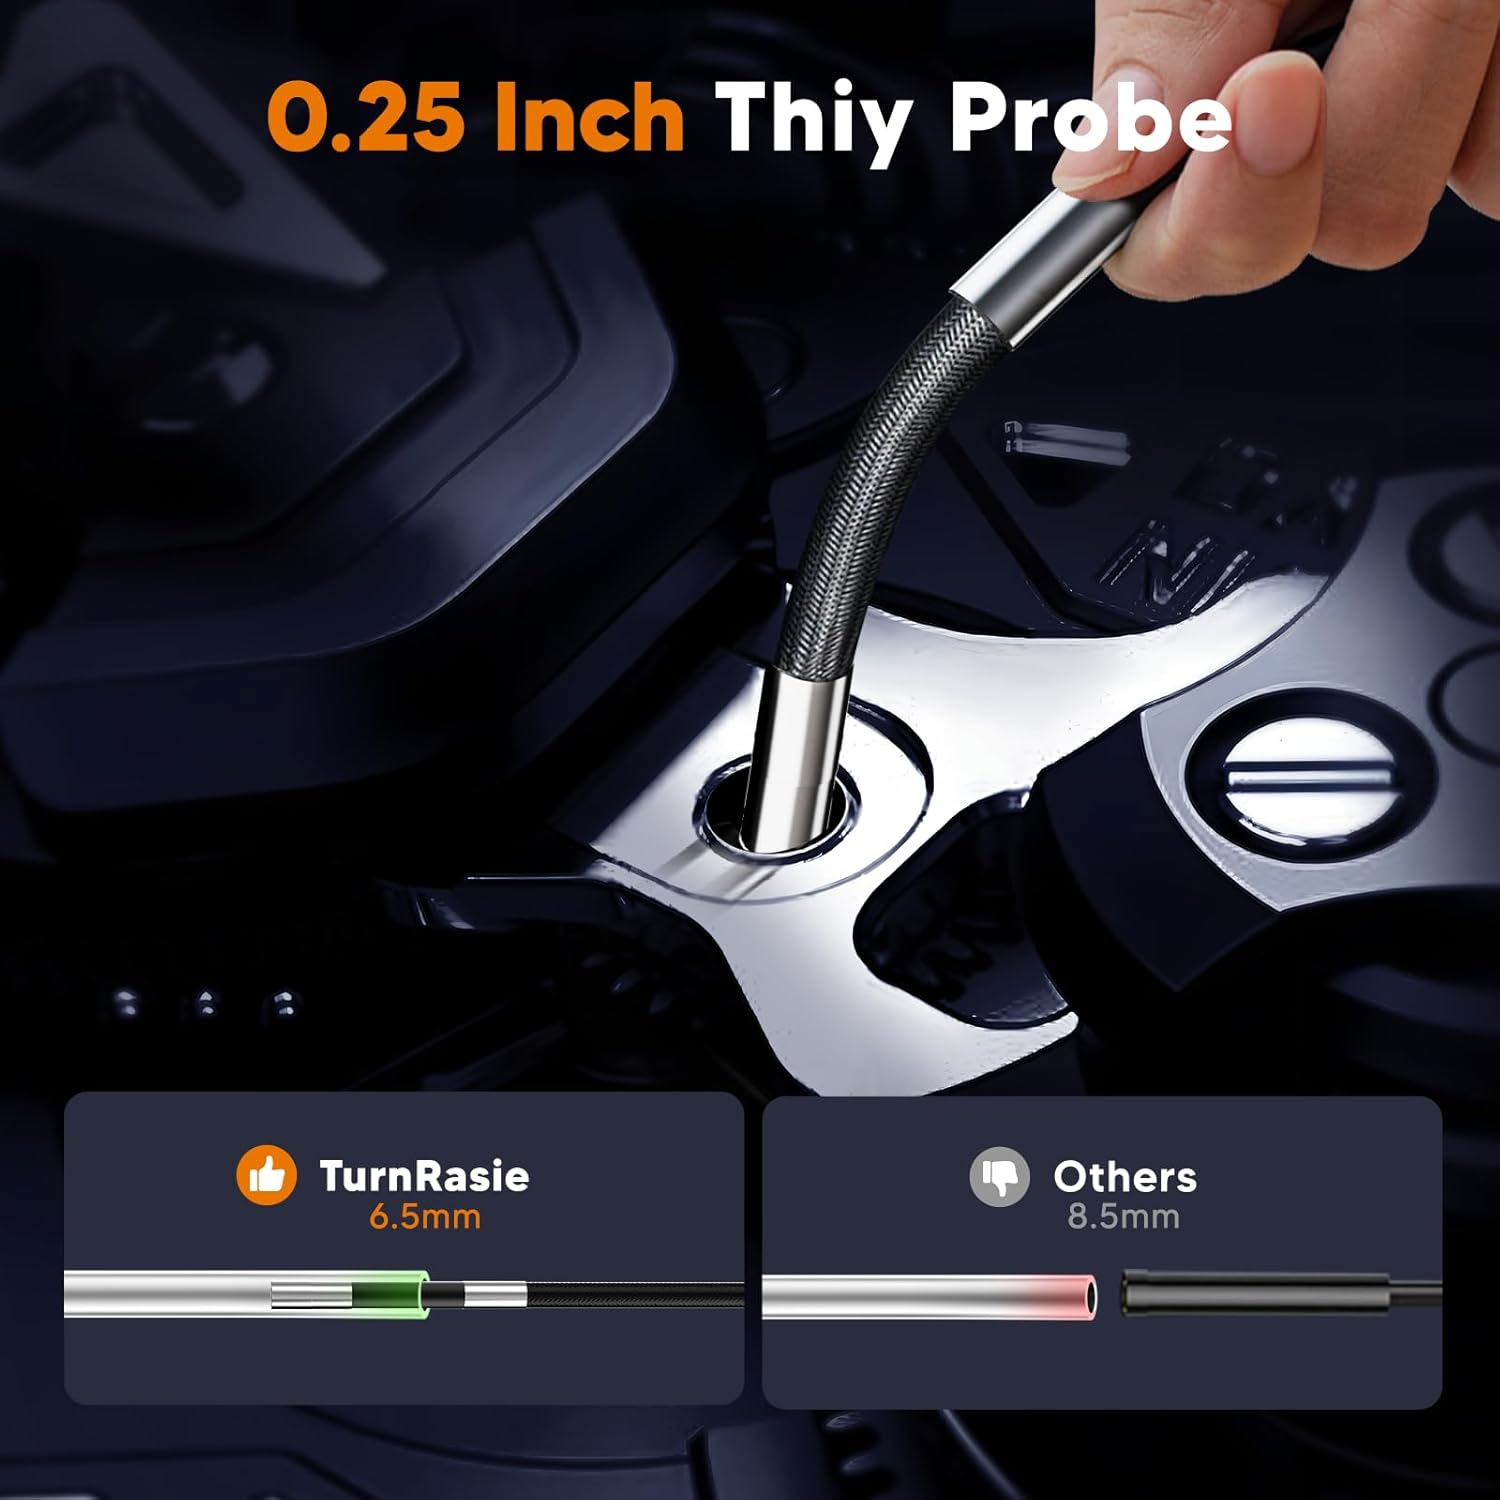
Figure 3: The ultra-slim 0.25-inch (6.5mm) probe allows access into very narrow spaces.
3. ຕັ້ງຄ່າ
3.1 ການສາກອຸປະກອນ
- Connect the provided Type-C charging cable to the charging port on the borescope unit.
- ເຊື່ອມຕໍ່ອີກສົ້ນຂອງສາຍກັບອະແດັບເຕີໄຟ USB ມາດຕະຖານ (ບໍ່ລວມ) ຫຼືພອດ USB ຂອງຄອມພິວເຕີ.
- The charging indicator will illuminate. A full charge typically takes approximately 4 hours. Ensure the device is fully charged before first use for optimal battery life.
3.2 ການໃສ່ແຜ່ນຄວາມ ຈຳ
The device supports a 32GB memory card for storing images and videos. If not pre-installed, locate the memory card slot (usually on the side of the display unit) and gently insert the card until it clicks into place. Ensure the card is inserted in the correct orientation.
3.3 ການຕິດຕັ້ງໂພຣບ
The articulating probe is typically pre-attached. If it needs to be connected, align the connector on the probe cable with the port on the main unit and secure it firmly. Do not force the connection.
4. ຄໍາແນະນໍາການດໍາເນີນງານ
4.1 ເປີດ/ປິດ
- ເພື່ອເປີດເຄື່ອງ: ກົດປຸ່ມເປີດປິດຄ້າງໄວ້ (⏻) for a few seconds until the screen illuminates.
- ປິດເຄື່ອງ: ກົດປຸ່ມເປີດປິດຄ້າງໄວ້ (⏻) again until the screen shuts down.
4.2 ການນຳທາງພື້ນຖານ ແລະ ເມນູ
Use the directional buttons and the 'OK' button to navigate through menus and confirm selections. The 'Menu' button typically accesses settings such as resolution, date/time, and language.
4.3 Articulating Probe Control
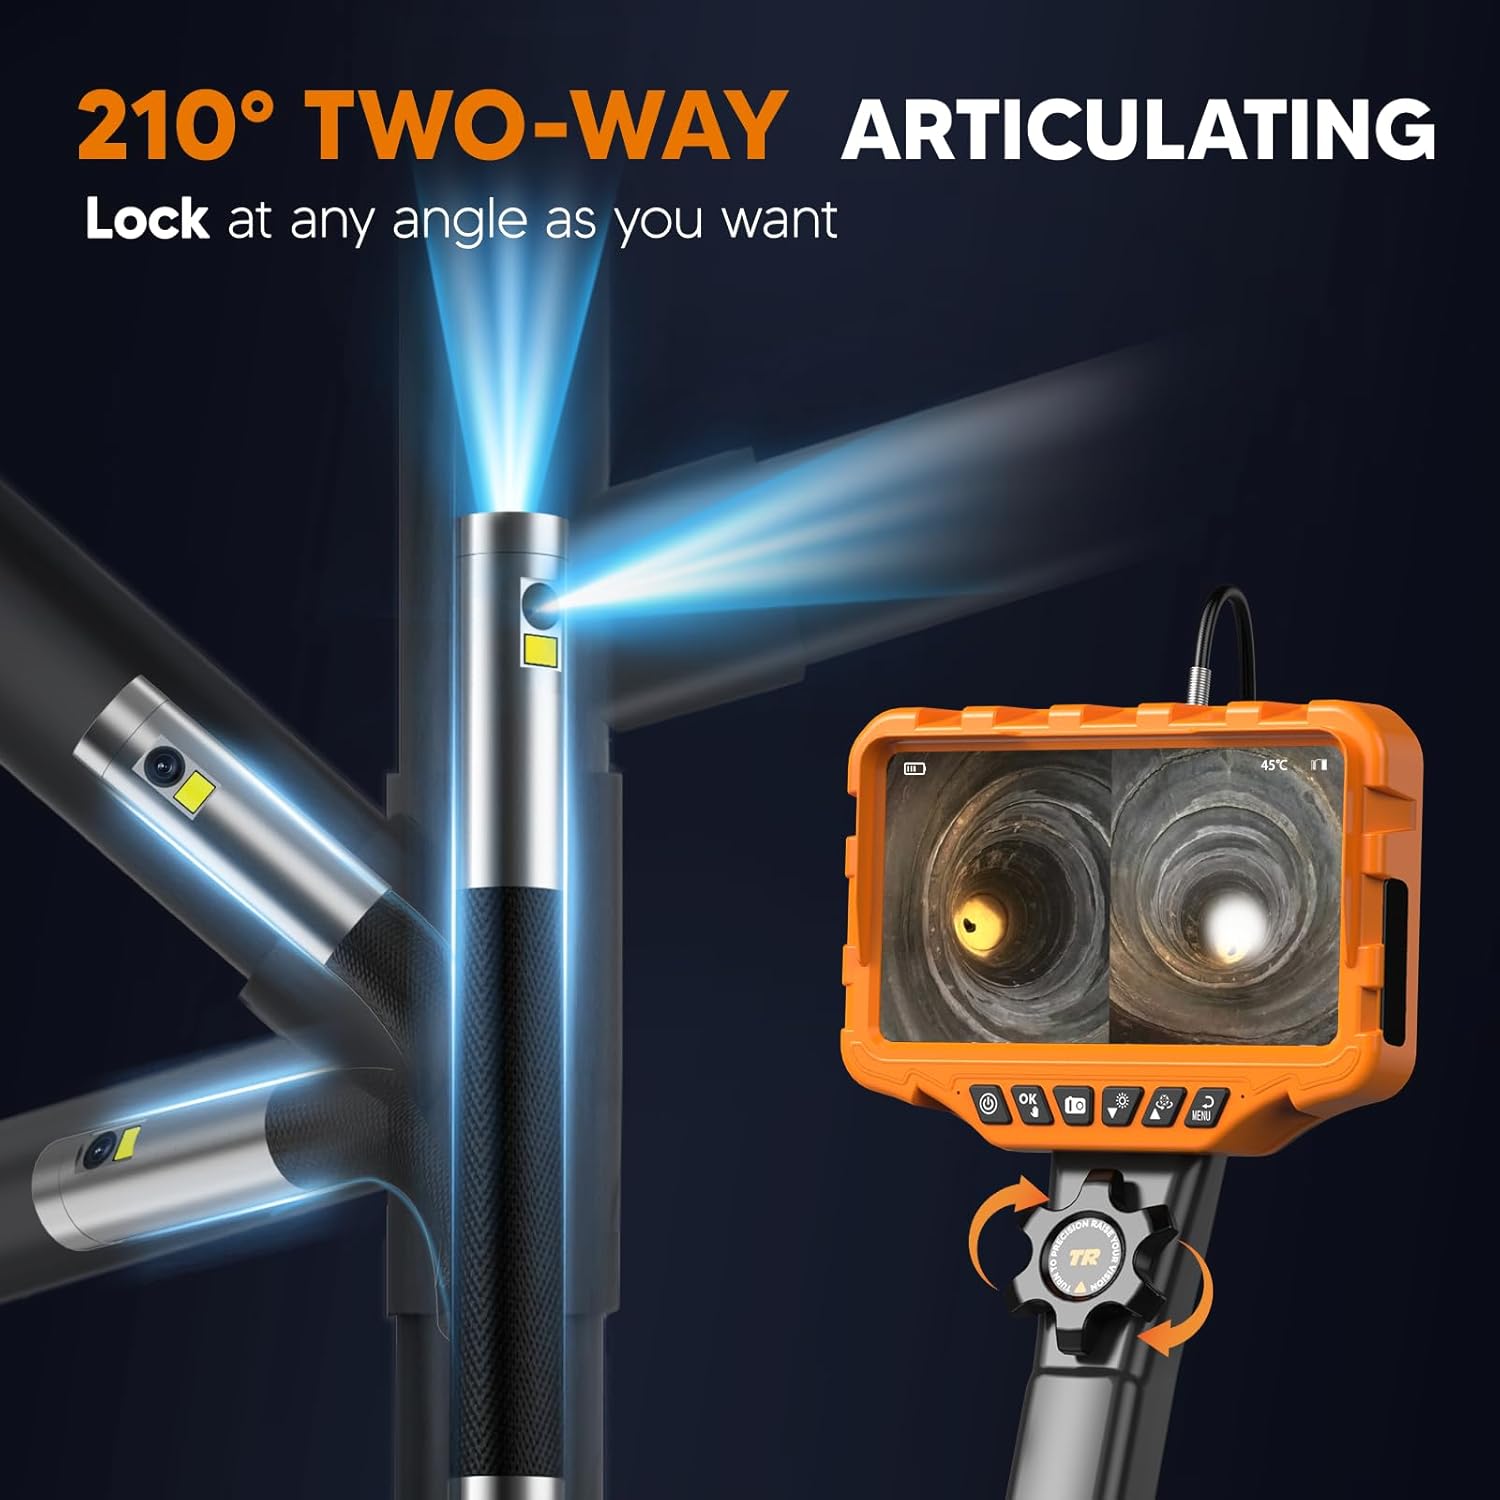
Figure 4: The probe tip can be articulated up to 210 degrees in two directions using the control wheel.
The AT040 features a 210° two-way articulating probe. To control the probe tip:
- Locate the control wheel on the handle of the borescope.
- Rotate the wheel to bend the probe tip in the desired direction.
- The probe tip can be locked at any angle by holding the wheel in position, allowing for stable viewing.
4.4 Dual-Lens and Split-Screen Functionality

ຮູບທີ 5: ລະເບີດ view of the dual-lens camera system, providing 1080P HD imaging.
The borescope is equipped with both a front-facing and a side-facing lens. To utilize this feature:
- Press the dedicated dual-lens button (refer to device interface for icon, typically two overlapping squares or similar) to switch between single front view, single side view, or split-screen display.
- In split-screen mode, both camera feeds are shown simultaneously on the 7-inch IPS screen, enhancing inspection efficiency.
4.5 ການປັບຄວາມສະຫວ່າງຂອງ LED
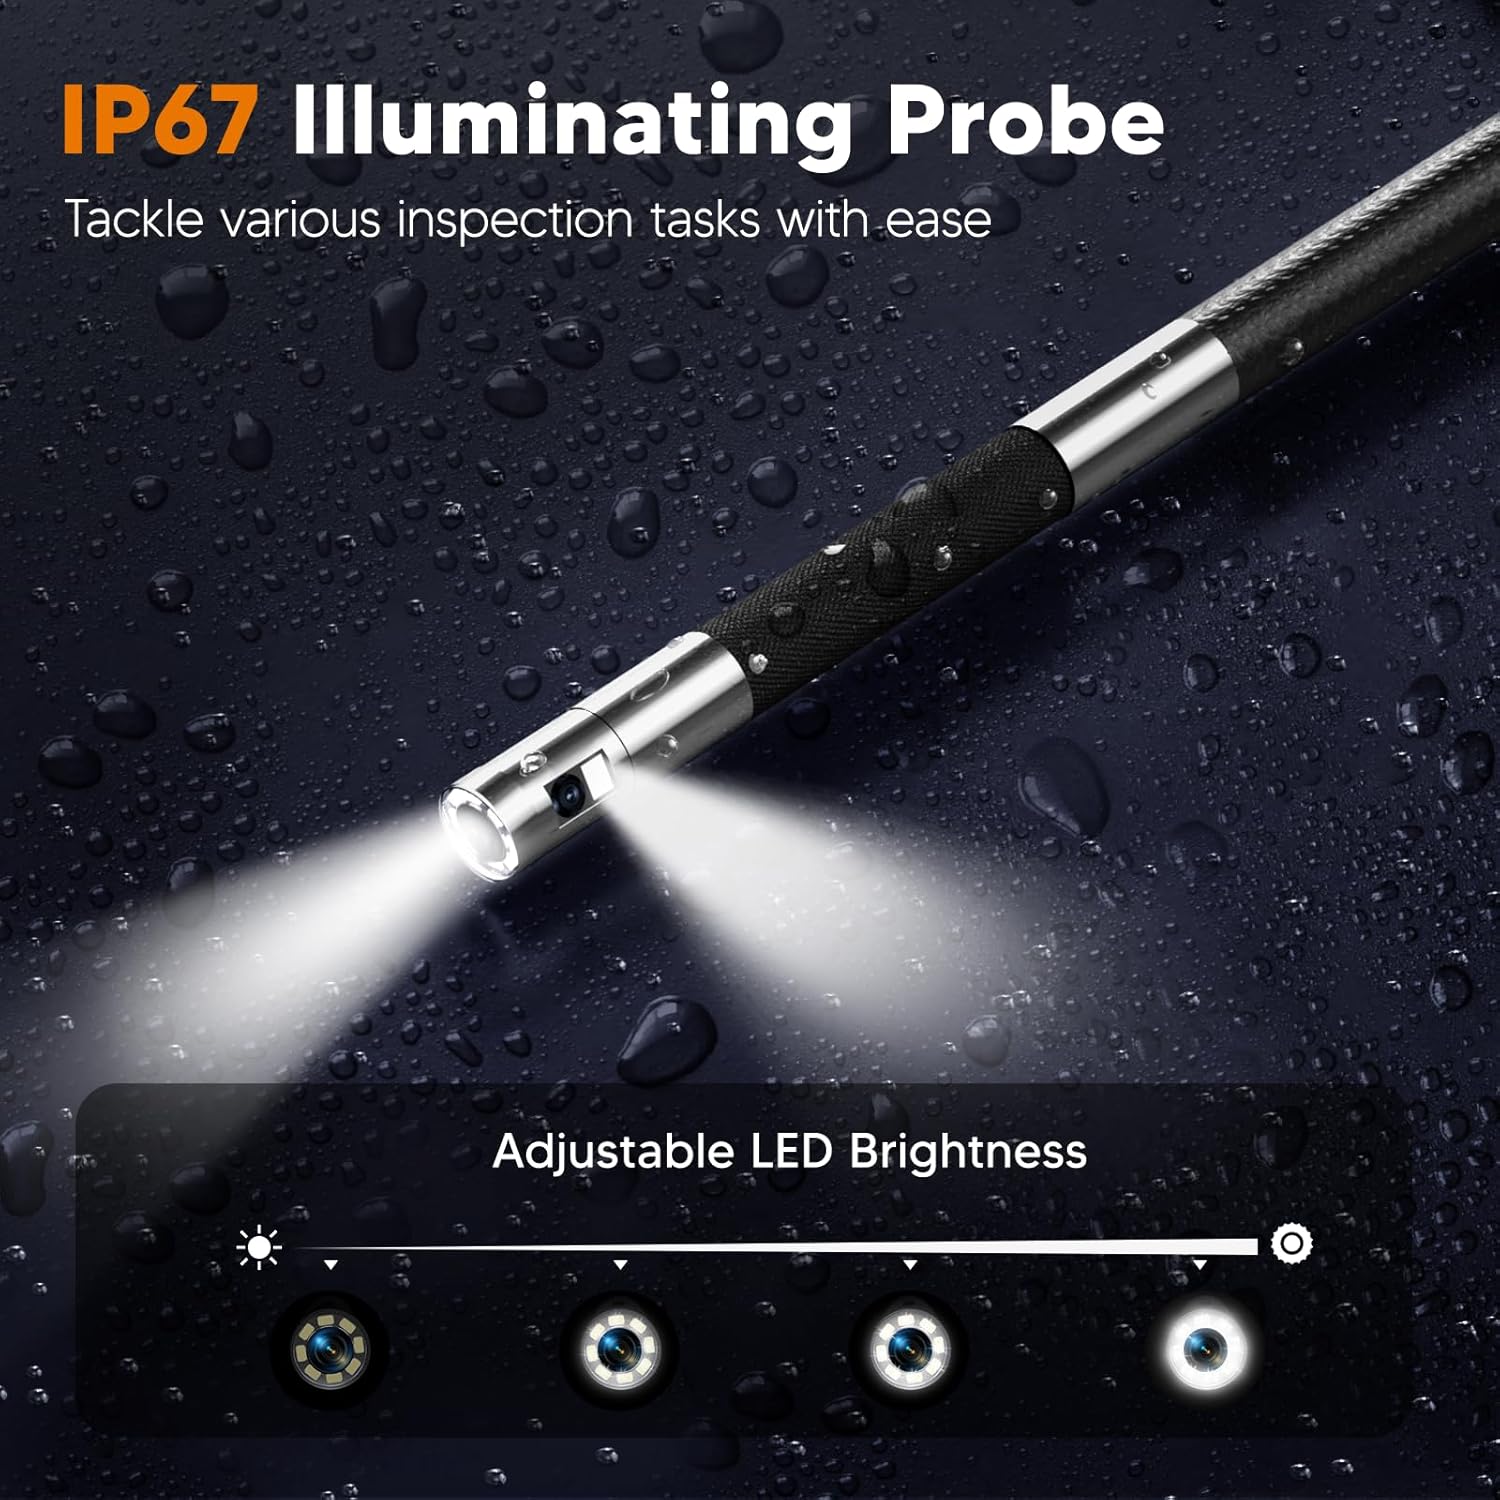
Figure 6: The IP67 rated probe features adjustable LED lights for optimal illumination in various conditions.
To adjust the brightness of the LED lights on the probe tip:
- Locate the LED brightness control button (often indicated by a light bulb icon).
- Press the button repeatedly to cycle through different brightness levels or use a dedicated dial if available.
4.6 ການຖ່າຍຮູບ ແລະ ວິດີໂອ
The borescope supports capturing JPG images and AVI video recordings.
- ເພື່ອຖ່າຍຮູບ: Press the 'Photo' button (typically a camera icon). The image will be saved to the inserted memory card.
- ເພື່ອບັນທຶກວິດີໂອ: Press the 'Video' button (typically a video camera icon) to start recording. Press it again to stop recording. Videos are saved to the memory card.
- The device also supports audio recording via a built-in microphone during video capture.
4.7 Flexible Rigid Gooseneck

Figure 7: The flexible rigid gooseneck probe can be bent and shaped to suit various inspection needs.
The probe cable is designed to be flexible yet rigid enough to hold its shape. This allows you to bend, shape, and extend the probe to navigate complex pathways and maintain the desired viewing angle during inspection.
5. ບໍາລຸງຮັກສາ
5.1 ການທໍາຄວາມສະອາດ
- Probe and Lens: After each use, especially in dirty environments, gently wipe the probe and camera lenses with a soft, dry cloth. For stubborn dirt, a slightly damp cloth can be used, followed by drying. Ensure no liquid enters the probe tip.
- ຈໍສະແດງຜົນ: Clean the IPS screen with a soft, lint-free cloth. Avoid abrasive cleaners.
- ຫົວໜ່ວຍຫຼັກ: ເຊັດຕົວເຄື່ອງຫຼັກດ້ວຍຜ້າແຫ້ງ ຫຼື ຜ້າເຊັດເບົາໆ.amp ຜ້າ. ຢ່າເອົາຫົວຫນ່ວຍຫຼັກຢູ່ໃນນ້ໍາ.
5.2 ການດູແລຫມໍ້ໄຟ
- ເພື່ອຍືດອາຍຸແບັດເຕີລີ, ຫຼີກເວັ້ນການຖອດແບດເຕີລີ່ເຕັມເລື້ອຍໆ.
- ສາກອຸປະກອນເປັນປະຈຳ, ເຖິງແມ່ນວ່າບໍ່ໄດ້ໃຊ້, ເພື່ອຮັກສາສຸຂະພາບຂອງແບັດເຕີຣີ.
- ເກັບຮັກສາອຸປະກອນໄວ້ໃນບ່ອນທີ່ເຢັນ, ແຫ້ງ, ເມື່ອບໍ່ໄດ້ໃຊ້ເປັນເວລາດົນນານ.
5.3 ການເກັບຮັກສາ
Store the borescope and its accessories in the provided carrying case to protect it from dust, impacts, and environmental damage. Keep it away from extreme temperatures and direct sunlight.
6. ການແກ້ໄຂບັນຫາ
| ບັນຫາ | ສາເຫດທີ່ເປັນໄປໄດ້ | ການແກ້ໄຂ |
|---|---|---|
| ອຸປະກອນບໍ່ເປີດ | ຫມໍ້ໄຟຕ່ໍາ; ກົດປຸ່ມເປີດປິດບໍ່ຖືກຕ້ອງ | Charge the device fully. Press and hold the power button for several seconds. |
| ຄຸນນະພາບຮູບພາບບໍ່ດີ | Dirty lens; Insufficient lighting; Incorrect focus distance | Clean the camera lens. Adjust LED brightness. Ensure the object is within the camera's optimal focal range. |
| Probe articulation not working | Control wheel jammed; Internal damage | Check for obstructions around the control wheel. If the issue persists, contact support. |
| ບໍ່ສາມາດບັນທຶກຮູບພາບ/ວິດີໂອໄດ້ | Memory card full or not inserted; File ຄວາມຜິດພາດລະບົບ | Check if the 32GB memory card is correctly inserted and has free space. Format the card if necessary (this will erase all data). |
| ອາຍຸແບັດເຕີຣີສັ້ນ | Battery not fully charged; High brightness settings; Aging battery | Ensure the device is fully charged. Reduce LED brightness if possible. Battery performance may degrade over time. |
7. ຂໍ້ມູນຈໍາເພາະ
| ຄຸນສົມບັດ | ຂໍ້ມູນຈໍາເພາະ |
|---|---|
| ຕົວແບບ | AT040 |
| ເສັ້ນຜ່າສູນກາງ Probe | 0.25 ນິ້ວ (6.5 ມມ) |
| Articulation Angle | 210° Two-Way |
| ຂະໜາດໜ້າຈໍ | ຈໍສະແດງຜົນ IPS ຂະໜາດ 7 ນິ້ວ |
| ຄວາມລະອຽດກ້ອງ | 1080P HD (for both lenses) |
| ຄວາມຍາວສາຍ | 5.3 ຟຸດ (ປະມານ 1.6 ແມັດ) |
| ຄວາມອາດສາມາດຫມໍ້ໄຟ | 4000mAh |
| ເວລາປະຕິບັດງານ | ສູງສຸດ 4 ຊົ່ວໂມງ (ຫຼັງຈາກສາກເຕັມ) |
| ກາດຫນ່ວຍຄວາມຈໍາ | 32GB (ລວມຢູ່) |
| ຮູບແບບຮູບພາບ | JPG |
| ຮູບແບບວິດີໂອ | AVI |
| Probe Water Resistance | IP67 |
| ອຸນຫະພູມປະຕິບັດການ | Refer to device for specific range (often includes temperature sensor at tip) |
| ນ້ຳໜັກ | 1.78 kg (ປະມານ 3.9 lbs) |
| ຜູ້ຜະລິດ | ລ້ຽວຍົກ |
8. ການຮັບປະກັນແລະການສະຫນັບສະຫນູນ
For warranty information, technical support, or service inquiries, please refer to the documentation included with your purchase or contact the TURN RAISE customer support directly. Keep your purchase receipt as proof of purchase.