
1. ບົດແນະນຳ
Welcome to the instruction manual for your new Xiaomi Curved Gaming Monitor G34WQi. This guide provides essential information for the safe and optimal setup, operation, and maintenance of your monitor. Please read this manual thoroughly before use to ensure you get the best experience from your device.
The Xiaomi G34WQi features a 34-inch UWQHD (3440x1440) ultrawide curved display with a 1500R curvature, designed to provide an immersive viewing experience. It boasts a high 180Hz refresh rate and a rapid 1ms response time (MPRT) for smooth, fluid gameplay. With FreeSync Premium technology, it minimizes screen tearing and stuttering. The monitor also offers a wide color gamut (95% DCI-P3, 100% sRGB) and a low blue light mode for eye comfort.
2. ຕັ້ງຄ່າ
2.1 ເນື້ອໃນຊຸດ
ກ່ອນການປະກອບ, ກະລຸນາກວດສອບວ່າມີອົງປະກອບທັງໝົດຢູ່ແລ້ວ:
- Xiaomi Curved Gaming Monitor G34WQi
- Monitor Stand (ຖານ ແລະແຂນ)
- ອະແດບເຕີສາຍໄຟ ແລະສາຍ
- ສາຍ DisplayPort
- ສາຍ HDMI
- ຄູ່ມືຜູ້ໃຊ້
2.2 ການປະກອບຂາຕັ້ງ
- ວາງຈໍພາບຢ່າງລະມັດລະວັງລົງເທິງພື້ນຜິວທີ່ສະອາດ, ອ່ອນນຸ້ມເພື່ອປ້ອງກັນຮອຍຂີດຂ່ວນ.
- Attach the stand arm to the back of the monitor using the provided screws. Ensure it is securely fastened.
- Connect the stand base to the arm and tighten the thumb screw at the bottom of the base.
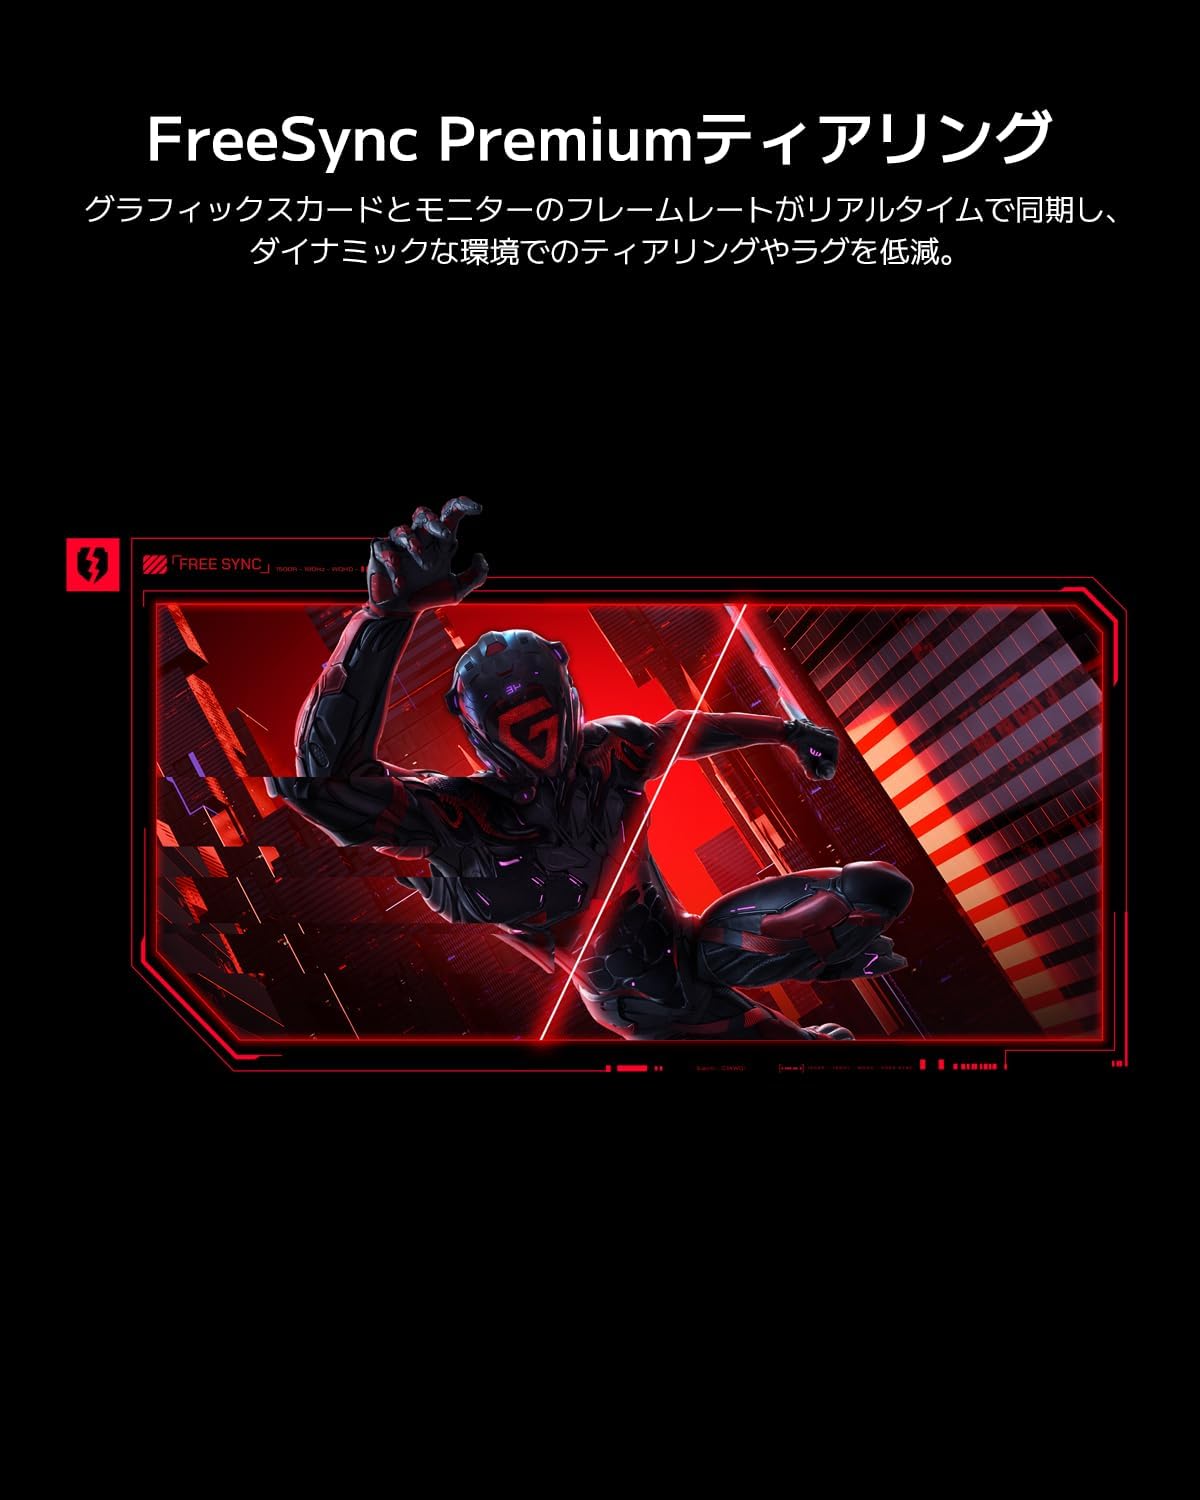
Image: The Xiaomi G34WQi monitor securely mounted on its adjustable stand.
2.3 ສາຍເຊື່ອມຕໍ່
ເຊື່ອມຕໍ່ສາຍທີ່ຈຳເປັນກັບຜອດດ້ານຫຼັງຂອງຈໍພາບ:
- ສາຍໄຟ: ເຊື່ອມຕໍ່ອະແດບເຕີໄຟເຂົ້າກັບຊ່ອງສຽບໄຟຂອງຈໍພາບ, ຈາກນັ້ນສຽບສາຍໄຟເຂົ້າກັບປລັກໄຟທີ່ຕິດຝາ.
- DisplayPort (Recommended for Gaming): For optimal performance, including 180Hz refresh rate and FreeSync Premium, connect the DisplayPort cable from your computer's graphics card to the monitor's DisplayPort input.
- HDMI: Alternatively, connect an HDMI cable from your computer to one of the monitor's HDMI inputs. Note that HDMI may have limitations on refresh rate at UWQHD resolution compared to DisplayPort.
- ອອກສຽງ: ຖ້າຕ້ອງການ, ໃຫ້ເຊື່ອມຕໍ່ລຳໂພງພາຍນອກ ຫຼື ຫູຟັງເຂົ້າກັບຊ່ອງສຽບສຽງອອກ 3.5 ມມ.

ຮູບພາບ: ດ້ານຫລັງ view of the monitor highlighting the input ports for connectivity.
2.4 ການເປີດເຄື່ອງເບື້ອງຕົ້ນ
After connecting all cables, press the power button, usually located on the back or bottom of the monitor, to turn it on. The monitor should automatically detect the input signal. If not, you may need to manually select the input source using the OSD menu.
3. ຄໍາແນະນໍາການດໍາເນີນງານ
3.1 ເປີດ/ປິດ
Press the power button to turn the monitor on or off. A status indicator light will show the monitor's power state.
3.2 ເມນູການສະແດງເທິງໜ້າຈໍ (OSD).
The OSD menu allows you to adjust various monitor settings. It is typically controlled by a joystick or a set of buttons located on the back or bottom of the monitor.
ການນໍາທາງ:
- ກົດປຸ່ມຈອຍສະຕິກ/ປຸ່ມກາງເພື່ອເປີດເມນູ OSD.
- Move the joystick (up/down/left/right) or use the directional buttons to navigate through menu options.
- Press the joystick/center button again to select an option or confirm a setting.
- Move the joystick left or press a dedicated 'Back' button to exit a sub-menu or the OSD.
3.3 ການຕັ້ງຄ່າປຸ່ມ
- ຄວາມສະຫວ່າງ/ຄວາມຄົມຊັດ: ປັບການຕັ້ງຄ່າເຫຼົ່ານີ້ໃຫ້ເໝາະສົມກັບຂອງທ່ານ viewສະພາບແວດລ້ອມ.
- ການຕັ້ງຄ່າສີ: Fine-tune color temperature, gamma, and saturation. The monitor supports 95% DCI-P3 and 100% sRGB for accurate color reproduction.
- ອັດຕາການໂຫຼດຂໍ້ມູນຄືນໃໝ່: Ensure your refresh rate is set to 180Hz in both the monitor's OSD and your computer's display settings for the smoothest experience.
- ເວລາຕອບສະໜອງ: The monitor offers a 1ms MPRT (Moving Picture Response Time). This can often be adjusted in the OSD, sometimes referred to as 'Overdrive' or 'Response Speed'.
- FreeSync Premium: Enable FreeSync Premium in the OSD menu and in your AMD graphics card settings to synchronize the monitor's refresh rate with your GPU's frame rate, eliminating screen tearing and stuttering.

Image: Visual representation of FreeSync Premium preventing screen tearing.
- ໂໝດແສງສີຟ້າຕ່ຳ: Activate this mode to reduce blue light emissions, which can help reduce eye strain during prolonged use.

Image: The monitor displaying content with low blue light mode enabled for eye protection.
4. ບໍາລຸງຮັກສາ
4.1 ການທໍາຄວາມສະອາດຫນ້າຈໍ
ເພື່ອເຮັດຄວາມສະອາດໜ້າຈໍ, ຄ່ອຍໆເຊັດມັນດ້ວຍຜ້າທີ່ອ່ອນໆ, ບໍ່ມີສານຂັດ. ສໍາລັບຮອຍແຂງ, ເບົາບາງ dampໃສ່ຜ້າດ້ວຍນ້ໍາຫຼືເຄື່ອງເຮັດຄວາມສະອາດຫນ້າຈໍພິເສດ. ຢ່າສີດນໍ້າໂດຍກົງໃສ່ໜ້າຈໍ.
4.2 Cleaning the Monitor Body
Use a soft, dry cloth to wipe the monitor's body. Avoid using abrasive cleaners or solvents, as they can damage the surface.
4.3 ການເບິ່ງແຍງທົ່ວໄປ
- ຫຼີກເວັ້ນການວາງວັດຖຸໜັກໃສ່ຈໍພາບ ຫຼືສາຍຂອງມັນ.
- ຮັກສາຈໍພາບໃຫ້ຫ່າງຈາກແສງແດດໂດຍກົງ, ແຫຼ່ງຄວາມຮ້ອນ, ແລະຄວາມຊຸ່ມຊື່ນຫຼາຍເກີນໄປ.
- ຮັບປະກັນການລະບາຍອາກາດທີ່ເຫມາະສົມຮອບຈໍເພື່ອປ້ອງກັນຄວາມຮ້ອນເກີນ.
5. ການແກ້ໄຂບັນຫາ
ຖ້າເຈົ້າພົບບັນຫາກັບຈໍພາບຂອງເຈົ້າ, ໃຫ້ອ້າງອີງເຖິງບັນຫາ ແລະວິທີແກ້ໄຂບັນຫາທົ່ວໄປຕໍ່ໄປນີ້:
5.1 ບໍ່ມີພະລັງງານ / ບໍ່ມີການສະແດງຜົນ
- ກວດເບິ່ງວ່າສາຍໄຟຖືກເຊື່ອມຕໍ່ຢ່າງປອດໄພກັບທັງຈໍພາບ ແລະປລັກສຽບໄຟຫຼືບໍ່.
- ກວດສອບວ່າອະແດບເຕີໄຟຟ້າເຮັດວຽກຢ່າງຖືກຕ້ອງ.
- ກົດປຸ່ມເປີດເຄື່ອງຢູ່ເທິງຈໍພາບເພື່ອຮັບປະກັນວ່າມັນເປີດຢູ່.
5.2 ບໍ່ມີສັນຍານ
- Ensure the video cable (DisplayPort or HDMI) is securely connected to both the monitor and your computer's graphics card.
- ກວດເບິ່ງວ່າຄອມພິວເຕີຂອງທ່ານເປີດຢູ່ຫຼືບໍ່ຢູ່ໃນໂໝດນອນ.
- Use the OSD menu to manually select the correct input source (e.g., DisplayPort 1, HDMI 1).
- Try a different video cable or port on your graphics card/monitor to rule out a faulty connection.
5.3 Flickering or Tearing Screen
- Ensure FreeSync Premium is enabled in both the monitor's OSD and your graphics card settings.
- ກວດສອບວ່າໄດເວີກາດກຣາບຟິກຂອງທ່ານອັບເດດແລ້ວ.
- Check the video cable. Some users have reported better stability with DisplayPort cables for high resolutions and refresh rates compared to HDMI.
- If using multiple monitors, ensure your system can handle the combined load, as some configurations might cause instability.
5.4 Incorrect Resolution or Refresh Rate
- ໄປທີ່ການຕັ້ງຄ່າການສະແດງຜົນຂອງຄອມພິວເຕີຂອງທ່ານ (ເຊັ່ນ: ການຕັ້ງຄ່າການສະແດງຜົນ Windows, ແຜງຄວບຄຸມ NVIDIA, ຊອບແວ AMD Radeon) ແລະຕັ້ງຄວາມລະອຽດເປັນ 3440x1440 ແລະອັດຕາການໂຫຼດໜ້າຈໍຄືນໃໝ່ເປັນ 180Hz.
- Ensure you are using a DisplayPort cable, as some HDMI versions may not support UWQHD at 180Hz.
5.5 Image Reflection
- The monitor has a non-glare (VA) panel, but reflections can still occur in brightly lit environments. Adjust the monitor's position or room lighting to minimize reflections.
6. ຂໍ້ມູນຈໍາເພາະ
| ຄຸນສົມບັດ | ຂໍ້ມູນຈໍາເພາະ |
|---|---|
| ຍີ່ຫໍ້ | Xiaomi |
| ໝາຍເລກຕົວແບບ | G34WQi |
| ຂະໜາດໜ້າຈໍ | 34 ນິ້ວ |
| ຄວາມລະອຽດ | ຄວາມລະອຽດສູງ (3440 x 1440 ພິກເຊວ) |
| ອັດຕາສ່ວນ | 21:9 |
| ເສັ້ນໂຄ້ງ | 1500R |
| ປະເພດແຜງ | VA (Non-glare) |
| ອັດຕາການໂຫຼດຂໍ້ມູນຄືນໃໝ່ | 180 Hz |
| ເວລາຕອບສະຫນອງ | 1 ມລ (MPRT) |
| ສີ Gamut | 95% DCI-P3, 100% sRGB |
| ການເຊື່ອມຕໍ່ | HDMI, DisplayPort, 3.5mm Audio Out |
| ພະລັງງານ Voltage | 12 ໂວນ |
| ຂະໜາດສິນຄ້າ (ກວ້າງ x ຍາວ x ສູງ) | 99.1 x 18.8 x 46 cm (ປະມານ) |
| ນ້ຳໜັກສິນຄ້າ | 6.9 ກິໂລ |
| ປະເພດການຕິດຕັ້ງ | ຕິດຝາ (ເຂົ້າກັນໄດ້ VESA) |
7. ຂໍ້ມູນການຮັບປະກັນ
This Xiaomi Curved Gaming Monitor G34WQi comes with a ການຮັບປະກັນຂອງຜູ້ຜະລິດ 1 ປີ. Please retain your proof of purchase for warranty claims. For detailed terms and conditions, refer to the warranty card included in your product packaging or visit the official Xiaomi support webເວັບໄຊ.
8. ສະຫນັບສະຫນູນ
For further assistance, technical support, or service inquiries, please contact Xiaomi customer service:
- ສະຫນັບສະຫນູນໂທລະສັບ: 0120-767-378 (Reception hours: 9:00-18:00, excluding year-end and New Year holidays)
- ສະຫນັບສະຫນູນອີເມວ: service.jp@support.mi.com
You can also visit a Xiaomi Service Center for in-person support:
Xiaomi Service Center Akihabara Store
Address: 4-6-7 Kanda Sakumacho, Chiyoda-ku, Tokyo
Business Hours: 10:00-19:00
Closed: Wednesdays
(Last reception is at 18:00)

Image: A collection of Xiaomi products, showcasing the brand's commitment to smart living.