ATOMSTACK AC1
ຄູ່ມືຜູ້ໃຊ້ກ້ອງຖ່າຍຮູບແກະສະຫຼັກເລເຊີ ATOMSTACK Maker AC1
ແບບ: AC1
1. ບົດແນະນຳ
This manual provides detailed instructions for the installation, operation, and maintenance of your ATOMSTACK Maker AC1 Laser Engraver Camera. The AC1 camera is designed to enhance your laser engraving experience by offering precise positioning, work preview, multitasking capabilities, and video recording features when integrated with LightBurn software.
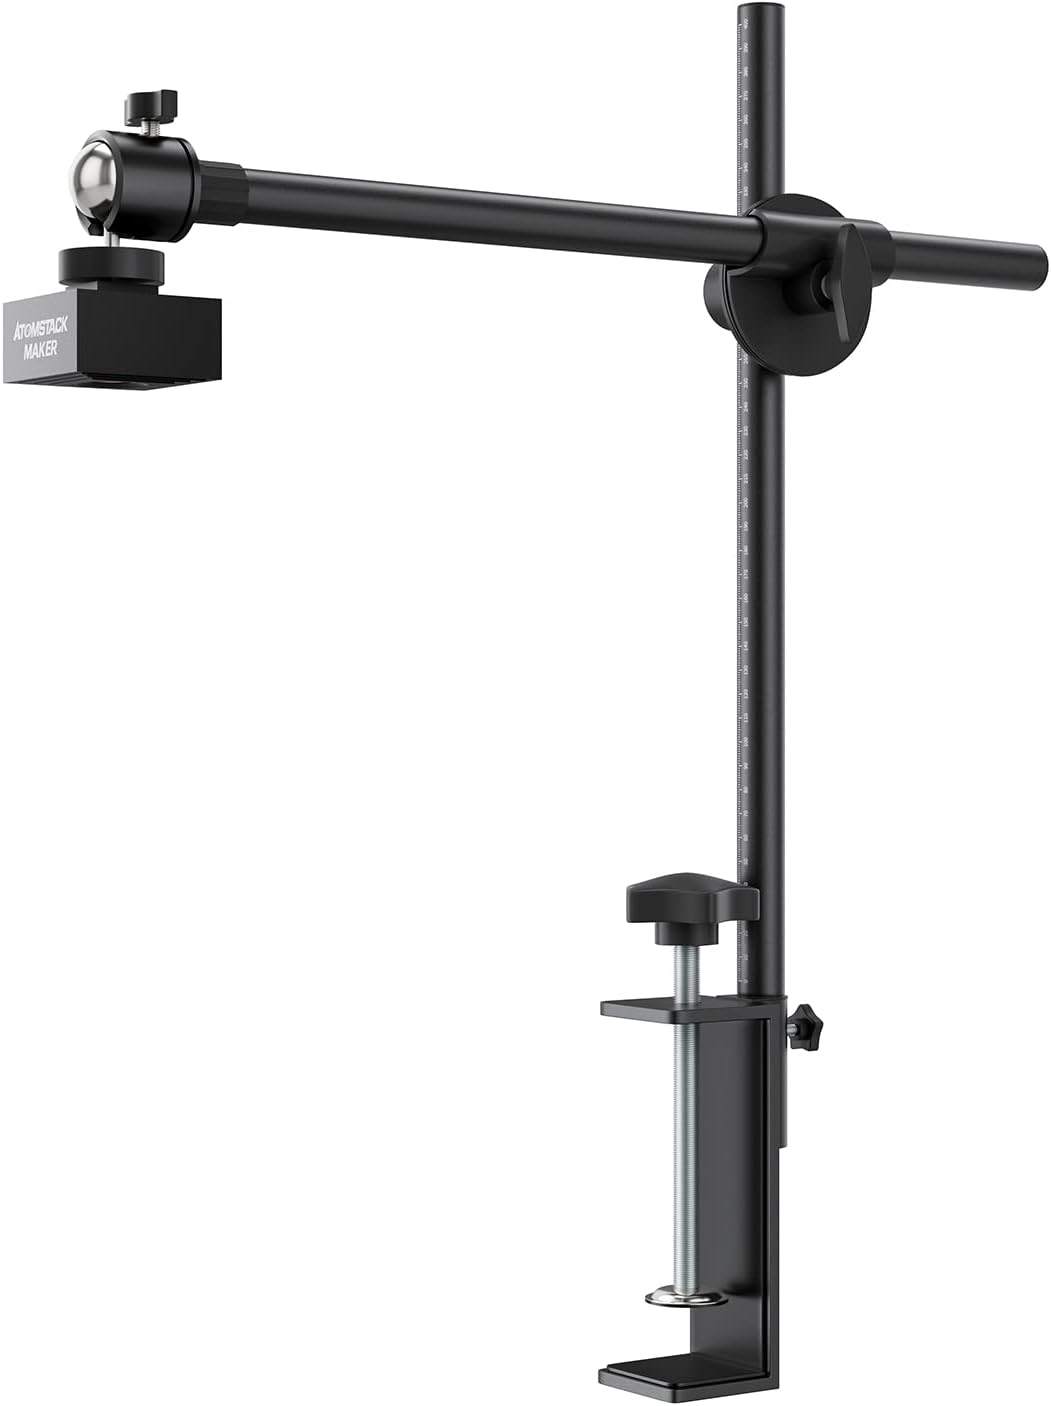
Figure 1: ATOMSTACK Maker AC1 Laser Engraver Camera setup.
2. ຂໍ້ມູນຄວາມປອດໄພ
Please read and understand all safety instructions before using the ATOMSTACK Maker AC1 Camera with your laser engraver. Failure to follow these instructions may result in injury or damage to the equipment.
- Always wear appropriate laser safety glasses when operating a laser engraver.
- Ensure the camera is securely mounted and stable to prevent accidental falls.
- Do not look directly into the laser beam or the camera lens during laser operation.
- ຮັກສາພື້ນທີ່ເຮັດວຽກໃຫ້ຊັດເຈນຂອງວັດສະດຸທີ່ຕິດໄຟໄດ້.
- Ensure proper ventilation when operating the laser engraver.
3. ເນື້ອໃນຊຸດ
ກວດສອບວ່າລາຍການທັງຫມົດທີ່ລະບຸໄວ້ຂ້າງລຸ່ມນີ້ແມ່ນລວມຢູ່ໃນຊຸດຂອງທ່ານ:

Figure 2: ATOMSTACK Maker AC1 Camera package contents.
- AC1 Camera Unit
- Camera Bracket (Base, Bracket, Connector)
- ສາຍ USB
- Kraft Paper (for calibration)
- Focusing Piece
- Soft Ruler
4. ຕັ້ງຄ່າ
4.1. Camera Bracket Installation
Assemble the camera bracket components as shown in the video. Ensure all connections are secure.
Video 1: Installation of the camera bracket and initial setup steps.
4.2. ການຕິດຕັ້ງກ້ອງຖ່າຍຮູບ
Attach the assembled camera bracket to your laser engraver. Adjust the height so that the distance between the working plane and the camera lens is approximately 420mm. Align the center of the camera lens with the cross position on your work surface as accurately as possible.

Figure 3: Camera mounting and coverage area illustration.
4.3. Connecting to LightBurn
Connect the AC1 camera to your computer via the provided USB cable. Open LightBurn software. Navigate to the 'Window' menu and ensure 'Camera Control' is checked. In the 'Camera Control' window, select 'USB Camera' from the dropdown menu.
4.4. Lens Calibration
To ensure accurate positioning, perform lens calibration:
- In LightBurn's 'Camera Control' window, click the 'Calibrate Camera Lens' option.
- Place the provided dot pattern card flat in the working area of the engraver.
- Capture images of the pattern card in five different positions: center, top-left, top-right, bottom-left, and bottom-right. Ensure the pattern is clearly visible in each capture.
- Follow the on-screen prompts to complete the lens calibration.
4.5. Camera Alignment
After lens calibration, proceed with camera alignment:
- In LightBurn's 'Camera Control' window, click the 'Calibrate Camera Alignment' option.
- Place four 100mm x 100mm cardboard squares in the corners of your engraver's working area.
- Engrave a 400mm x 400mm cross pattern onto these cardboard squares.
- Flip the cardboard squares over to the other side.
- In the Camera Alignment Wizard, click 'Capture Image'.
- Carefully click the intersection points of the engraved cross pattern on each of the four cardboard squares in the correct numerical order (1-4) as prompted by the software. Zoom in for precision.
- Complete the alignment process by following the remaining on-screen instructions.
5. ຄໍາແນະນໍາການດໍາເນີນງານ
5.1. Work Preview
The AC1 camera provides a live preview of your work area directly within LightBurn. This feature allows you to visualize your design on the material before engraving, eliminating the need for manual positioning and reducing material waste. The software automatically identifies and recognizes the pattern to be engraved.

Figure 4: Live work preview in LightBurn using the AC1 camera.
5.2. Precise Positioning
The camera's auto-precise positioning technology allows for accurate placement of your designs. After calibration, the camera can automatically locate objects with a positioning error of less than 1mm, ensuring your engravings are exactly where you intend them to be.

Figure 5: Precise positioning with the AC1 camera, demonstrating sub-millimeter accuracy.
5.3. Multitasking Engraving
With the AC1 camera, you can engrave on various materials simultaneously without needing to preview each one individually. This significantly boosts engraving efficiency, especially when working with multiple small items or different material types.
Video 2: Demonstration of multitasking engraving with the ATOMSTACK Maker AC1 Camera.
5.4. HD Video Recording
The AC1 camera features an industrial wide-angle lens and supports HD video recording. You can capture the entire engraving process through delayed shooting (time-lapse), making your creative journey visible and shareable. This is ideal for documenting projects or sharing your work on social platforms.

Figure 6: HD video recording of the engraving process.
6. ບໍາລຸງຮັກສາ
Regular maintenance ensures optimal performance and longevity of your ATOMSTACK Maker AC1 Camera.
- ທໍາຄວາມສະອາດ Lens: Gently wipe the camera lens with a soft, lint-free cloth. For stubborn smudges, use a lens cleaning solution designed for optical surfaces.
- ການຄຸ້ມຄອງສາຍໄຟ: Ensure the USB cable is not kinked or under tension. Proper cable management prevents damage and ensures a stable connection.
- ອັບເດດຊອບແວ: Periodically check the LightBurn webເວັບໄຊທ໌ສຳລັບການອັບເດດຊອບແວເພື່ອຮັບປະກັນຄວາມເຂົ້າກັນໄດ້ ແລະ ການເຂົ້າເຖິງຄຸນສົມບັດ ແລະ ການປັບປຸງລ່າສຸດ.
- ການເກັບຮັກສາ: When not in use, store the camera in a clean, dry environment away from direct sunlight and extreme temperatures.
7. ການແກ້ໄຂບັນຫາ
If you encounter issues with your ATOMSTACK Maker AC1 Camera, refer to the following common solutions:
- ກ້ອງບໍ່ກວດພົບ:
- ໃຫ້ແນ່ໃຈວ່າສາຍ USB ເຊື່ອມຕໍ່ຢ່າງປອດໄພກັບທັງກ້ອງຖ່າຍຮູບ ແລະຄອມພິວເຕີຂອງທ່ານ.
- Try connecting the camera to a different USB port.
- Restart LightBurn and/or your computer.
- Verify that the camera drivers are correctly installed (usually plug-and-play for Windows/Mac).
- Poor Image Quality/Distortion:
- ກວດໃຫ້ແນ່ໃຈວ່າເລນກ້ອງຖ່າຍຮູບສະອາດ ແລະບໍ່ມີຝຸ່ນ ຫຼືຮອຍເປື້ອນ.
- Re-run the Lens Calibration and Camera Alignment procedures in LightBurn.
- Check that the camera is mounted at the recommended height (420mm from the work surface).
- ຕຳແໜ່ງທີ່ບໍ່ຖືກຕ້ອງ:
- Re-perform the Camera Alignment process carefully, ensuring precise clicks on the intersection points.
- Verify that the material is flat and securely placed on the engraver bed.
- Ensure the engraver's origin is correctly set in LightBurn.
- LightBurn Software Issues:
- Consult the official LightBurn documentation or support forums for software-specific issues.
- Ensure your LightBurn software is up to date.
8. ຂໍ້ມູນຈໍາເພາະ
| ຄຸນສົມບັດ | ຂໍ້ມູນຈໍາເພາະ |
|---|---|
| ຕົວແບບ | AC1 |
| ຜູ້ຜະລິດ | Atomstack |
| ນ້ໍາຫນັກລາຍການ | 2.97 ປອນ |
| ຂະໜາດສິນຄ້າ | 0.39 x 0.39 x 0.39 ນິ້ວ |
| ສີ | ດຳ |
| ຈໍານວນຊຸດລາຍການ | 1 |
| ຄວາມລະອຽດຂອງ pixels ລວງ | 5MP (ພິກເຊວ 500W) |
| ສະໜາມຍິງເປົ້າ | 400x400mm (ideal for frame engraving machines within 450x450mm) |
| Positioning Error | ຫນ້ອຍກວ່າ 1mm |
| ຄວາມເຂົ້າກັນໄດ້ | LightBurn software, all ATOMSTACK laser engraving machines, and various brands of frame laser engraving machines. Supports Windows and Mac systems. |
9. ການຮັບປະກັນແລະການສະຫນັບສະຫນູນ
9.1. ຂໍ້ມູນການຮັບປະກັນ
The ATOMSTACK Maker AC1 Camera comes with a one-year warranty policy. Please retain your proof of purchase for warranty claims.
9.2. ການຊ່ວຍເຫຼືອລູກຄ້າ
For technical assistance, troubleshooting, or warranty inquiries, please contact ATOMSTACK Official Store customer support. You can typically find contact information on the official ATOMSTACK webເວັບໄຊທ໌ຫຼືຜ່ານເວທີການຊື້ຂອງທ່ານ.
ເອກະສານທີ່ກ່ຽວຂ້ອງ - AC1
 |
ATOMSTACK MAKER AC1 Camera User Manual: Setup, Calibration, and Operation Guide Comprehensive user manual for the ATOMSTACK MAKER AC1 camera, covering installation, calibration, positioning, video recording, and troubleshooting for laser engraving machines. |
 |
ຄູ່ມືຜູ້ໃຊ້ ATOMSTACK MAKER AC1: ການຕັ້ງຄ່າ, Calibration, ແລະຄູ່ມືການປະຕິບັດ ຄູ່ມືຜູ້ໃຊ້ທີ່ສົມບູນແບບສໍາລັບກ້ອງຖ່າຍຮູບ ATOMSTACK MAKER AC1, ລາຍລະອຽດການຕິດຕັ້ງ, ການປັບເລນ, ການຈັດຕໍາແຫນ່ງກ້ອງຖ່າຍຮູບ, ການບັນທຶກວິດີໂອ, ແລະການແກ້ໄຂບັນຫາສໍາລັບເຄື່ອງແກະສະຫລັກເລເຊີ. ຮຽນຮູ້ວິທີການເຊື່ອມໂຍງແລະປັບປຸງກ້ອງຖ່າຍຮູບ ATOMSTACK ຂອງທ່ານກັບຊອບແວ LightBurn. |
 |
ຄູ່ມືຜູ້ໃຊ້ເຄື່ອງແກະສະຫຼັກເລເຊີ ATOMSTACK A5/A10/A20 PRO V2 ຄູ່ມືຜູ້ໃຊ້ທີ່ຄົບຖ້ວນສົມບູນສຳລັບເຄື່ອງແກະສະຫຼັກເລເຊີ ATOMSTACK A5, A10, ແລະ A20 PRO V2, ເຊິ່ງກວມເອົາຄວາມປອດໄພ, ຄຳແນະນຳໃນການປະກອບ, ການຕັ້ງຄ່າຊອບແວ (LightBurn, LaserGRBL), ການດຳເນີນງານ, ການບຳລຸງຮັກສາ ແລະ ການແກ້ໄຂບັນຫາ. |
 |
ຄູ່ມືການຕິດຕັ້ງໂມດູນເລເຊີ ATOMSTACK R30 V2 ຄູ່ມືການຕິດຕັ້ງລະອຽດສຳລັບໂມດູນເລເຊີ ATOMSTACK R30 V2, ເຊິ່ງກວມເອົາຄວາມປອດໄພ, ການຕັ້ງຄ່າ, ພາລາມິເຕີການເຮັດວຽກ, ແລະຂໍ້ມູນການຮັບປະກັນສຳລັບລະບົບການແກະສະຫຼັກເລເຊີ. |
 |
ຄູ່ມືເຄື່ອງແກະສະຫຼັກເລເຊີ ATOMSTACK A5 Pro ຄູ່ມືຜູ້ໃຊ້ທີ່ຄົບຖ້ວນສົມບູນສຳລັບເຄື່ອງແກະສະຫຼັກເລເຊີ ATOMSTACK A5 Pro, ເຊິ່ງກວມເອົາຄວາມປອດໄພ, ການຕິດຕັ້ງຊອບແວ (LaserGRBL ແລະ LightBurn), ການດຳເນີນງານ ແລະ ການແກ້ໄຂບັນຫາ. |
 |
ຄູ່ມືຜູ້ໃຊ້ ແລະ ຄູ່ມືການຕິດຕັ້ງ ATOMSTACK MAKER R1 Rotary Chuck ຄູ່ມືທີ່ຄົບຖ້ວນນີ້ລາຍລະອຽດກ່ຽວກັບການຕິດຕັ້ງ, ການເຊື່ອມຕໍ່ ແລະ ການເຮັດວຽກຂອງ ATOMSTACK MAKER R1 Rotary Chuck ສຳລັບເຄື່ອງແກະສະຫຼັກເລເຊີ. ມັນກວມເອົາເນື້ອໃນການຫຸ້ມຫໍ່, ຂັ້ນຕອນການຕັ້ງຄ່າ, ການຕັ້ງຄ່າຊອບແວດ້ວຍ LightBurn, ແລະ ບັນທຶກທີ່ຈຳເປັນສຳລັບການແກະສະຫຼັກວັດຖຸຮູບຊົງກະບອກ, ຮູບຊົງກົມ ແລະ ວັດຖຸທີ່ມີຮູບຮ່າງອື່ນໆ. |
Ask a question about this manual
Ask about setup, troubleshooting, compatibility, parts, safety, or missing instructions. Manuals+ will review the question and use this page’s manual context to help answer it.