1. ບົດແນະນຳ
The Walfront MPPT Solar Charge Controller is designed to efficiently manage power flow from your solar panels to your battery bank, optimizing charging performance for off-grid solar systems. This manual provides essential information for the safe and effective installation, operation, and maintenance of your 50A MPPT solar charge controller.

Image 1.1: Walfront MPPT Solar Charge Controller 50A. This image shows the front view of the orange and black controller, featuring an LCD screen displaying PV, Battery, and Load information, along with 'ESC' and 'SET' buttons.
2. ຄຸນນະສົມບັດທີ່ສໍາຄັນ
- High Efficiency MPPT Tracking: Features MPPT tracking efficiency greater than 99% and a maximum conversion efficiency of up to 98%, maximizing energy harvest from solar panels.
- Wide 180V PV Input and Auto Voltage Recognition: Supports a maximum solar input voltage of 180V (at 25℃) and automatically recognizes 12V, 24V, 36V, and 48V battery systems. Compatible with battery voltages ຈາກ 9V ຫາ 64V.
- Clear LCD Display and Smart Protection: Built-in LCD provides real-time system data (voltage, current, operating status). Includes temperature compensation and multiple protection features for safe operation.
- Low No-Load Loss and Reliable Performance: No-load loss of ≤0.4W conserves energy. Designed for reliable operation in temperatures from -10℃ to 65℃ and altitudes up to 3000 meters.
- ງ່າຍທີ່ຈະຕິດຕັ້ງແລະນໍາໃຊ້: Auto-recognition feature simplifies setup. Compact design allows for straightforward mounting.

Image 2.1: Automatic Voltage Identification. This image highlights the controller's ability to automatically identify 12V, 24V, 36V, and 48V systems, shown with various solar panel application examples.
3. ຂໍ້ມູນຄວາມປອດໄພ
Please read all instructions carefully before installation and operation. Failure to follow these safety guidelines may result in personal injury, damage to the controller, or other equipment.
- Ensure all wiring is correctly polarized and securely connected. Loose connections can cause overheating and damage.
- ໃຫ້ເຊື່ອມຕໍ່ແບັດເຕີຣີກ່ອນສະເໝີ, ຈາກນັ້ນຕໍ່ແຜງໂຊລາເຊວ, ແລະສຸດທ້າຍຕໍ່ກະແສໄຟຟ້າ. ຕັດການເຊື່ອມຕໍ່ໃນລຳດັບກັບກັນ.
- Do not connect the solar panel array to the controller without a battery connected.
- ຮັບປະກັນລະບົບ voltage of the solar panel and battery are compatible with the controller's specifications.
- ຕິດຕັ້ງຕົວຄວບຄຸມໄວ້ໃນບໍລິເວນທີ່ມີລະບາຍອາກາດດີ, ຫ່າງຈາກວັດສະດຸໄວໄຟ ແລະ ແສງແດດໂດຍກົງ.
- Avoid touching live terminals. Use insulated tools during installation.
- This device is not waterproof. Protect it from moisture and water exposure.
4. ເນື້ອໃນຊຸດ
ກວດສອບວ່າລາຍການທັງຫມົດທີ່ລະບຸໄວ້ຂ້າງລຸ່ມນີ້ແມ່ນລວມຢູ່ໃນຊຸດຂອງທ່ານ:
- 1 x Walfront MPPT Solar Charge Controller (50A)
- 4 x screws
- 4 x Screws ຂະຫຍາຍ
- 1 x ຄູ່ມືຜູ້ໃຊ້ (ເອກະສານນີ້)
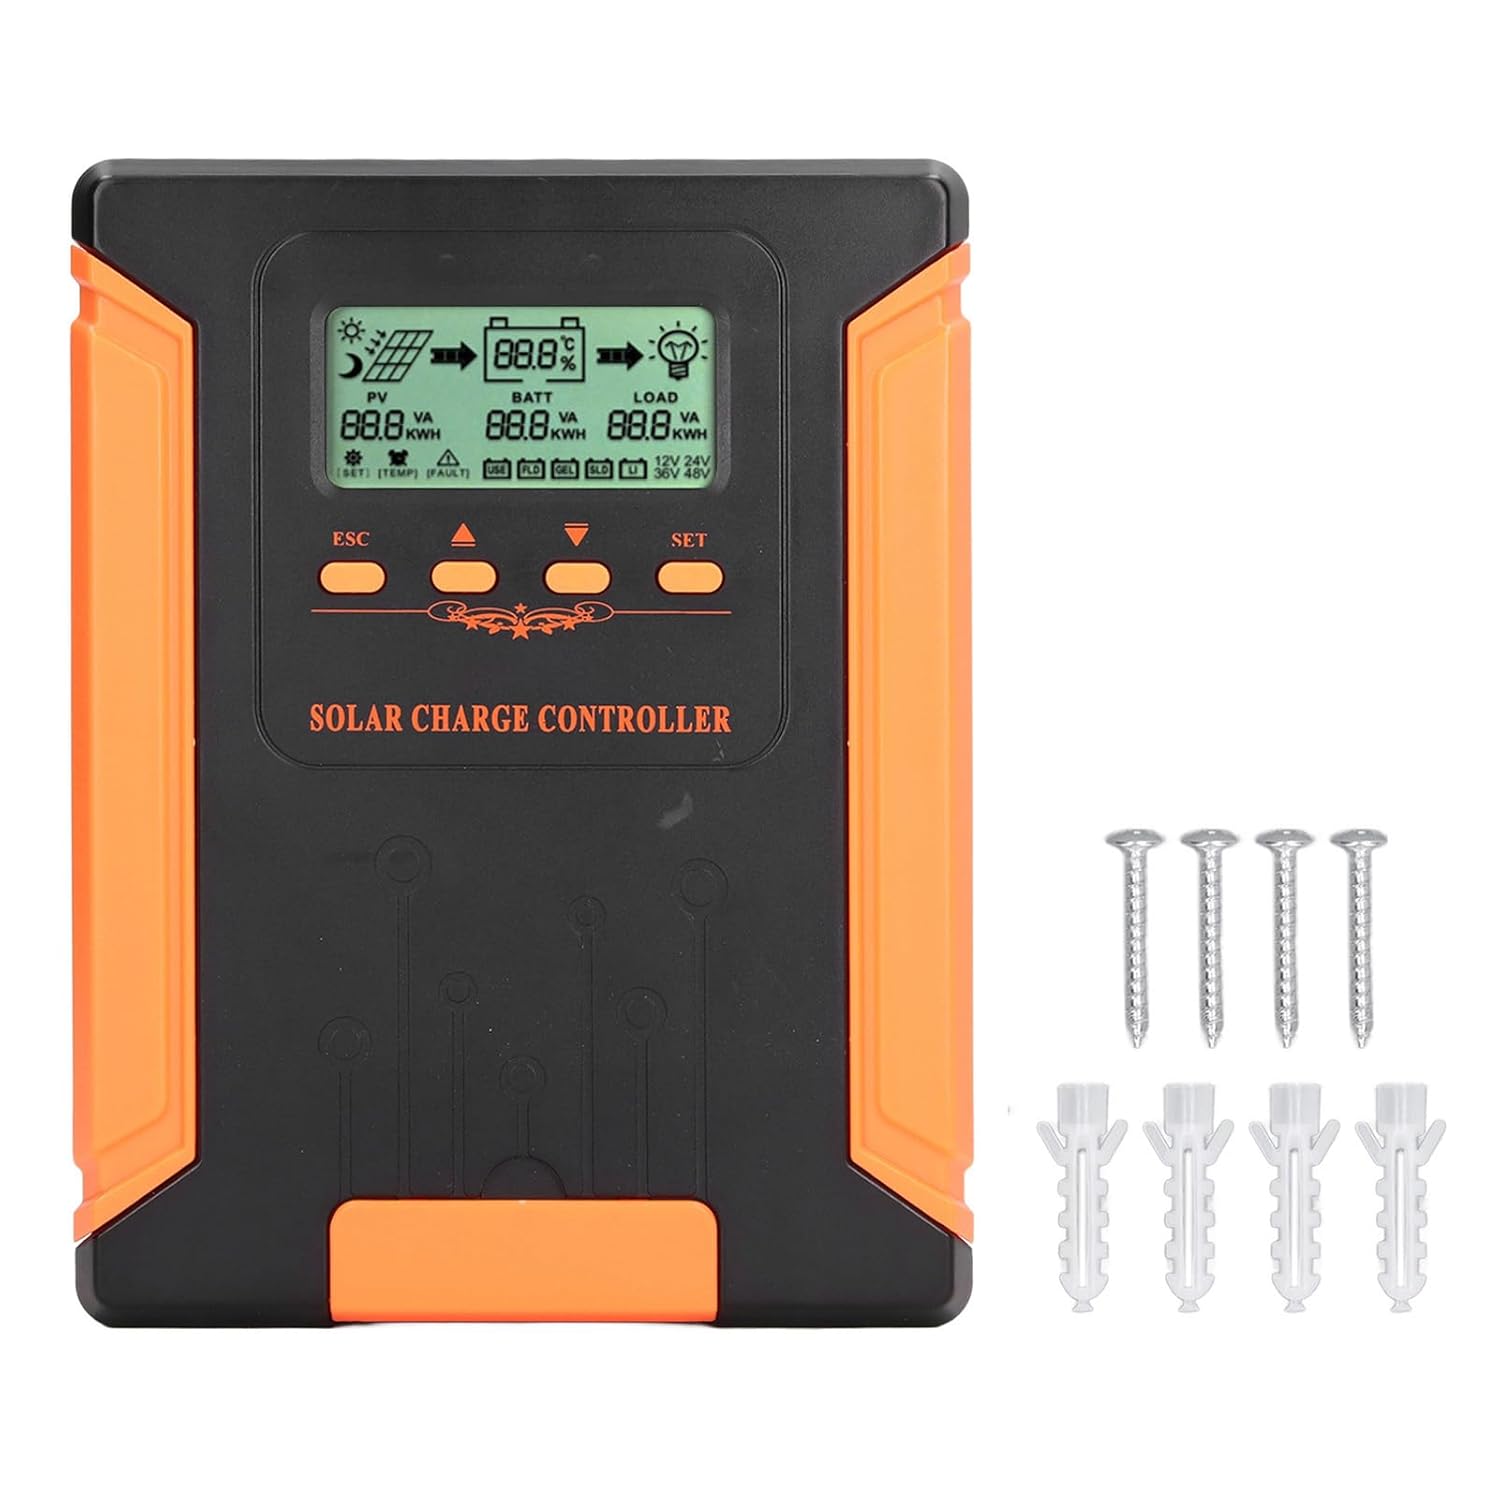
Image 4.1: Package Contents. This image displays the solar charge controller alongside the mounting screws and expansion screws provided in the package.
5. ການຕິດຕັ້ງແລະການຕິດຕັ້ງ
ປະຕິບັດຕາມຂັ້ນຕອນເຫຼົ່ານີ້ສຳລັບການຕິດຕັ້ງຕົວຄວບຄຸມການສາກໄຟແສງຕາເວັນຂອງທ່ານຢ່າງຖືກຕ້ອງ.
5.1 ການຕິດຕັ້ງຕົວຄວບຄຸມ
- Choose a dry, well-ventilated location, protected from direct sunlight, high temperatures, and moisture.
- Ensure there is sufficient space around the controller for heat dissipation, especially around the cooling fins.
- Mount the controller vertically on a solid surface using the provided screws.
5.2 ການເຊື່ອມຕໍ່ສາຍໄຟ
Refer to the wiring diagrams below for correct connection sequence. Always connect in the following order:
- ເຊື່ອມຕໍ່ຫມໍ້ໄຟ: Connect the battery to the controller's battery terminals. Ensure correct polarity (+ to + and - to -). The controller will automatically detect the battery voltage.
- ເຊື່ອມຕໍ່ແຜງແສງອາທິດ: Connect the solar panel array to the controller's PV terminals. Ensure correct polarity.
- ເຊື່ອມຕໍ່ການໂຫຼດ DC (ທາງເລືອກ): ເຊື່ອມຕໍ່ໂຫຼດ DC ເຂົ້າກັບຂົ້ວໂຫຼດຂອງຕົວຄວບຄຸມ. ຮັບປະກັນວ່າຂົ້ວທີ່ຖືກຕ້ອງ.
ເພື່ອຕັດການເຊື່ອມຕໍ່ລະບົບ, ໃຫ້ປະຕິບັດຕາມລໍາດັບປີ້ນກັບກັນ: ຕັດການເຊື່ອມຕໍ່ການໂຫຼດ, ຈາກນັ້ນຕັດແຜງໂຊລາເຊວ, ຈາກນັ້ນແບັດເຕີຣີ.

Image 5.1: Basic System Connection Diagram. This diagram illustrates the connection order: 1. Battery Assembly, 2. Solar Panel Assembly, 3. DC Load. It also shows an AC Load and Inverter connected to the Battery Assembly.

Image 5.2: Detailed System Wiring Diagram. This diagram provides a more comprehensive view of a solar power system, including solar panels, battery, inverter (AC Output/Input), and various AC loads like laptops, lights, air conditioners, televisions, and fans.
6. ຄໍາແນະນໍາການດໍາເນີນງານ
The controller features an LCD display and control buttons for monitoring and configuration.
6.1 ຈໍ LCD
The LCD screen provides real-time information about your solar system, including:
- PV (Photovoltaic) Status: ການປ້ອນຂໍ້ມູນ voltage, current, and power from solar panels.
- BATT (Battery) Status: ຫມໍ້ໄຟ voltage, charging current, and state of charge.
- LOAD Status: Output current and power to the DC load.
- ລະບົບ Voltage: Automatically detected battery system voltagອີ (12V/24V/36V/48V).
- ຕົວຊີ້ບອກຄວາມຜິດພາດ: Displays fault codes or warnings if issues occur.
6.2 ປຸ່ມຄວບຄຸມ
The controller has three buttons: ESC, Up/Down arrows, and SET.
- ປຸ່ມ ESC: Used to exit current menu or cancel an operation.
- ປຸ່ມຂຶ້ນ/ລົງ: ໃຊ້ເພື່ອນຳທາງຜ່ານຕົວເລືອກເມນູ ຫຼື ປັບຄ່າພາລາມິເຕີ.
- ປຸ່ມ SET: Used to enter a menu, confirm a selection, or save changes to parameters.

Image 6.1: Control Buttons. This close-up image shows the 'ESC', 'Up arrow', 'Down arrow', and 'SET' buttons on the controller's front panel.
7. ບໍາລຸງຮັກສາ
ການບຳລຸງຮັກສາເປັນປະຈຳຮັບປະກັນປະສິດທິພາບທີ່ດີທີ່ສຸດ ແລະ ອາຍຸການໃຊ້ງານທີ່ຍາວນານຂອງຕົວຄວບຄຸມການສາກໄຟພະລັງງານແສງຕາເວັນຂອງທ່ານ.
- ທໍາຄວາມສະອາດ: Periodically clean the controller's exterior with a dry cloth. Ensure the cooling fins are free from dust and debris to maintain proper heat dissipation.
- ການເຊື່ອມຕໍ່: Check all wiring connections regularly to ensure they are tight and free from corrosion.
- ການກວດກາ: Inspect the controller for any signs of physical damage, overheating, or unusual odors.
- ສະພາບແວດລ້ອມ: Ensure the installation environment remains dry and well-ventilated.

Image 7.1: Cooling Fins. This close-up shows the cooling fins on the top of the controller, which are crucial for heat dissipation and require regular cleaning.
8. ການແກ້ໄຂບັນຫາ
If you encounter issues with your controller, refer to the following common problems and solutions:
| ບັນຫາ | ສາເຫດທີ່ເປັນໄປໄດ້ | ການແກ້ໄຂ |
|---|---|---|
| Controller display is off | ບໍ່ໄດ້ເຊື່ອມຕໍ່ແບັດເຕີຣີ ຫຼື ແບັດເຕີຣີມີພະລັງງານtage ຕ່ໍາເກີນໄປ. | Ensure battery is connected correctly and has sufficient charge (above 9V). |
| ບໍ່ມີກະແສໄຟຟ້າສາກໄຟຈາກ PV | Solar panels not connected, insufficient sunlight, or PV polarity reversed. | ກວດສອບການເຊື່ອມຕໍ່ PV ແລະ ຂົ້ວ. ຮັບປະກັນວ່າມີແສງແດດພຽງພໍ. ກວດສອບລະດັບ PVtage ແມ່ນຢູ່ໃນຂອບເຂດ. |
| ໂຫຼດບໍ່ເຮັດວຽກ | Load disconnected, load current too high, or load polarity reversed. | Check load connections and polarity. Ensure load current does not exceed controller's rating. |
| ແບັດເຕີຣີບໍ່ເຕັມ | Insufficient solar input, undersized solar array, or battery issues. | Increase solar panel capacity or check for shading. Inspect battery health. |
9. ຂໍ້ກໍານົດດ້ານວິຊາການ
Below are the technical specifications for the Walfront MPPT Solar Charge Controller 50A.
| ພາລາມິເຕີ | ຂໍ້ມູນຈໍາເພາະ |
|---|---|
| ລະບົບ Voltage | 12V / 24V / 36V / 48V Auto |
| Rated Charging ກະແສໄຟຟ້າ | 50A |
| No Load Loss | ≤0.4W |
| Solar Maximum Input Voltage | 180V (at 25℃), 150V (at -25℃) |
| ຫມໍ້ໄຟ Voltage ຂອບເຂດ | 9-64V |
| Power Point ສູງສຸດ Voltage ຂອບເຂດ | ຫມໍ້ໄຟ Voltage +2V ຫາ 150V |
| ປະສິດທິພາບການແປງ | ≤98% |
| ປະສິດທິພາບການຕິດຕາມ MPPT | > 99% |
| ຄ່າສໍາປະສິດການຊົດເຊີຍອຸນຫະພູມ | -2mv/℃/2V (default value) |
| ອຸນຫະພູມເຮັດວຽກ | -10 ℃ ກັບ 65 ℃ |
| ລະດັບການປົກປ້ອງ | IP21 |
| ລະດັບຄວາມສູງ | ≤3000 Meter / 9842.5ft |

Image 9.1: Model Comparison Table. This table provides a comparison of rated charging current and solar panel maximum input power for CM-50 (50A) and CM-60 (60A) models across different system voltages.
10. ການຮັບປະກັນແລະການສະຫນັບສະຫນູນ
ສໍາລັບຂໍ້ມູນການຮັບປະກັນແລະການສະຫນັບສະຫນູນດ້ານວິຊາການ, ກະລຸນາເບິ່ງເອກະສານທີ່ສະຫນອງໃຫ້ໃນເວລາຊື້ຫຼືຕິດຕໍ່ຮ້ານຂາຍຍ່ອຍຂອງທ່ານ. ຮັກສາໃບຮັບເງິນການຊື້ຂອງທ່ານໄວ້ເປັນຫຼັກຖານການຊື້.