JEYI I9-Seal
JEYI I9-Seal M.2 NVMe SSD Enclosure User Manual
Model: I9-Seal
ແນະນຳ
This manual provides comprehensive instructions for the installation, operation, and maintenance of your JEYI I9-Seal M.2 NVMe SSD Enclosure. This device converts an NVMe M.2 solid-state drive into a portable external storage solution with high-speed USB 3.2 Gen 2 connectivity.
ເນື້ອໃນຊຸດ
ກະລຸນາກວດສອບວ່າລາຍການທັງຫມົດທີ່ລະບຸໄວ້ຂ້າງລຸ່ມນີ້ແມ່ນລວມຢູ່ໃນຊຸດຂອງທ່ານ:
- JEYI M.2 NVMe SSD Enclosure
- ເຄື່ອງເຮັດຄວາມຮ້ອນ
- ໄຂຄວງ
- USB-A to USB-C Cable (10Gbps)
- USB-C to USB-C Cable (10Gbps)
- ສາຍສາກ

ຄໍາແນະນໍາການຕິດຕັ້ງ
Follow these steps to install your NVMe M.2 SSD into the JEYI I9-Seal enclosure:
- ການກະກຽມ Enclosure ໄດ້: Gently slide open the enclosure to reveal the internal PCB.
- ໃຊ້ແຜ່ນຄວາມຮ້ອນ: Peel off the protective films from both sides of a thermal pad and carefully place it onto the NVMe SSD chip area. This aids in heat dissipation.
- Insert NVMe SSD: Align your NVMe M.2 SSD (2280 form factor only) with the M-Key slot on the PCB. Insert the SSD firmly but gently into the slot at an angle.
- ຮັບປະກັນ SSD: Once inserted, gently push down the SSD and secure it with the provided screw using the included screwdriver. Ensure the SSD is flat and securely fastened.
- ປິດ Enclosure ໄດ້: Carefully slide the enclosure cover back into place until it clicks securely.


ຄໍາແນະນໍາການດໍາເນີນງານ
Once your NVMe SSD is securely installed, connect the enclosure to your device:
- ເຊື່ອມຕໍ່ຫາອຸປະກອນ: Use either the provided USB-C to USB-C cable or the USB-A to USB-C cable to connect the enclosure to a compatible USB port on your computer, smartphone, tablet, or game console.
- ຕົວຊີ້ບອກພະລັງງານ: A small LED indicator on the enclosure will illuminate, signifying that the device is powered on and connected.
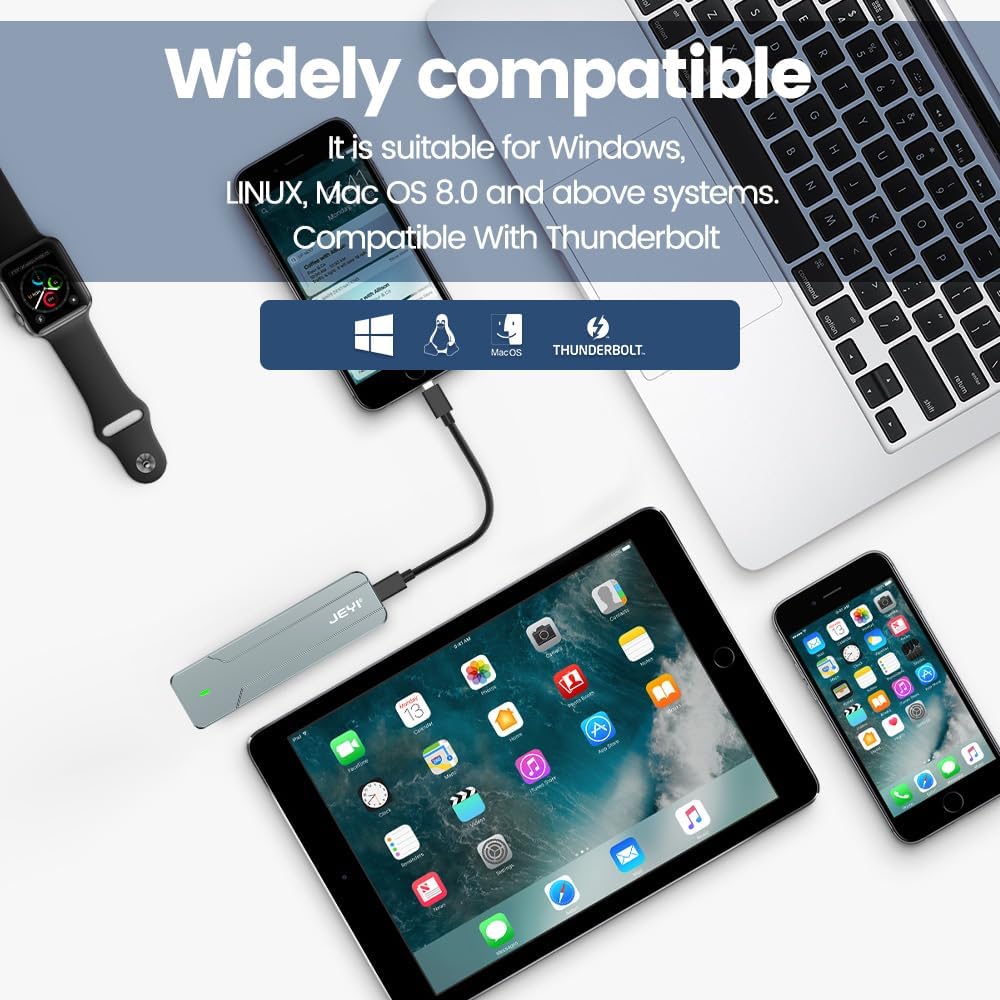
- Disk Recognition: Your operating system (Windows, macOS, Linux, Android, iOS) should automatically detect the new storage device. If it's a new SSD, you may need to initialize and format it through Disk Management (Windows) or Disk Utility (macOS) before use.
- ການໂອນຂໍ້ມູນ: You can now perform data backup, file transfers, disk upgrades, data recovery, or use it for storage expansion. The enclosure supports USB 3.2 Gen 2 speeds up to 10Gbps.

ບໍາລຸງຮັກສາ
To ensure optimal performance and longevity of your JEYI I9-Seal enclosure:
- ການຄຸ້ມຄອງຄວາມຮ້ອນ: ອາລູມີນຽມ ຄasing and thermal pads are designed for efficient heat dissipation. During prolonged high-speed data transfers, the enclosure may become warm to the touch. This is normal and indicates effective heat transfer from the SSD.
- ທໍາຄວາມສະອາດ: ໃຊ້ຜ້າປຽກແຫ້ງເພື່ອເຮັດຄວາມສະອາດດ້ານນອກຂອງຝາປິດ. ຫຼີກເວັ້ນການໃຊ້ນໍ້າສະອາດ ຫຼືສານລະລາຍ.
- ການເກັບຮັກສາ: ເມື່ອບໍ່ໄດ້ໃຊ້, ໃຫ້ເກັບຮັກສາຝາປິດໄວ້ໃນບ່ອນທີ່ເຢັນ, ແຫ້ງ, ຫ່າງຈາກແສງແດດໂດຍກົງແລະອຸນຫະພູມທີ່ຮຸນແຮງ.
- ການດູແລສາຍໄຟ: Handle the USB cables carefully. Avoid sharp bends or excessive pulling to prevent damage.
ການແກ້ໄຂບັນຫາ
| ບັນຫາ | ສາເຫດທີ່ເປັນໄປໄດ້ | ການແກ້ໄຂ |
|---|---|---|
| ຄອມພິວເຕີບໍ່ສາມາດກວດພົບການປິດລ້ອມໄດ້. |
|
|
| ຄວາມໄວການໂອນຂໍ້ມູນຊ້າ. |
|
|
| Enclosure gets very hot. |
|
|
ຂໍ້ມູນຈໍາເພາະ
| ຄຸນສົມບັດ | ລາຍລະອຽດ |
|---|---|
| ຕົວແບບ | I9-Seal |
| ຍີ່ຫໍ້ | JEYI |
| ການໂຕ້ຕອບຮາດແວ | USB 3.2 Gen 2 (USB-C) |
| ອັດຕາການໂອນຂໍ້ມູນ | ສູງເຖິງ 10 Gbps |
| Compatible SSD Type | NVMe M.2 (PCI-E M-Key) |
| Supported SSD Form Factor | 2280 (80mm) only |
| ຄວາມອາດສາມາດເກັບຮັກສາສູງສຸດ | 4 TB |
| ຊິບເຊັດ | JMS583 A3 |
| ຄຸນສົມບັດ | UASP Support, TRIM Support, Win to Go (WTG) Support |
| ວັດສະດຸ | ໂລຫະປະສົມອາລູມິນຽມ |
| ສີ | ເງິນ |
| ຂະໜາດສິນຄ້າ | 4.06 x 1.02 x 0.39 ນິ້ວ (103 x 26 x 10 ມມ) |
| ນ້ໍາຫນັກລາຍການ | 0.317 ອອນສ໌ (9 ກຣາມ) |
| ລະບົບປະຕິບັດການທີ່ເຂົ້າກັນໄດ້ | Windows, macOS, Linux, iOS, Android |

ການຮັບປະກັນແລະການສະຫນັບສະຫນູນ
For warranty information or technical support, please refer to the official JEYI webເວັບໄຊທ໌ ຫຼື ຕິດຕໍ່ບໍລິການລູກຄ້າຂອງເຂົາເຈົ້າໂດຍກົງ. ລາຍລະອຽດກ່ຽວກັບໄລຍະເວລາຮັບປະກັນສະເພາະ ແລະ ຊ່ອງທາງການສະໜັບສະໜູນ ໂດຍປົກກະຕິແລ້ວແມ່ນມີໃຫ້ພ້ອມກັບເອກະສານການຊື້ຂອງທ່ານ ຫຼື ໃນ webເວັບໄຊ.
ຜູ້ຜະລິດ: JEYI
Webເວັບໄຊ: Visit the JEYI Store on Amazon
Ask a question about this manual
Ask about setup, troubleshooting, compatibility, parts, safety, or missing instructions. Manuals+ will review the question and use this page’s manual context to help answer it.