
1. ບົດແນະນຳ
This manual provides detailed instructions for the safe and efficient operation of your Unbranded DC-330Pro 13-inch A3 Mini Vinyl Cutter Plotter. Please read this manual thoroughly before using the machine to ensure proper setup, usage, and maintenance. Keep this manual for future reference.
The DC-330Pro model features upgraded movable paper rollers for better material stabilization, an additional communication interface for USB flash drives, an integrated screen display for improved user interaction, and a camera-based A3 positioning system for higher accuracy. The number of paper rollers has been increased from 2 to 3 to prevent material lifting or curling.
2. ຂໍ້ຄວນລະວັງຄວາມປອດໄພ
- ອຸປະກອນປ້ອງກັນຕ້ອງຖືກໂຍກຍ້າຍອອກກ່ອນທີ່ຈະເປີດເຄື່ອງຕັດດິນເຜົາ.
- ກວດເບິ່ງປ້າຍຢູ່ດ້ານຫລັງຂອງຕົວວາງແຜນເພື່ອຢືນຢັນວ່າ voltage ຕ້ອງການໂດຍ plotter ກົງກັບ voltage ຂອງຖານພະລັງງານ.
- Firstly make sure that the power switch is off, then plug the power supply into a grounded power outlet.
- ກະລຸນາຢ່າຈັບສາຍໄຟດ້ວຍມືປຽກເພື່ອຫຼີກເວັ້ນການຊ໊ອກໄຟຟ້າ.
- ກະລຸນາໃຊ້ພຽງແຕ່ສາຍໄຟ, ສາຍຂໍ້ມູນທີ່ສະໜອງໃຫ້ກັບຜະລິດຕະພັນນີ້, ຫຼືການທົດແທນທີ່ຜູ້ຜະລິດອະນຸມັດ.
- ກະລຸນາຢ່າຖິ້ມວັດຖຸໂລຫະແລະຂອງແຫຼວເຂົ້າໄປໃນເຄື່ອງເພື່ອຫຼີກເວັ້ນການເຮັດວຽກຜິດພາດ.
- ຫຼັງຈາກປິດເຄື່ອງແລ້ວ, ເຈົ້າຕ້ອງລໍຖ້າອີກ 5 ວິນາທີເພື່ອເປີດເຄື່ອງຕັດດິນອີກເທື່ອໜຶ່ງ, ຖ້າບໍ່ດັ່ງນັ້ນມັນຈະເຮັດໃຫ້ເກີດຄວາມເສຍຫາຍຕໍ່ຕົວຕັດ.
- ໃນລະດູຝົນ, ໃຫ້ປິດສະວິດໄຟເປັນປິດ ແລະຖອດສາຍໄຟອອກ.
- Please do not privately change the manufacturer's components.
- ຜູ້ຜະລິດສະຫງວນສິດໃນການປ່ຽນແປງສະເພາະຂອງຜະລິດຕະພັນໂດຍບໍ່ມີການແຈ້ງລ່ວງໜ້າ.
- ຜູ້ຜະລິດພຽງແຕ່ຮັບຜິດຊອບພັນທະທາງດ້ານກົດຫມາຍຂອງຜະລິດຕະພັນທີ່ຕົນເອງຂາຍໃຫ້ຜູ້ໃຊ້, ແລະບໍ່ຮັບຜິດຊອບການສູນເສຍອື່ນໆທີ່ເກີດຈາກ malfunction ຂອງຜະລິດຕະພັນ.
- ໂດຍບໍ່ມີການອະນຸຍາດຂອງບໍລິສັດຂອງພວກເຮົາ, ບໍ່ມີສ່ວນຫນຶ່ງຂອງຄູ່ມືນີ້ສາມາດໄດ້ຮັບການຄັດລອກຫຼືສົ່ງໃນຊື່ໃດ.
3. ລາຍການບັນຈຸ
ຮັບປະກັນວ່າທຸກລາຍການມີຢູ່ແລ້ວ ແລະ ບໍ່ເສຍຫາຍເມື່ອແກະກ່ອງອອກ:
- 1 x ຫນ່ວຍງານຫຼັກ
- 1 x Power Adapter (110-240V)
- 1 x ສາຍໄຟ
- 1 x ສາຍຂໍ້ມູນ USB
- 1 x USB Flash Drive
- 1 x Cutting Blade Holder, Set of Blades (45°)
- 1 x Drawing Pen Holder, Pen Cartridge
- 2 x Cutting Mat
- 1 x ບັດຮັບປະກັນ
4. ຜະລິດຕະພັນເກີນview
Familiarize yourself with the main components and features of your vinyl cutter.
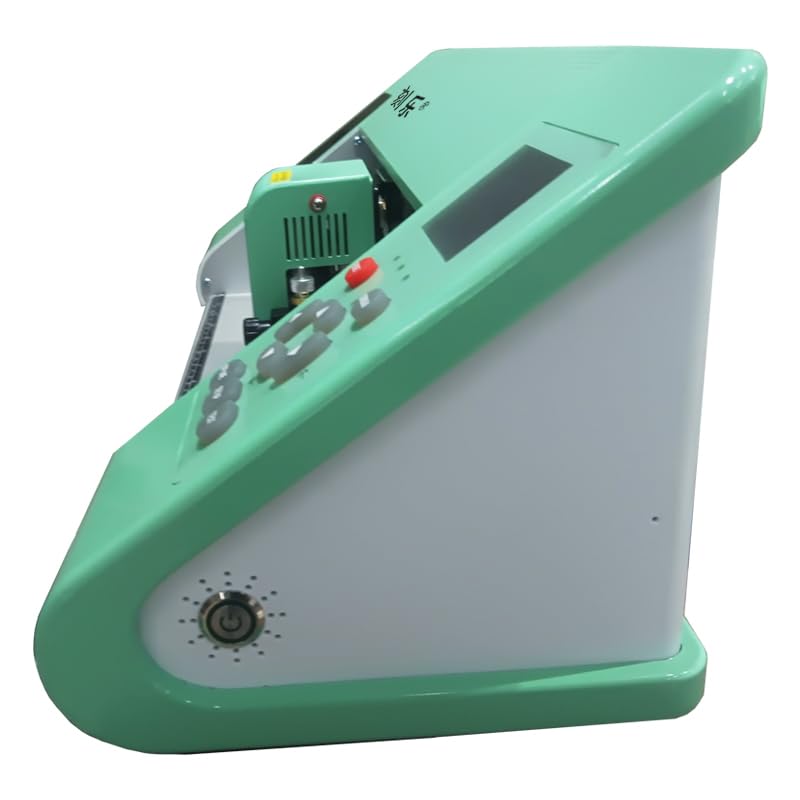
ຮູບ 4.1: ຂ້າງ view of the DC-330Pro vinyl cutter.

Figure 4.2: Dimensions of the DC-330Pro vinyl cutter (63cm/24.8in length, 17.5cm/6.89in height, 18cm/7.09in depth).

Figure 4.3: Front and rear component identification. Front: Tool Box, Blade Pad, Cutting Mat, Blade Holder, Paper Holder, Rest, Speed, Origin, Pressure, Offline, Setup, Test. Rear: Power Socket, USB Flash Drive Port, USB Data Cable Port, Paper Holder Lever, Paper Holder.
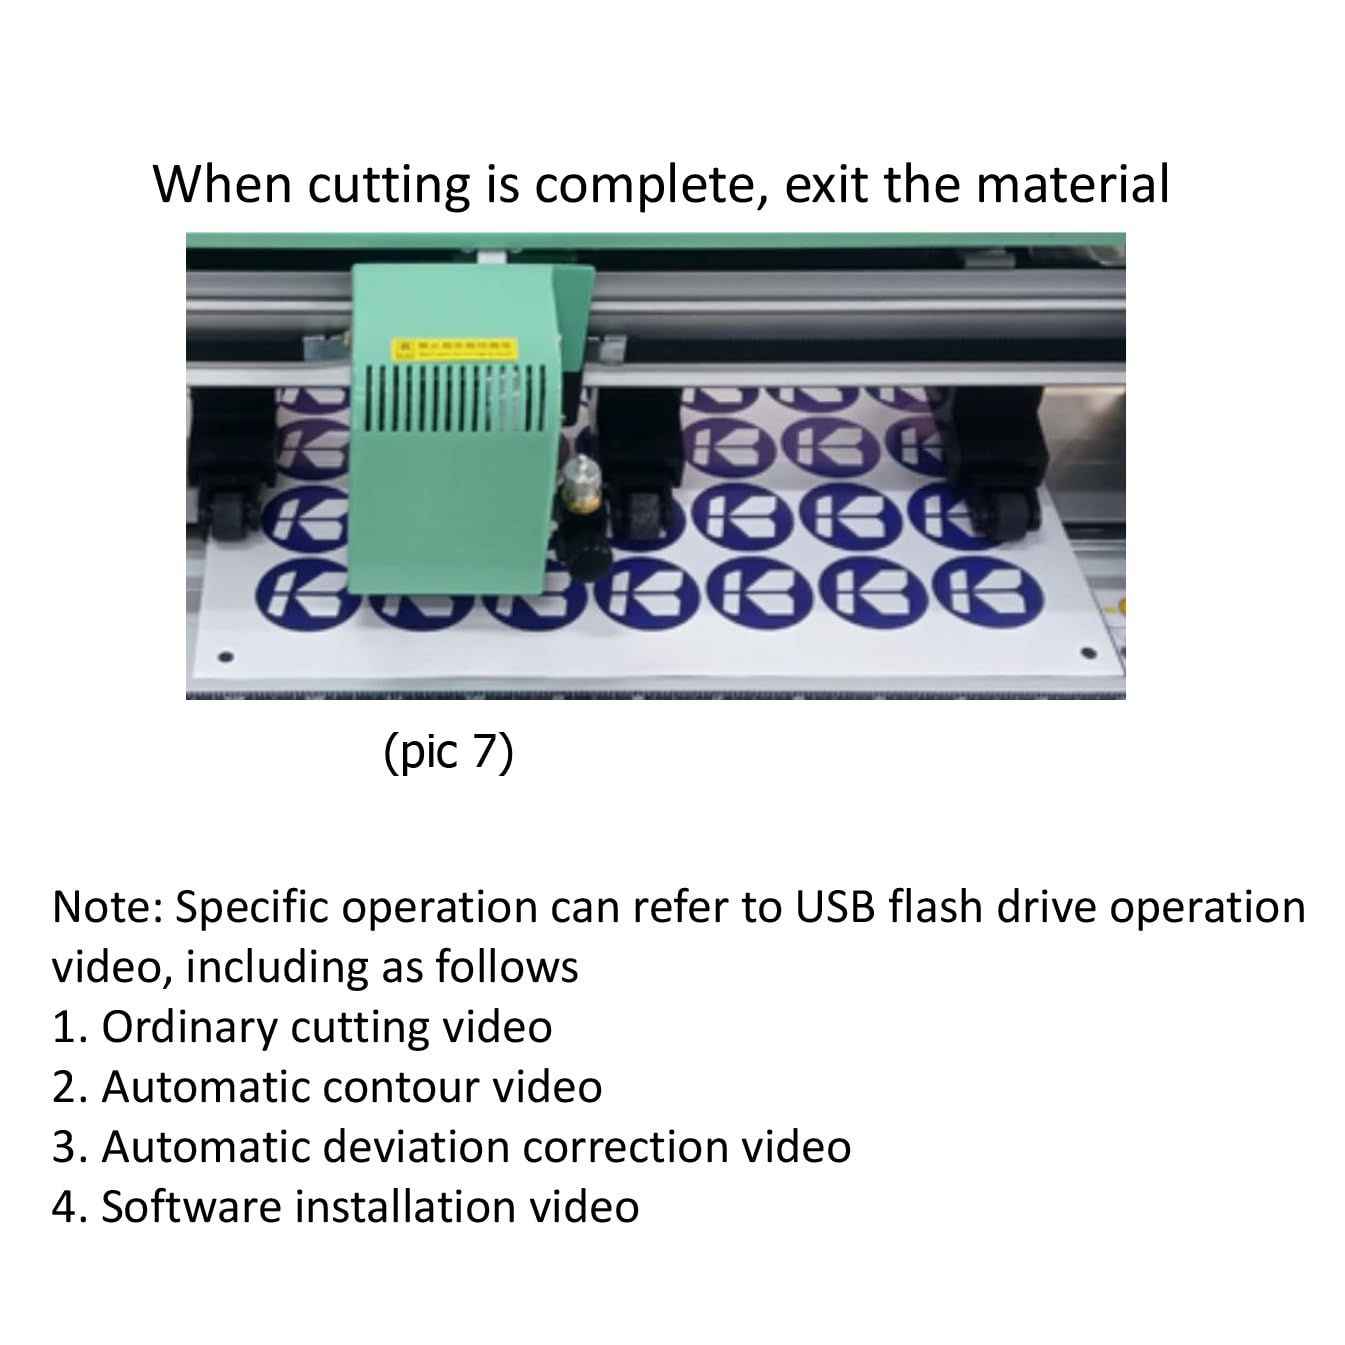
Figure 4.4: Detailed component breakdown. Key parts include the pinch rollers, carriage, blade clamp, touch screen, and various ports.
5. ຕັ້ງຄ່າ
5.1 Assemble Floor Stand (If applicable)
If your model includes a floor stand, follow these steps for assembly:
- Attach the horizontal support bars to the vertical legs using the provided screws and screwdriver. Ensure all connections are secure.
- Install the caster wheels onto the base of the vertical legs.
- Mount the vinyl cutter main unit onto the assembled stand, aligning the mounting points and securing with screws.
Video 5.1: Visual guide for assembling the plotter stand and mounting the unit.
5.2 Plug in the Power Cord
Connect the power cable to the plotter's power socket and then to a grounded electrical outlet. Ensure the power switch is in the OFF position before connecting.
Video 5.2: Demonstration of connecting the power cord and turning on the unit.
5.3 Connect the USB Cable to Computer
Connect the provided USB data cable from the plotter to your computer's USB port.
Video 5.3: Guide on connecting the USB cable for computer communication.
5.4 Place the Paper to be Cut
Load your vinyl or other cutting material onto the rollers. Ensure it is aligned straight and free of wrinkles.
Video 5.4: Instructions for loading the cutting material onto the plotter.
5.5 Press the Pressure Rollers
Lower the pressure rollers to firmly hold the material in place. This prevents shifting during the cutting process.
Video 5.5: How to engage the pressure rollers to secure the material.
5.6 Install the Blade
Carefully insert the cutting blade into the blade holder. Ensure it is seated correctly.

Figure 5.1: Blade assembly diagram.
Video 5.6: Visual guide for installing the blade into the holder.
5.7 Adjust Blade Depth
Loosen the blade adjustment nut and rotate the shank to adjust the length of the exposed blade tip. Determine the tip length according to the thickness of the material. A test cut is recommended to find the optimal depth.
Figure 5.2: Blade depth adjustment for various material thicknesses.
Video 5.7: Demonstration of adjusting the blade depth and performing a test cut.
5.8 ການຕິດຕັ້ງຊອບແວ
Insert the provided USB Flash Drive into your computer. Follow the on-screen instructions to install the SignMaster software. You will need to enter the Product Serial Number (PSN) found on the left side of the opened software box to activate the software.
Video 5.8: Step-by-step guide for installing and activating the SignMaster software.
6. ຄໍາແນະນໍາການດໍາເນີນງານ
6.1 ກະດານຄວບຄຸມຫຼາຍກວ່າview
The control panel allows you to navigate menus, adjust settings, and control the plotter's movement.

Figure 6.1: Control buttons description and operation instructions flowchart.
6.2 Setting Origin Point
Use the arrow keys on the control panel to move the blade carriage to your desired starting position on the material. Press the 'Origin' button to set this as the new origin point for your cut.
Video 6.1: How to use the control panel to set the cutting origin.
6.3 Test Cut
Perform a test cut to verify the blade depth and pressure settings are appropriate for your material. Adjust as needed.
Video 6.2: Performing a test cut and adjusting blade settings.
6.4 Sending Design to Cutter
Once your design is ready in the SignMaster software, select the appropriate cutter model and media width. Click 'Cut Now' to send the design to the plotter.
Video 6.3: Steps to prepare and send a design from the software to the vinyl cutter.
6.5 Weeding Vinyl
After cutting, carefully remove the excess vinyl from around your design using a weeding tool. This process reveals your final cut design.
Video 6.4: Demonstration of weeding excess vinyl from a cut design.
6.6 Applying Transfer Tape
Apply transfer tape over your weeded vinyl design. Use a squeegee to ensure the vinyl adheres to the tape and remove any air bubbles.
Video 6.5: Guide on applying transfer tape to the vinyl design.
6.7 Painting with Stencil (Optional)
If using the vinyl as a stencil, apply it to your surface. For best results and to prevent bleeding, seal the stencil with a thin layer of your base coat paint before applying the final color.
Video 6.6: Tips for using vinyl as a stencil for painting projects.
7. ບໍາລຸງຮັກສາ
- ທໍາຄວາມສະອາດ: Regularly clean the plotter's surface and rollers with a soft, dry cloth. Ensure no dust or debris accumulates in the cutting area.
- ການປ່ຽນແຜ່ນໃບ: Replace blades when they become dull to ensure clean and precise cuts. Refer to section 5.6 for blade installation.
- ອັບເດດຊອບແວ: Periodically check for software updates to ensure optimal performance and compatibility.
8. ການແກ້ໄຂບັນຫາ
| ບັນຫາ | ສາເຫດທີ່ເປັນໄປໄດ້ | ການແກ້ໄຂ |
|---|---|---|
| Cutter not responding | Loose cable connection, software not activated, incorrect driver. | Check USB and power connections. Ensure software is activated and the correct cutter model is selected in the software. |
| ຄຸນນະພາບການຕັດບໍ່ດີ | Dull blade, incorrect blade depth, insufficient pressure, material not secured. | Replace blade, adjust blade depth (Section 5.7), increase cutting pressure, ensure material is held firmly by rollers. |
| Material jams or shifts | Material not loaded straight, pressure rollers not engaged, material too thick/thin. | Reload material straight, engage pressure rollers, verify material compatibility with cutter specifications. |
9. ຂໍ້ມູນຈໍາເພາະ
- ຕົວແບບ: DC-330Pro
- ສະບັບtage: AC100-240V
- ສູງສຸດ. ຄວາມກວ້າງຂອງການໃຫ້ອາຫານ: 450ມມ
- ສູງສຸດ. ຄວາມກວ້າງການຕັດ: 310ມມ
- ຄວາມຫນາຂອງການຕັດ: ≤1ມມ
- ຄວາມໄວ/ຄວາມກົດດັນ: 20-800mm/s, 20-500g
- ບັຟເຟີ: 1-4M
- ຈໍ LCD: CN/EN
- ຄວາມໄວໃນເວລາຈິງ: ປັບສະຫນັບສະຫນູນ
- ການໂຕ້ຕອບ: USB+U-DISK
- ຟັງຊັນຕັດໃຫມ່: ສະຫນັບສະຫນູນ
- ການຕັດຄວາມຖືກຕ້ອງ: 0.127ມມ
- ອັດຕາສ່ວນການແກ້ໄຂ: 0.0245mm/ກ້າວ
- ຮູບແບບພາສາ: HPGL
- ນ້ໍາຫນັກລາຍການ: 20 ປອນ
- ວັດສະດຸ: ໂລຫະ
- ສີ: ສີແດງ
- Active Surface Area: 928.6 ຕາແມັດ
- ໂໝດການໃຊ້ງານ: ອັດຕະໂນມັດ
10. ການຮັບປະກັນ
This product includes a Warranty Card. Please refer to the Warranty Card included in your packaging for detailed information regarding warranty coverage, terms, and conditions. Keep your proof of purchase for warranty claims.
11. ສະຫນັບສະຫນູນ
For technical assistance, troubleshooting, or inquiries about your Unbranded DC-330Pro vinyl cutter, please contact your retailer or the manufacturer's customer support. Refer to the contact information provided on the product packaging or the official webເວັບໄຊ.