Thank you for choosing the AMS Pendule 211/1 wall clock. This manual provides comprehensive instructions for the safe and efficient setup, operation, and maintenance of your new clock. Please read this manual thoroughly before use and retain it for future reference.
The AMS Pendule 211/1 requires batteries (not included) for operation. Please use the specified battery type.
ຊອກຫາຝາປິດຊ່ອງໃສ່ແບັດເຕີຣີຢູ່ດ້ານຫຼັງຂອງໂມງ.
Remove the cover by sliding or unlatching it.
Insert the required batteries (e.g., 1x AA or 1x C, refer to the compartment label for exact type) according to the polarity indicators (+ and -).
ປ່ຽນຝາປິດຊ່ອງໃສ່ຫມໍ້ໄຟໃຫ້ປອດໄພ.
2.3 ການຕິດຕັ້ງໂມງ
Ensure the clock is mounted securely on a stable wall surface.
Choose a suitable location on a wall, away from direct sunlight, extreme temperatures, or vibrations.
Use an appropriate wall anchor and screw for your wall type (e.g., drywall, concrete). The mounting point should be strong enough to support the clock's weight.
Hang the clock securely using the keyhole slot on the back. Ensure it is level.
2.4 ການ ກຳ ນົດເວລາ
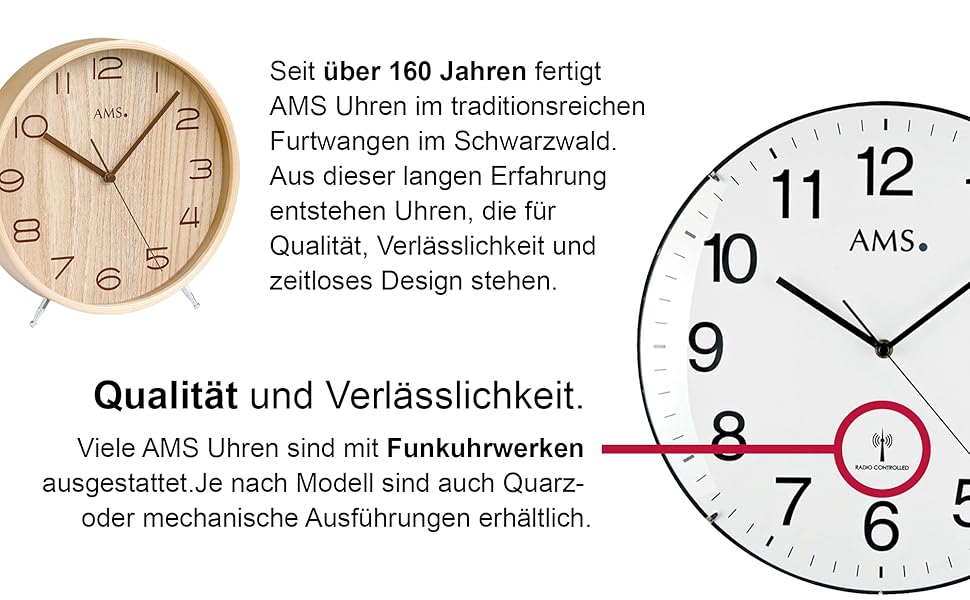
Your AMS Pendule 211/1 clock features an analog display. Some models may include a radio-controlled mechanism for automatic time synchronization.
ຮູບທີ 2: ຕົວຢ່າງample Clock Face with Radio Controlled Symbol
ການຕັ້ງຄ່າຄູ່ມື: Locate the time-setting knob or wheel on the back of the clock. Gently turn this knob to move the minute and hour hands clockwise until the correct time is displayed. Avoid turning the hands counter-clockwise.
Radio-Controlled (if applicable): If your clock is radio-controlled, it will attempt to synchronize with a time signal after battery installation. Place the clock near a window for better signal reception. This process may take several minutes or hours. Once synchronized, the clock will automatically display the correct time.
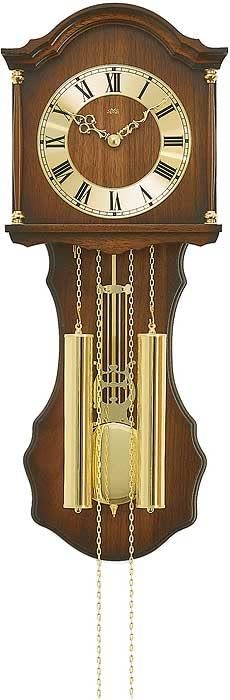
2.5 Pendulum Setup
The pendulum is a decorative and functional element of your clock.
Carefully unpack the pendulum if it was separate from the main clock body.
Attach the pendulum to its hook or hanging mechanism inside the clock case. Ensure it hangs freely and does not touch the sides of the case.
Gently push the pendulum to one side to start its swing. It should swing evenly.
3. ຄໍາແນະນໍາການດໍາເນີນງານ
3.1 ການອ່ານເວລາ
The AMS Pendule 211/1 features a clear analog display with hour, minute, and second hands for precise timekeeping.
ໄດ້ ມືສັ້ນ indicates the hour.
ໄດ້ ມືຍາວ indicates the minute.
ໄດ້ thin sweeping hand indicates the second.
3.2 ຟັງຊັນປຸກ
Your clock is equipped with an alarm function. Refer to the specific controls on the back or side of your clock for alarm setting.
ຕັ້ງເວລາປຸກ: Locate the alarm setting knob/dial (often separate from the main time setting). Turn it to set the desired alarm time.
ເປີດໃຊ້ໂມງປຸກ: Find the alarm ON/OFF switch or button. Move it to the "ON" position to activate the alarm.
ປິດການປຸກ: To turn off the alarm sound, move the alarm switch to the "OFF" position.
3.3 Pendulum Operation
Once the pendulum is installed and started, it should swing continuously. If it stops, gently restart it.
Ensure the clock is level on the wall to allow for an even pendulum swing.
Avoid obstructing the pendulum's movement.
4. ບໍາລຸງຮັກສາ
4.1 ການທໍາຄວາມສະອາດ
Regular cleaning will help maintain the appearance of your clock. The frame is made of Acrylonitrile Butadiene Styrene (ABS).
Wipe the clock's exterior with a soft, dry, lint-free cloth.
For further assistance, you may visit the official AMS webເວັບໄຊ ຫຼືຕິດຕໍ່ພະແນກບໍລິການລູກຄ້າຂອງເຂົາເຈົ້າ.
Ask a question about this manual
Ask about setup, troubleshooting, compatibility, parts, safety, or missing instructions. Manuals+ will review the question and use this page’s manual context to help answer it.